Digital documentation and interactive inspection by »3D-SmartInspect«
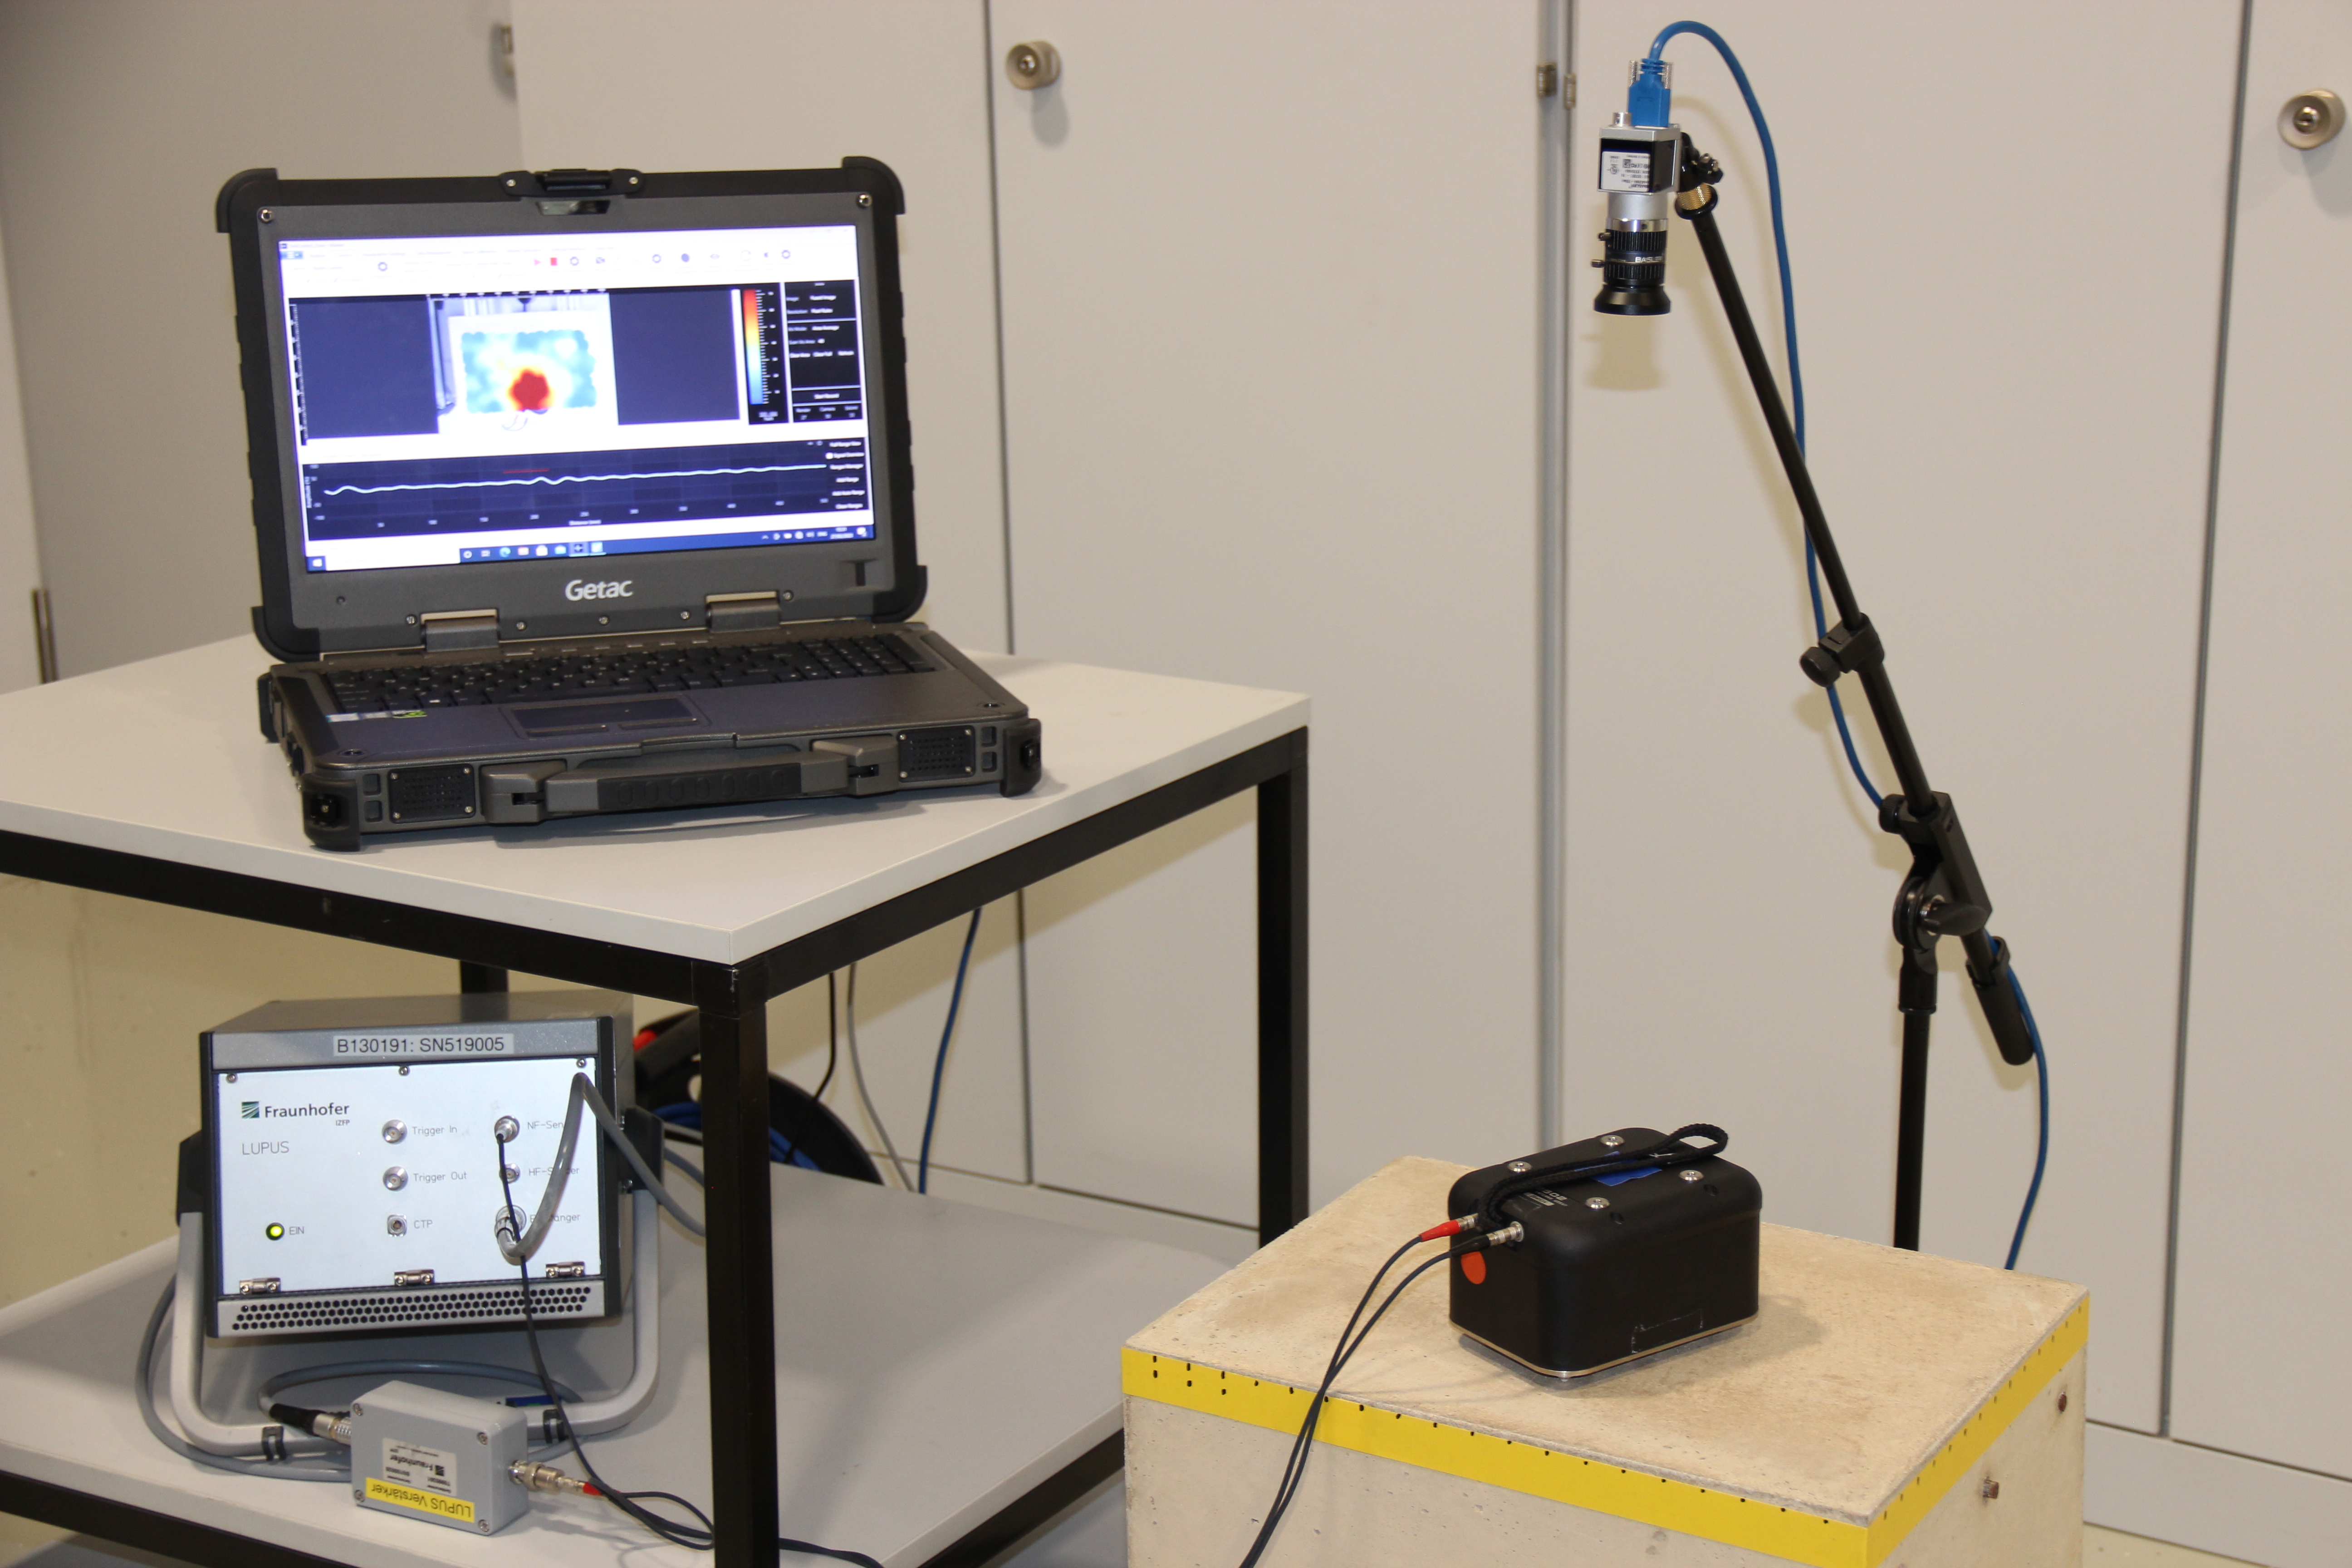
With the "3D-SmartInspect" technology developed at the Fraunhofer Institute for Non-destructive Testing IZFP, Saarbrücken, a system with interactive assistance and digital documentation is now available for manual inspection. The intelligent assistance system optically records the inspection process (e.g. eddy current method, ultrasonic method, impulse or micro magnetics), a tracking module follows the movement of the inspection head and logs inspection positions and measurement signals. Recorded measurement signals and volume data are evaluated AI-supported and fused with location coordinates for the live image. The registered fault indications are displayed on a control screen (notebook or tablet). Augmented reality (AR) also enables visualization with HoloLens glasses.
In the spirit of Industry 4.0, the results are finally transferred to DICONDE (Digital Imaging and Communication for Non-Destructive Evaluation) in the form of a digital component file. Such a supplement relieves the inspectors to a considerable extent. Time-consuming and error-prone preparatory work and manual documentation become redundant. Engineers can correctly record relevant data with intelligent assisting sensor systems and profitably use it in the digital product memory, in every product life phase. Through the DICONDE environment, the recorded data can be compared and analyzed with other NDT processes.
Areas of application for 3D-SmartInspect
The assistance system is suitable for all application areas of manual inspection, including civil engineering, aerospace (safety-relevant components), energy plants (turbines, generators, high-pressure vessels, etc.) and large-scale equipment manufacturing.
Advantages
- 100 percent inspection: the system ensures that the inspection area is completely scanned and all detected defects (e.g. corrosion, cracks, concrete cover) are localized.
- Reduction of inspection time: The inspector's work is accelerated by the interactive visualization of areas already inspected and areas still to be inspected. Multiple scanning of an area is avoided.
- Fast display of reconstructed data: The fusion of location data and measurement data makes it possible to calculate and display reconstructed data while still on site.
- Digital inspection memory: Automatic documentation of inspection results as proof of correct inspection performance in accordance with quality assurance requirements.
- DICONDE interface: Transmission and storage of the evaluated material data as a digital component file (central data storage).
- Combination with collaborative robotics and additional sensors based on further inspection principles.
