

The quality assurance of products is often based on data from optical 2D and 3D sensors. In order to inspect complex shaped workpieces (car body parts, pressed sheets, castings made of metal or plastic), the sensors are mounted in measuring machines or on robot arms, which move them to a set of measuring positions. The complete inspection of the workpieces and the teach-in of the measurement procedures can be very complex and time-consuming, so that a permanent automated control is not economical for specific workpieces. In addition, an overall inspection is often not even necessary, since defects on the workpiece only occur locally. The strengths of robot-guided sensor technology do not lie in detecting such potential defect locations in advance. However, humans can make very good decisions about the need for inspection because they immediately recognize whether and where something might be wrong with the workpiece. The efficiency of the measuring processes is thus considerably increased if the human decides directly whether a workpiece needs to be inspected at all and in which region of interest.
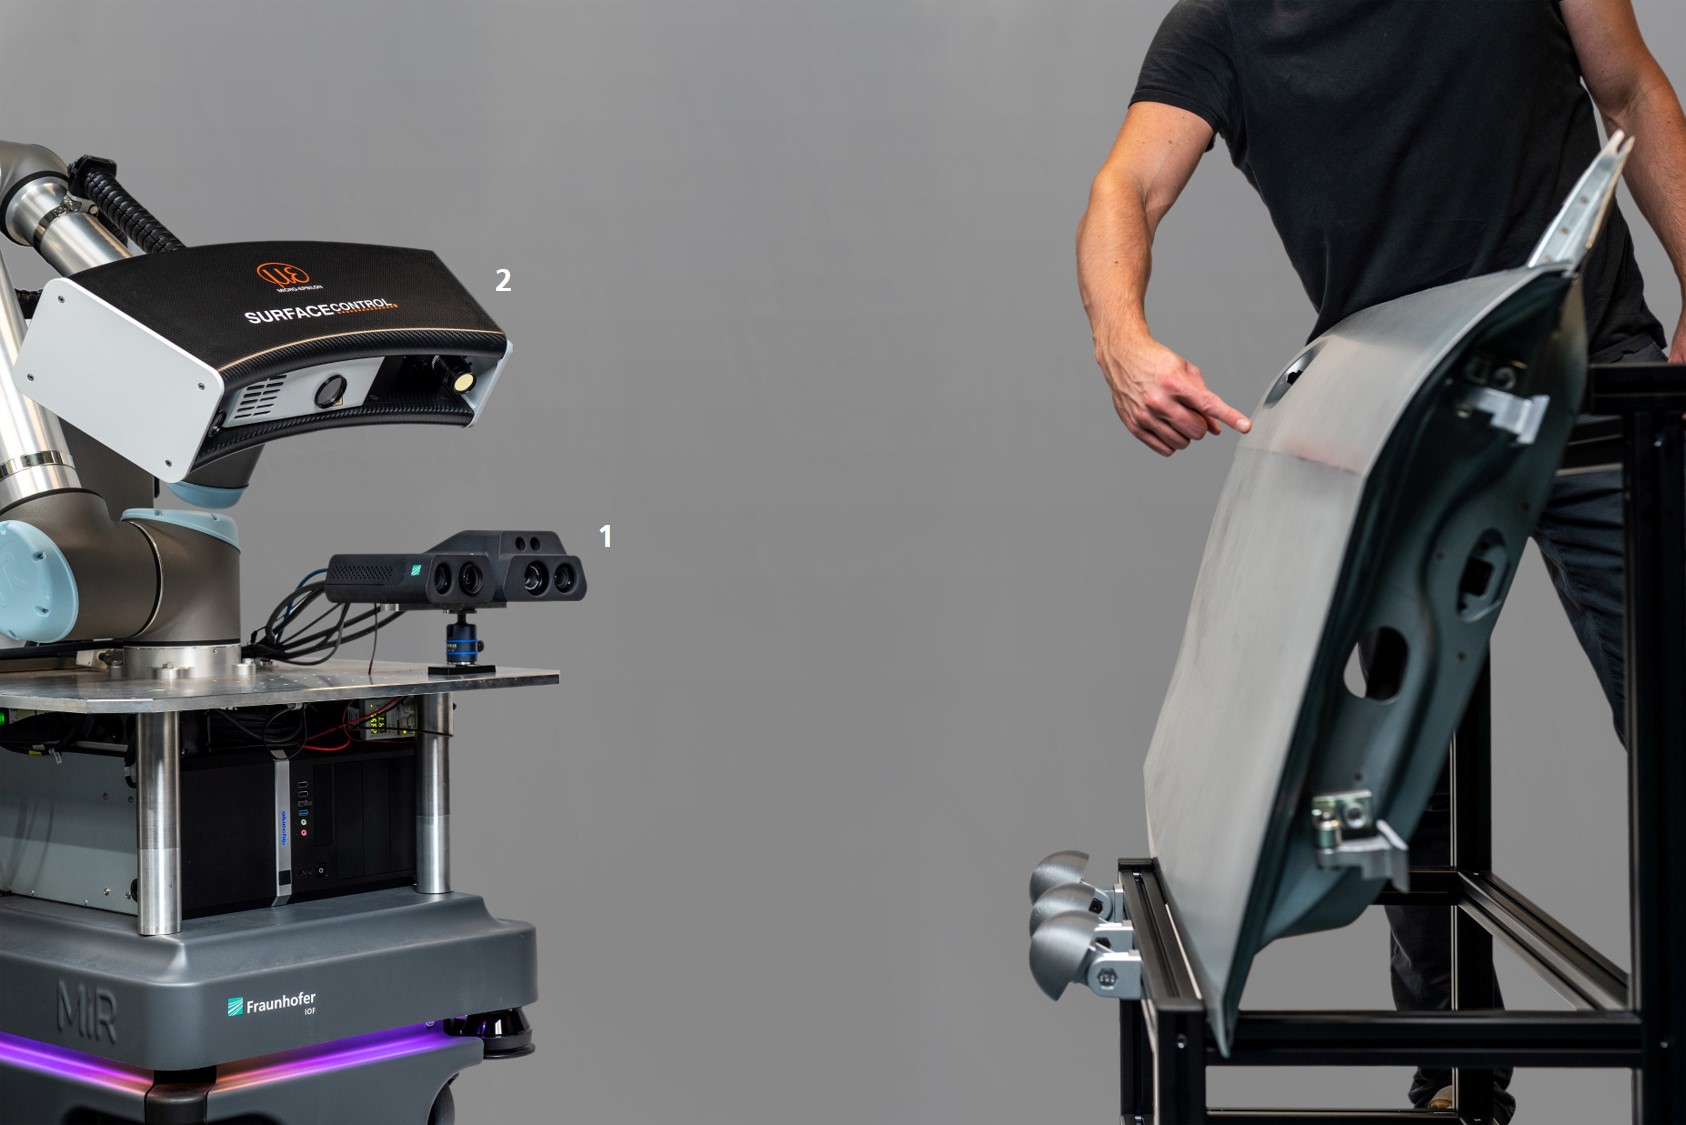
The Fraunhofer Institute for Applied Optics and Precision Engineering IOF in Jena has therefore developed a gesture-controlled, robot-guided 3D sensor system that combines the respective strengths of humans and robots through a novel human-robot interaction. The system consists of two optical 3D sensors, a 6‑axis robotic arm, and a control unit. One of the 3D sensors is the interaction sensor, which recognizes operator gestures and translates them into commands for the second sensor system, the inspection sensor on the robot arm.
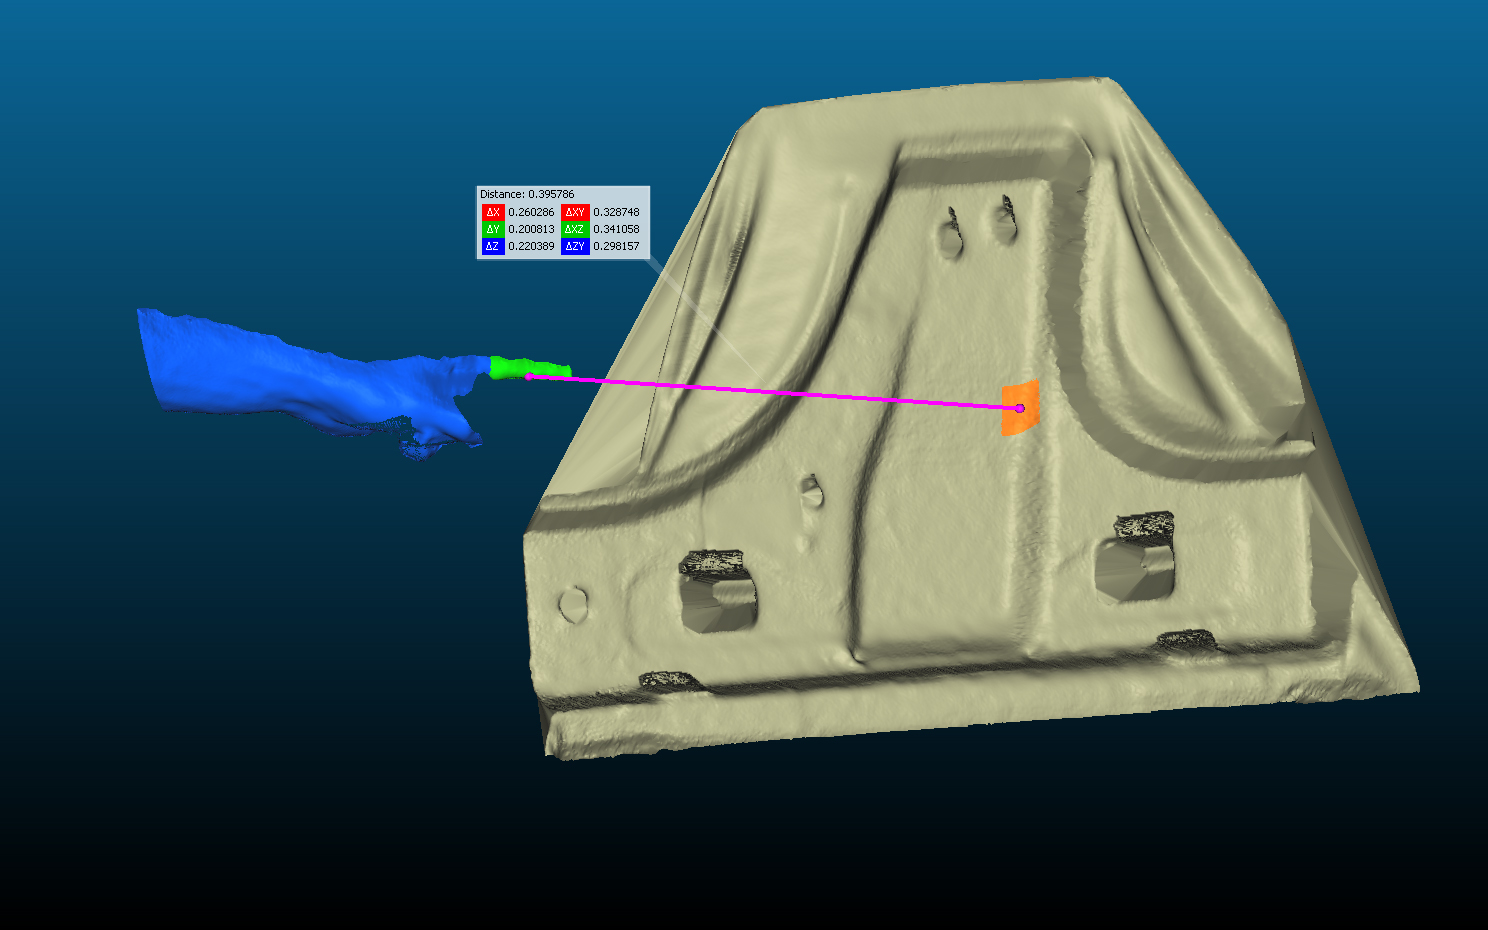
The interaction sensor is mounted on a platform next to the robot arm. It consists of a stereo camera system and a pattern projector that operates at 850 nm in an irritation-free (non-visible) wavelength range. The sensor captures a field of view of 800 x 800 x 500 mm³ with a 3D frame rate of 30 Hz. The space in front of the robot is thus continuously captured. This includes the position and rough shape of the workpiece as well as the operator or the operator’s arm. If the operator identifies a possible defect on the workpiece, a pointing gesture is used to command an inspection of it. The interaction sensor calculates the exact region of interest in real time from the pointing direction and the rough shape of the workpiece.
The robot arm automatically moves the inspection sensor into a suitable position to capture the defect location. The interaction sensor, robot arm and inspection sensor are calibrated to each other for this purpose. In the system presented here, the inspection sensor is also a stereo camera system with a pattern projector. It has a smaller field of view and measures the shape and possible defects in the region of interest with high accuracy and resolution. In principle, other types of sensors can also be used as inspection sensors, depending on the inspection task.
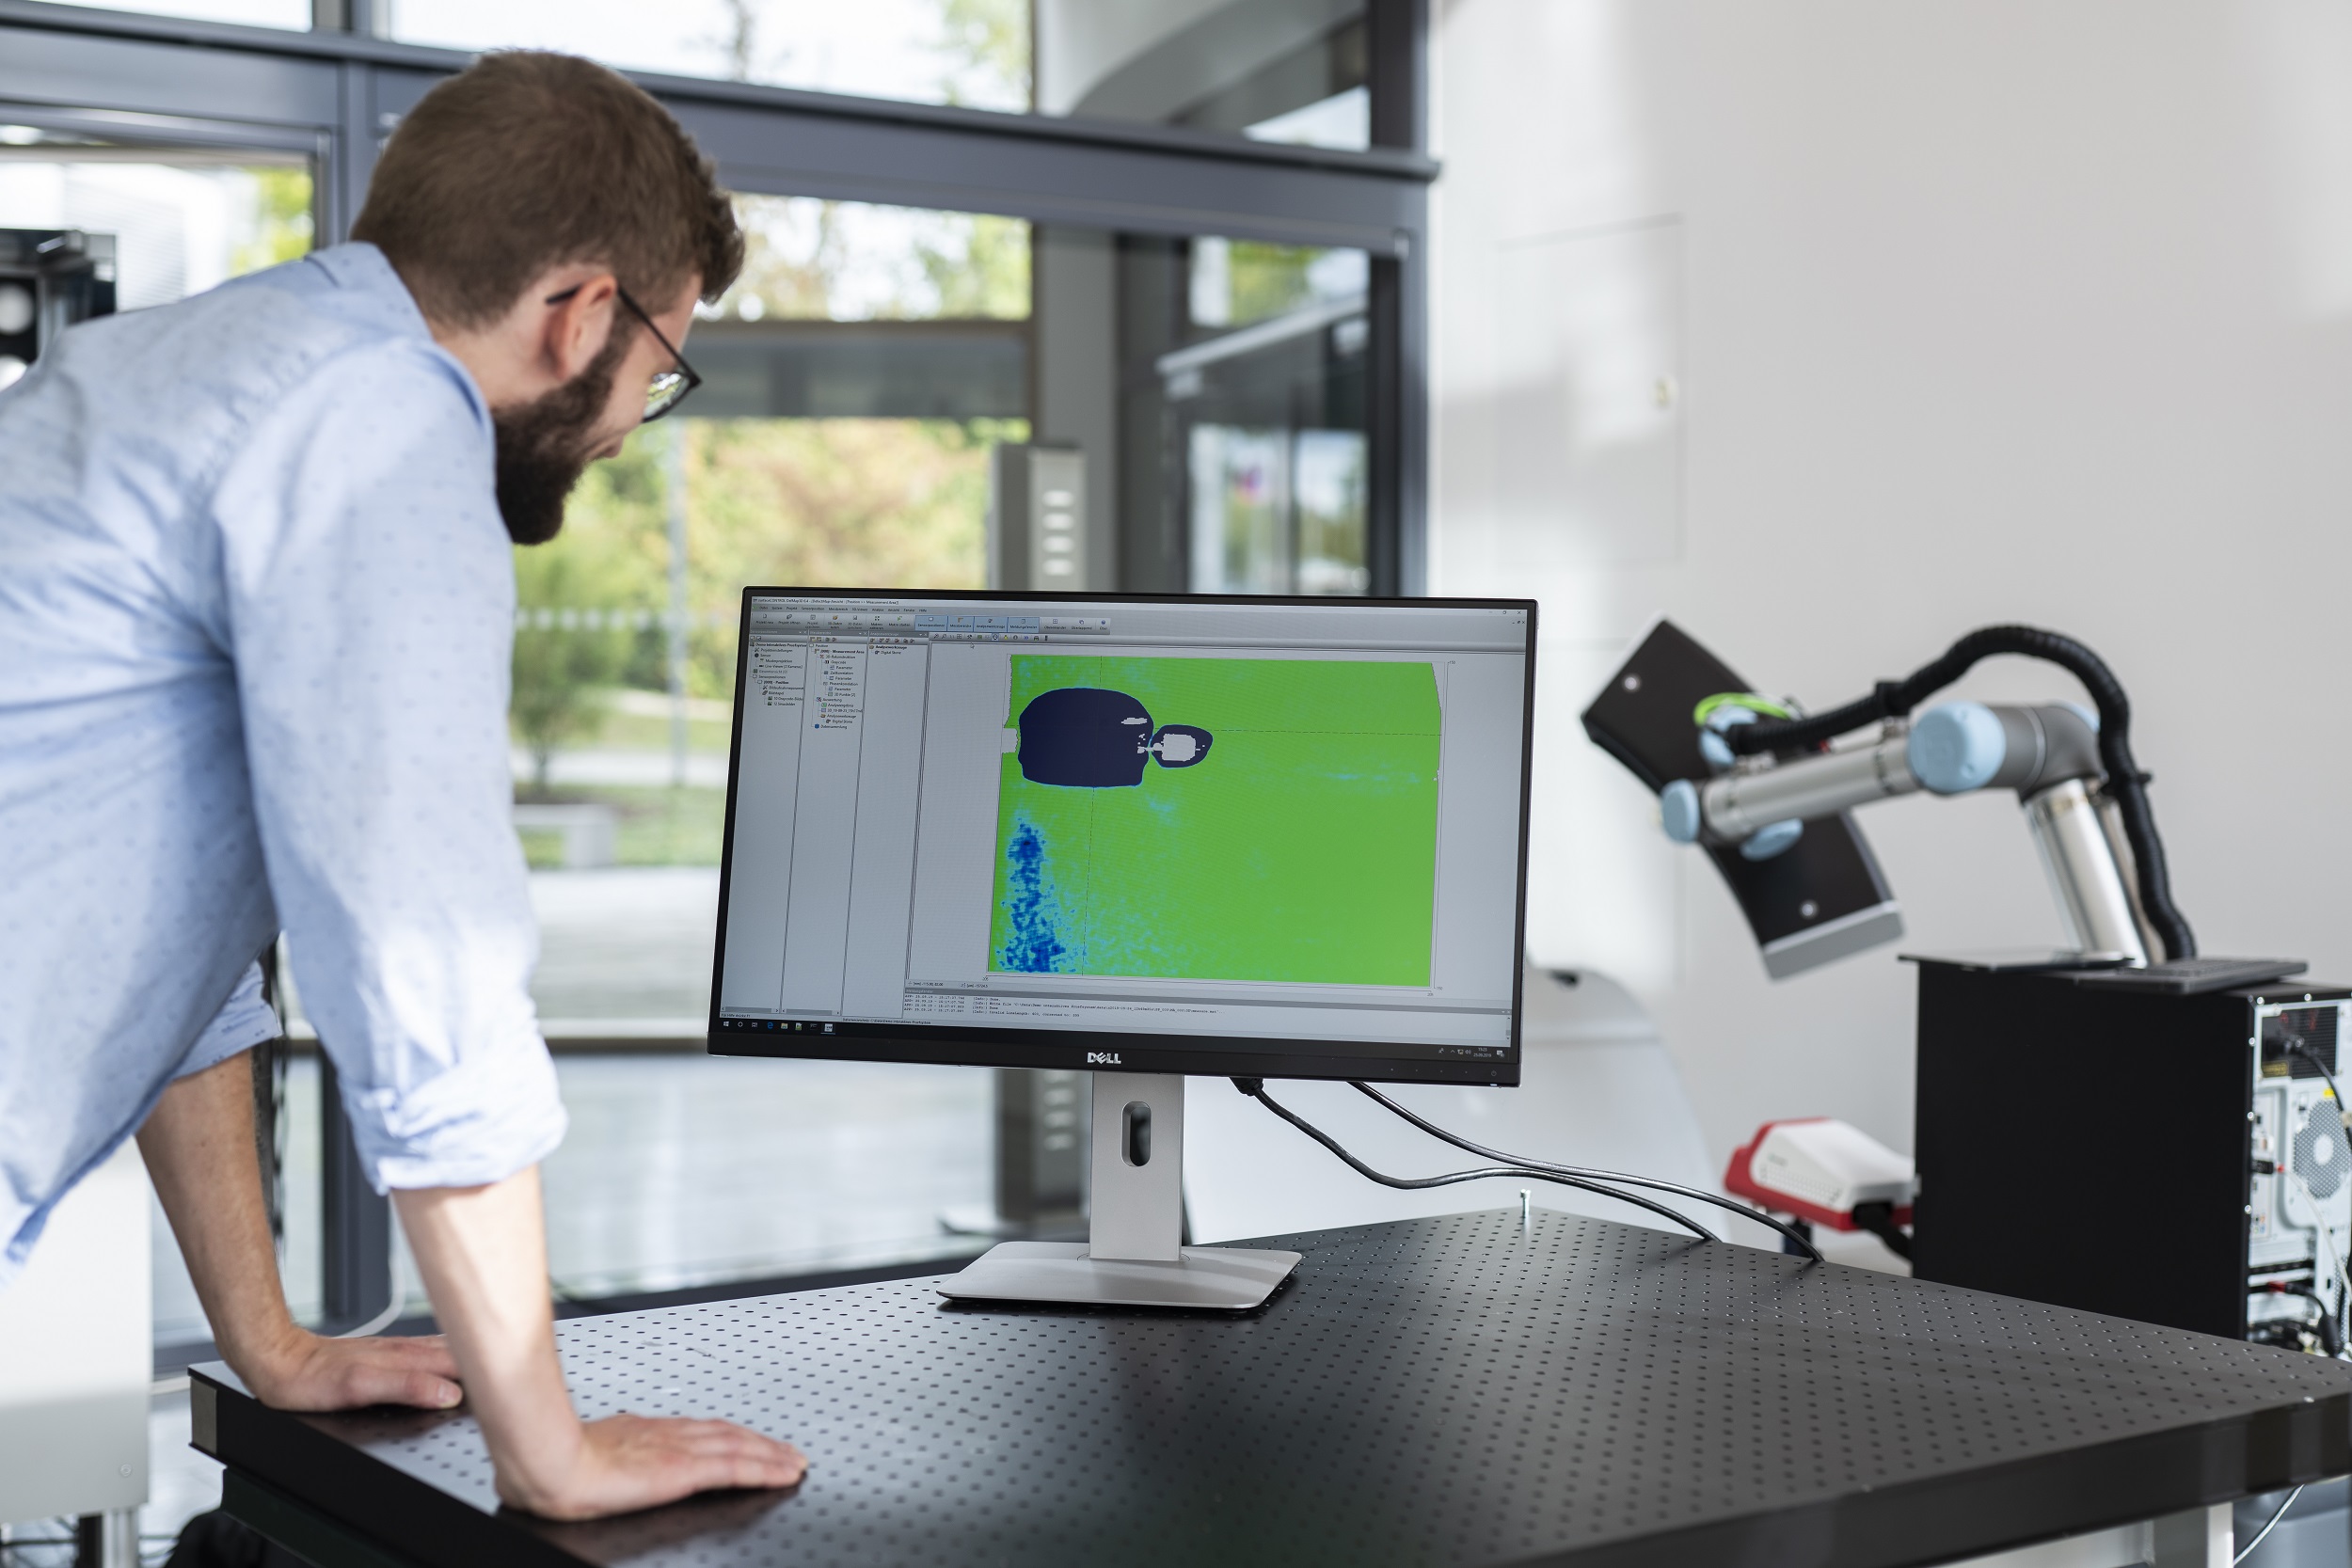
The collaborative robot system allows close cooperation between human and robot. The control unit is responsible for the cooperation of all components, as well as to process and output the 3D measurement results to the operator. A pass/fail evaluation of the region of interest is possible directly after the measurement of the inspection sensor.
»3D-Kosyma« is a joint project within »3Dsensation« - one of ten consortia from the funding program »Zwanzig20 - Partnership for Innovation« of the Federal Ministry of Education and Research. In addition to the Fraunhofer IOF, the Fraunhofer Institute for Factory Operation and Automation IFF in Magdeburg, INB Vision AG Magdeburg as coordinator, the software developers 3plusplus GmbH from Suhl and the Berlin innovation consultants Gitta GmbH are involved in the project.