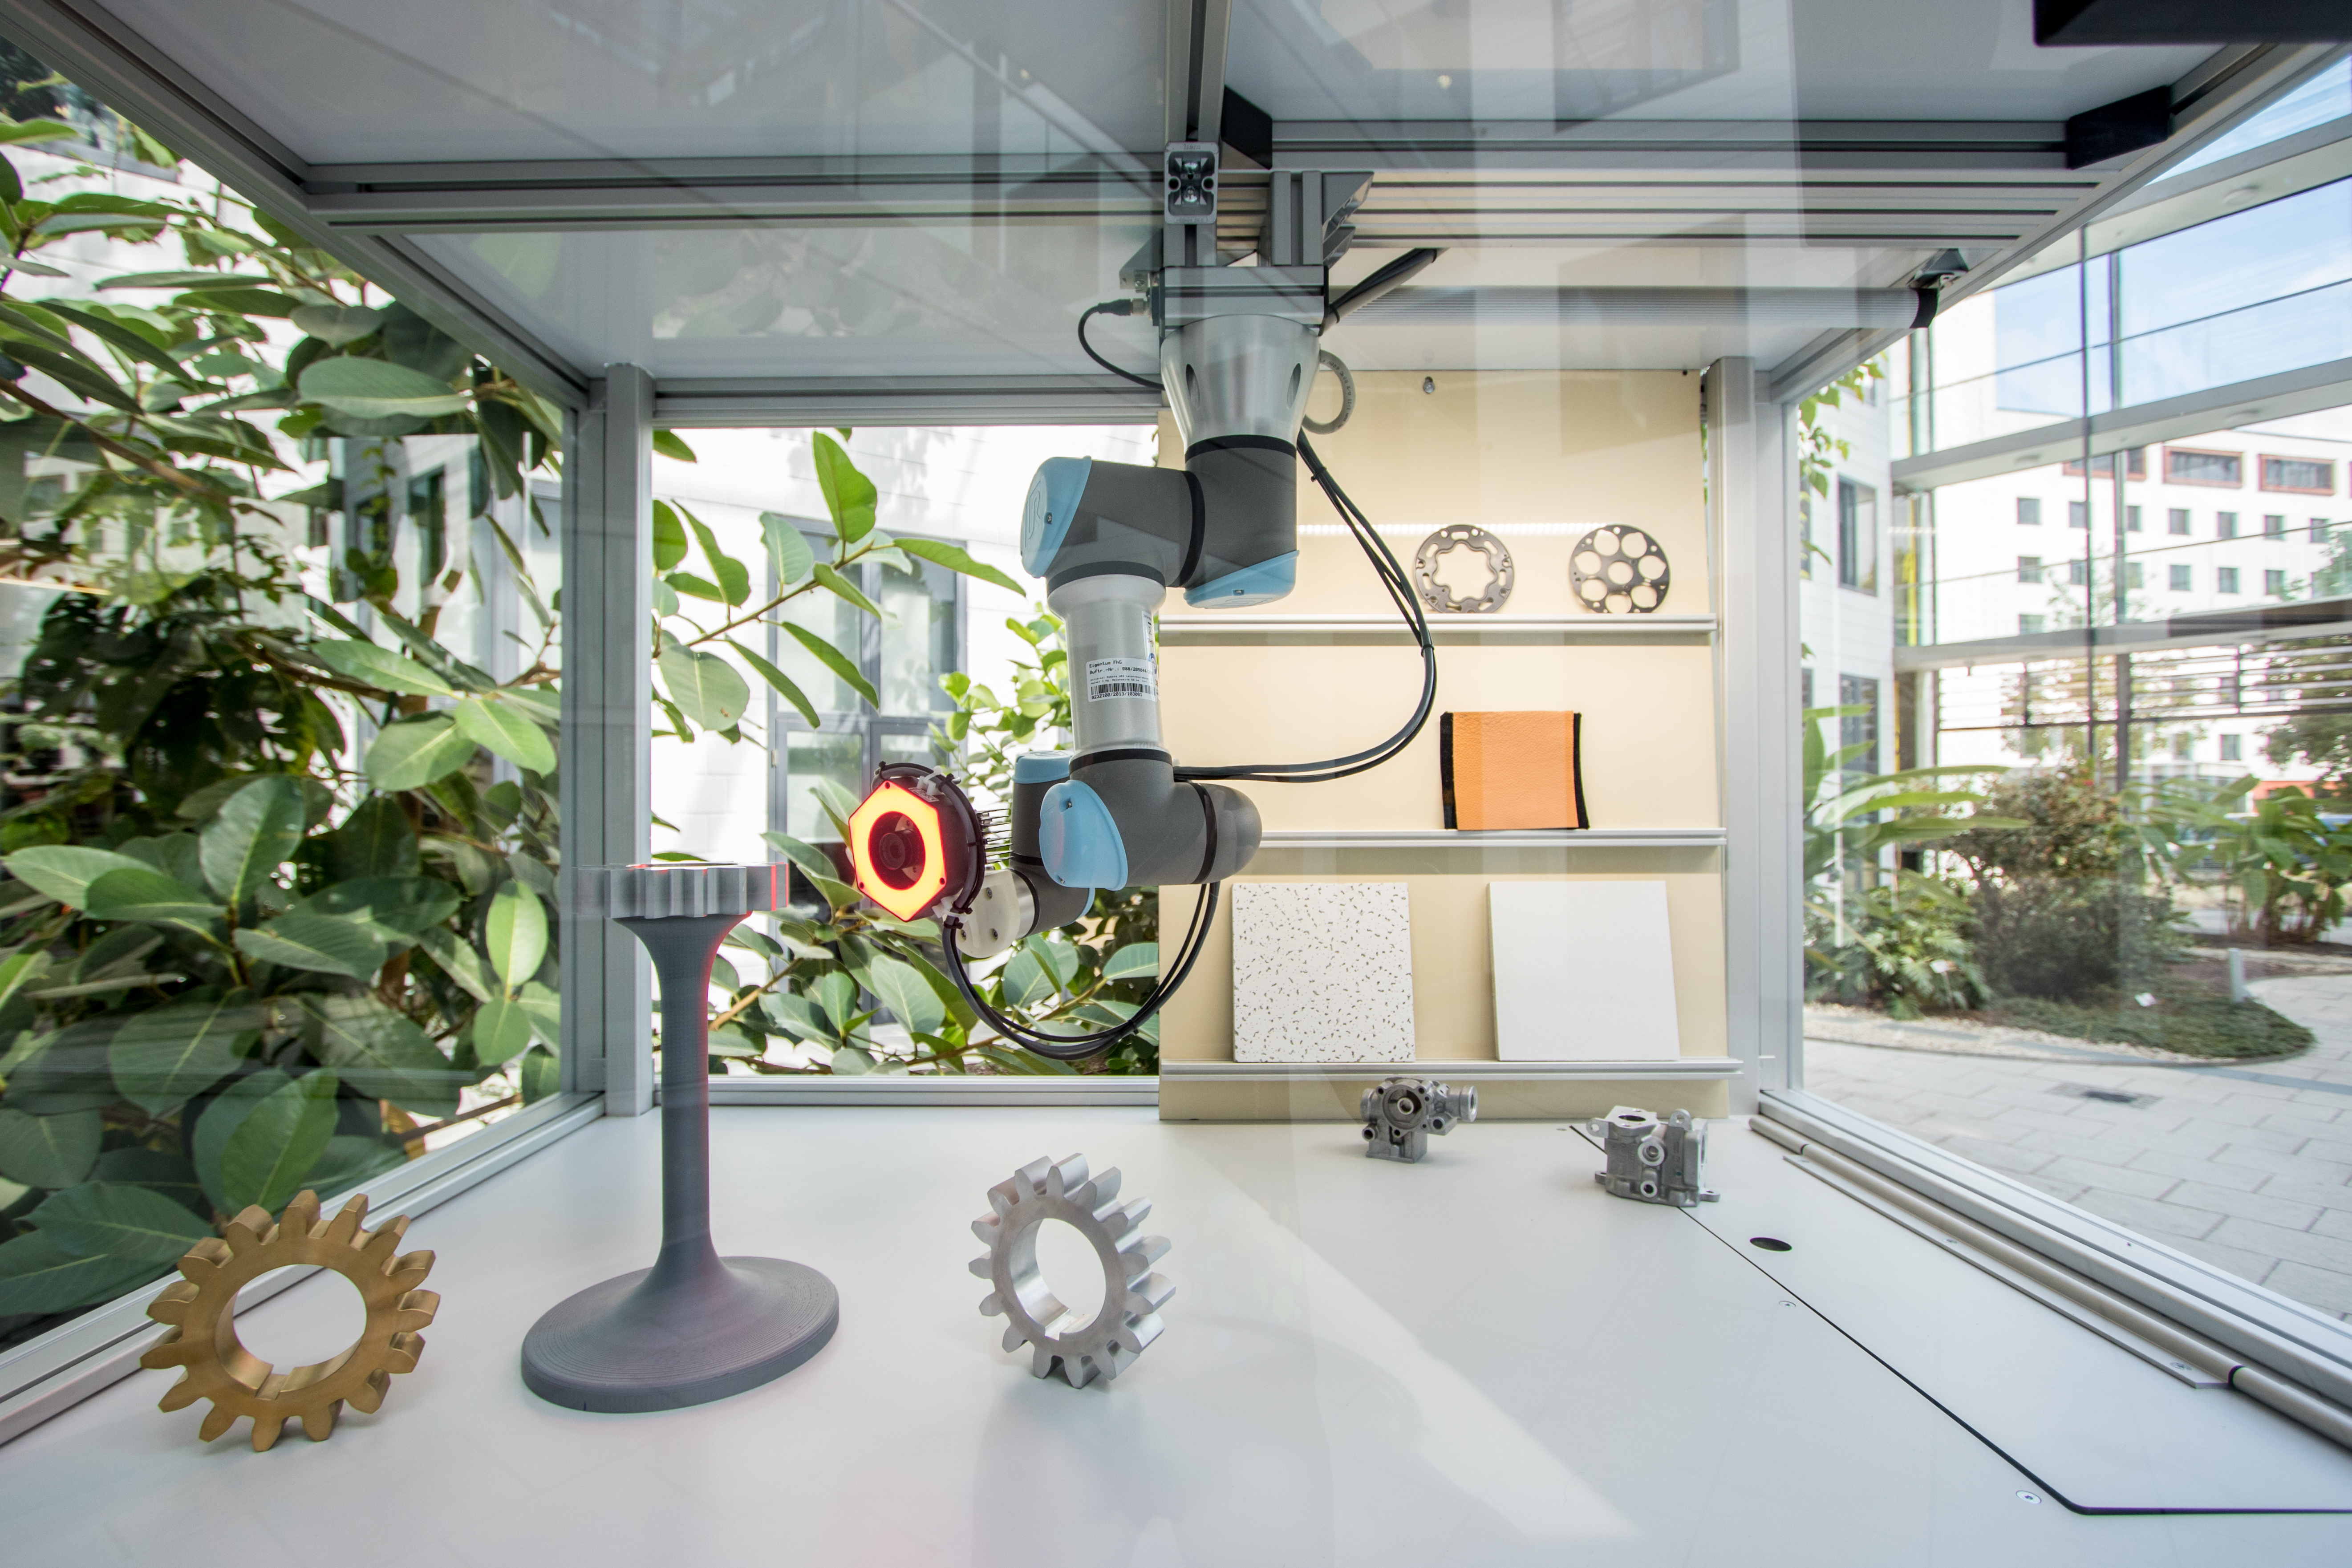
Fraunhofer ITWM presents a robot-based surface inspection system for the complete inspection of industrial components. The inspection is conducted based on an automatically generated inspection plan with focus on the objective and complete acquisition and evaluation of the surface. The automatic inspection planning allows to ensure coverage of all the required region of the object, regardless of its complexity.
The presented inspection system has several interfaces for image acquisition, examines the component, tracks the inspection progress, and visualizes the progress to the user on a 3D model. The visualization is successively modified according to the viewpoint of the robot, so that the regions of the component that have already been inspected are visibly marked as well as any defected regions of the object.
During the manufacturing of industrial products, surface defects can occur on individual parts for various reasons such as tool wear, but also due to material defects or similar. Such defective components must not leave production for safety reasons or simply because of aesthetic considerations. A 100 percent inspection is therefore essential. Automated surface inspection systems are a reliable and objective method of ensuring quality in the manufacturing process.
Robotic surface inspection and path planning
Often, the free-form surfaces of inspection parts are so complex that it is not easy to guide the camera and illumination in such a way that the entire surface can actually be inspected in a stable manner. For such cases, the Fraunhofer ITWM has developed a system which, based on prior knowledge from CAD data, can automatically scan a component completely. With the help of a robot, acquisition components (an area-scan camera and a diffuse illumination unit) are guided around the object. The scanned component regions are marked (iO/niO), so that a complete surface scan can be guaranteed after a certain number of image acquisitions, regardless of the component complexity. The measuring range and length of the minimum required scan duration can thus be adapted as desired to the requirements of the inspection task.
Use of CAD data for surface inspection
CAD data of components with complex geometry contains valuable information about the orientation and curvature of the component surface. This information, in combination with ray tracing, enables efficient calculation of the component representation from the camera's perspective. Thus, it is possible to determine the visibility of the component regions for a particular camera placement (viewpoint). The inspection duration and time to achieve a complete surface inspection varies on the complexity of the component geometry (holes, cavities).
