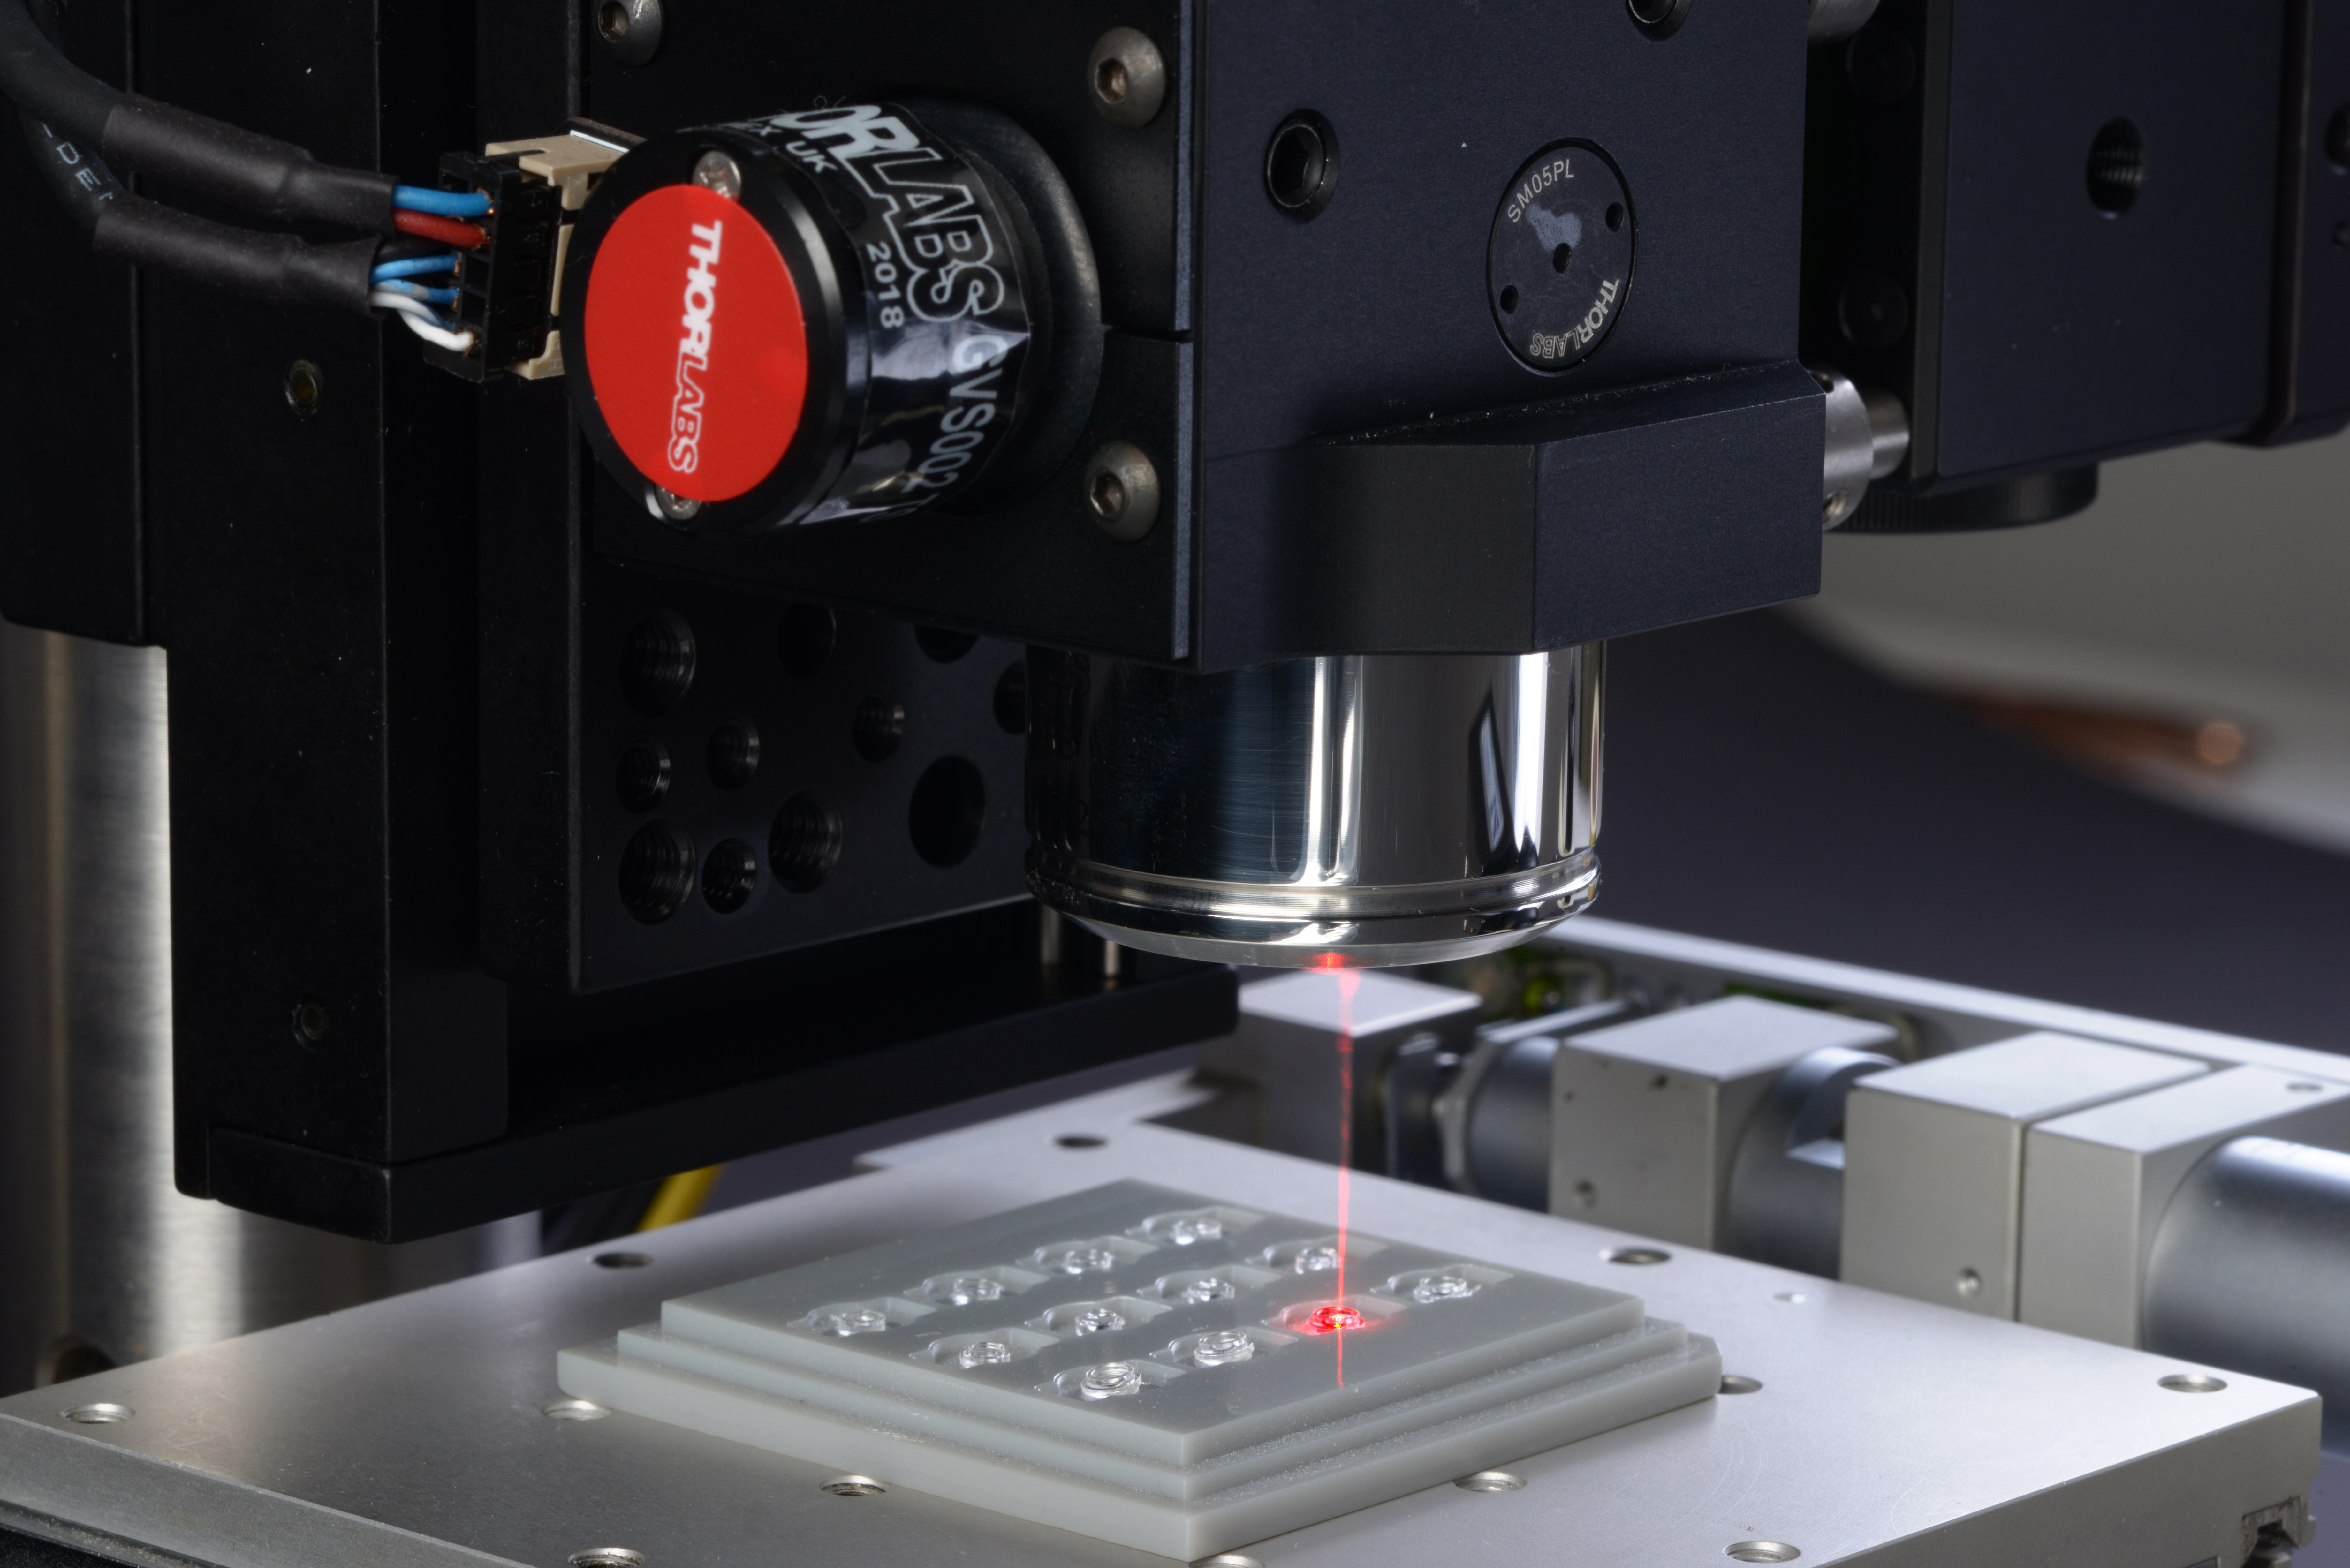

The Fraunhofer Institute for Production Technology IPT in Aachen, Germany, deals with all issues related to production-related measurement technology and quality assurance measures. Together with partners from industry and research, measurement measuring systems are developed, measurement technology is integrated into processes and the processed data is analyzed on an AI-basised automated evaluation of the processed data. In addition to solutions for laboratory automation, the research into of wavefront-based systems for optics alignment and the development of high-speed microscopy imaging, one of the main topics is optical coherence tomography (OCT).
OCT is a non-destructive optical measurement technique based on the principle of short Low-coherencet interferometry, which allows cross-sectional images of (semi-)transparent workpieces and samples. Since the beginning of its development, the main field of application of OCT has been biomedical diagnostics, e.g. for non-invasive imaging of the ocular fundus within ophthalmology. Spurred on by the constant research interest in biomedicine, OCT has already been successfully tested in a variety of industrial applications. These include, among others, the inspection of microcomponents or microstructured surfaces, the characterization of weld seams within a laser welding process or the shape inspection of micro-optics.
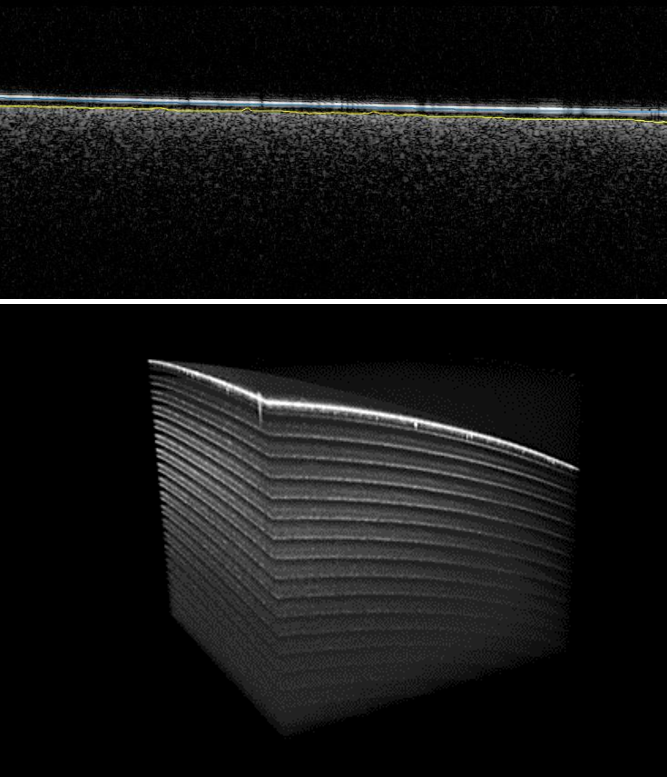
A large number of applications require thickness measurement of layers below the resolution limit of conventional OCT systems. These include, for example, the painting lacquering of workpieces or the application of functional coatings. In these cases, the thickness of the coating or the amount applied often influences not only the optical functionality of the coating, but also its mechanical protective functions. The determination of very thin coatings requires the integration of UHR-OCT into the production process. For this purpose, the Fraunhofer IPT has developed an UHR-OCT system that ensures an axial resolution of ~ 1 µm and allows a penetration depth of up to 1 mm into the component. Since the axial resolution of OCT is centrally determined by the spectral bandwidth of the light source and is inversely proportional to the wavelength used, broadband superluminescent diodes that can cover a spectrum of about 300 nm are used for the development of high-resolution OCT systems. Thus, UHR-OCT can be used for non-destructive and non-contact differentiation of layer thicknesses smaller than 3 µm.
Another advantage of OCT as a non-destructive testing method is that it can be integrated into production systems. Inline process control avoids downstream quality inspection steps and allows adaptive control of process parameters. In the case of coating thickness measurement, an integrated measurement in the application process allows above all an improved ecological efficiency of the application material. In the future, such inline testing methods will be indispensable for efficient and resource-saving process design.