Wireless Hollow Object Inside Testing System (Hollow Object Inside Testing System HOBITS)

Inspection of extended hollow bodies

The complete inspection of the inside of spatially long hollow bodies such as extruded pipes is a technical challenge due to the difficult accessibility. Currently established approaches either work from the outside of the test specimen or with the aid of test lances or pigging systems that can reach the inside.

Testing from the outside is limited to test methods, which are able to penetrate the material of the test specimen sufficiently to provide volume information. The latter two methods are limited in their applicability by restrictions such as cable and lance length, battery life, and also by the generally higher equipment time, and handling requirements.

For example, optical inspection of the inside of an extruded pipe directly downstream of the extruder is not possible with established methods because the material may not be sufficiently penetrated by light. In addition, directly at the extruder, the pipe is not yet available in the form of segments, so lance or pig inspection is impossible.
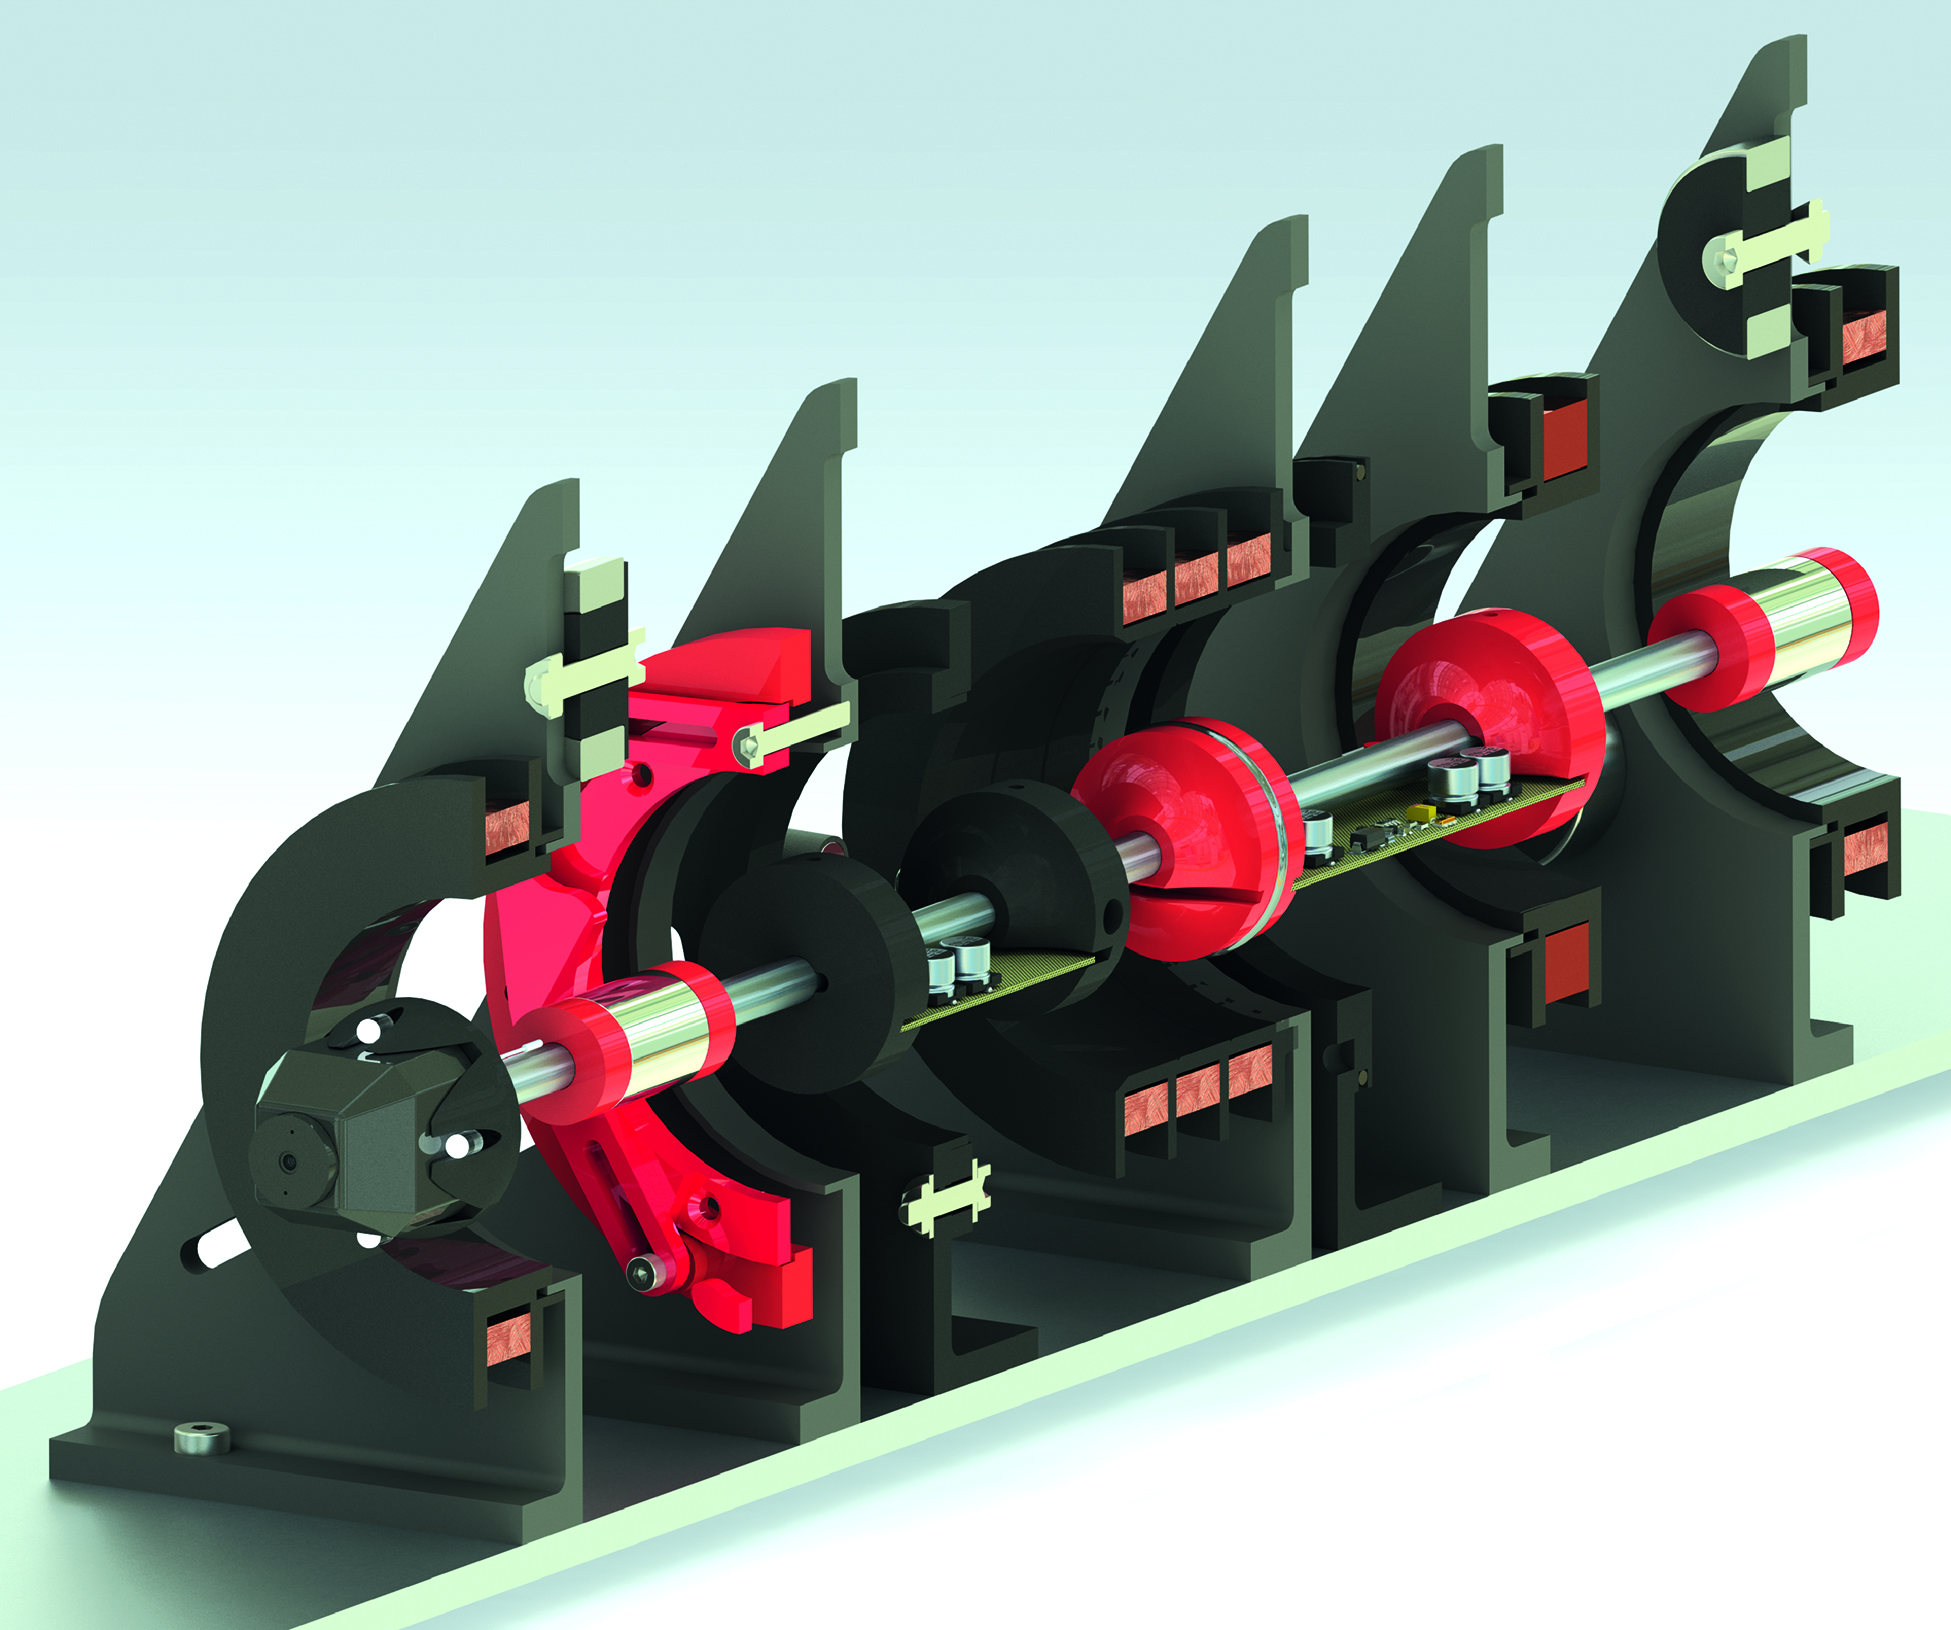
Hobits Prüfsystem
© Fraunhofer IZFP
HOBITS Wireless Hollow Test System

Continuous internal inspection of non-magnetic and non-conductive hollow bodies

By means of HOBITS, a novel free-floating sensor carrier developed at the Fraunhofer Institute for Non-Destructive Testing IZFP, Saarbrücken, Germany, continuous internal inspection of non-magnetic and non-conductive hollow bodies is made possible for the first time. The system uses a magnetic bearing for autonomous, levitated positioning in the test specimen and operates continuously with a cable-free and contact-free supply.

Equipped with an LED light source and a camera, the sensor carrier can continuously provide images from inside the test specimen. The extruded product, e.g. a tube or hose, is transported over the sensor without having to be removed from the production process. Seamless quality assurance without interrupting the production process is thus guaranteed.

Even in the case of already segmented tubes, the new technology offers considerable advantages in the production process, since the test specimen does not have to be removed from the production process by means of lances or endoscopes, as in conventional inspection, but can simply be inspected »as it passes by«. In addition to the currently implemented optical inspection, other inspection methods such as thermography or ultrasound can be adapted.

Contact Press / Media

M.Sc. Philipp Stopp

Fraunhofer Institute for Nondestructive Testing IZFP
Campus E3 1
66123 Saarbrücken, Germany

Phone +49 681 9302-3953

Contact Press / Media

M.Sc. Hendrik Theado

Fraunhofer Institute for Nondestructive Testing IZFP
Campus E3 1
66123 Saarbrücken, Germany

Phone +49 681 9302-3859