16th Special Show Non-Contact Measurement Technology

Marketplace for innovations

The Special Show on »Non-contact Measuring Technology« takes place at the Control 2022 for the 16th time presenting the latest developments and pioneering technologies in the field of contactless measuring and test technology.  

The Special Show »Non-contact Measuring Technology« at the Control fair has not only been an established industry meeting place for more than fifteen years but also a communication platform for exchange about developments and innovations in the field of non-contact optical measuring and testing technology.

Thereby it contributes to increase the level of awareness as well as the acceptance of these technologies and to augment transparency in the offers. The visitors of the trade fair will be able to learn more about concrete applications of the performance of contactless measuring and testing technology. A wide range of innovative, non-contact technologies will be exhibited, such as light section, fringe projection, confocal measurement techniques, time of flight, etc. In addition to that, measurement and testing technologies for the interior of material such as thermography, computer tomography or ultrasound will be presented. Another focus will be on components like cameras and lenses, or x-ray tubes.
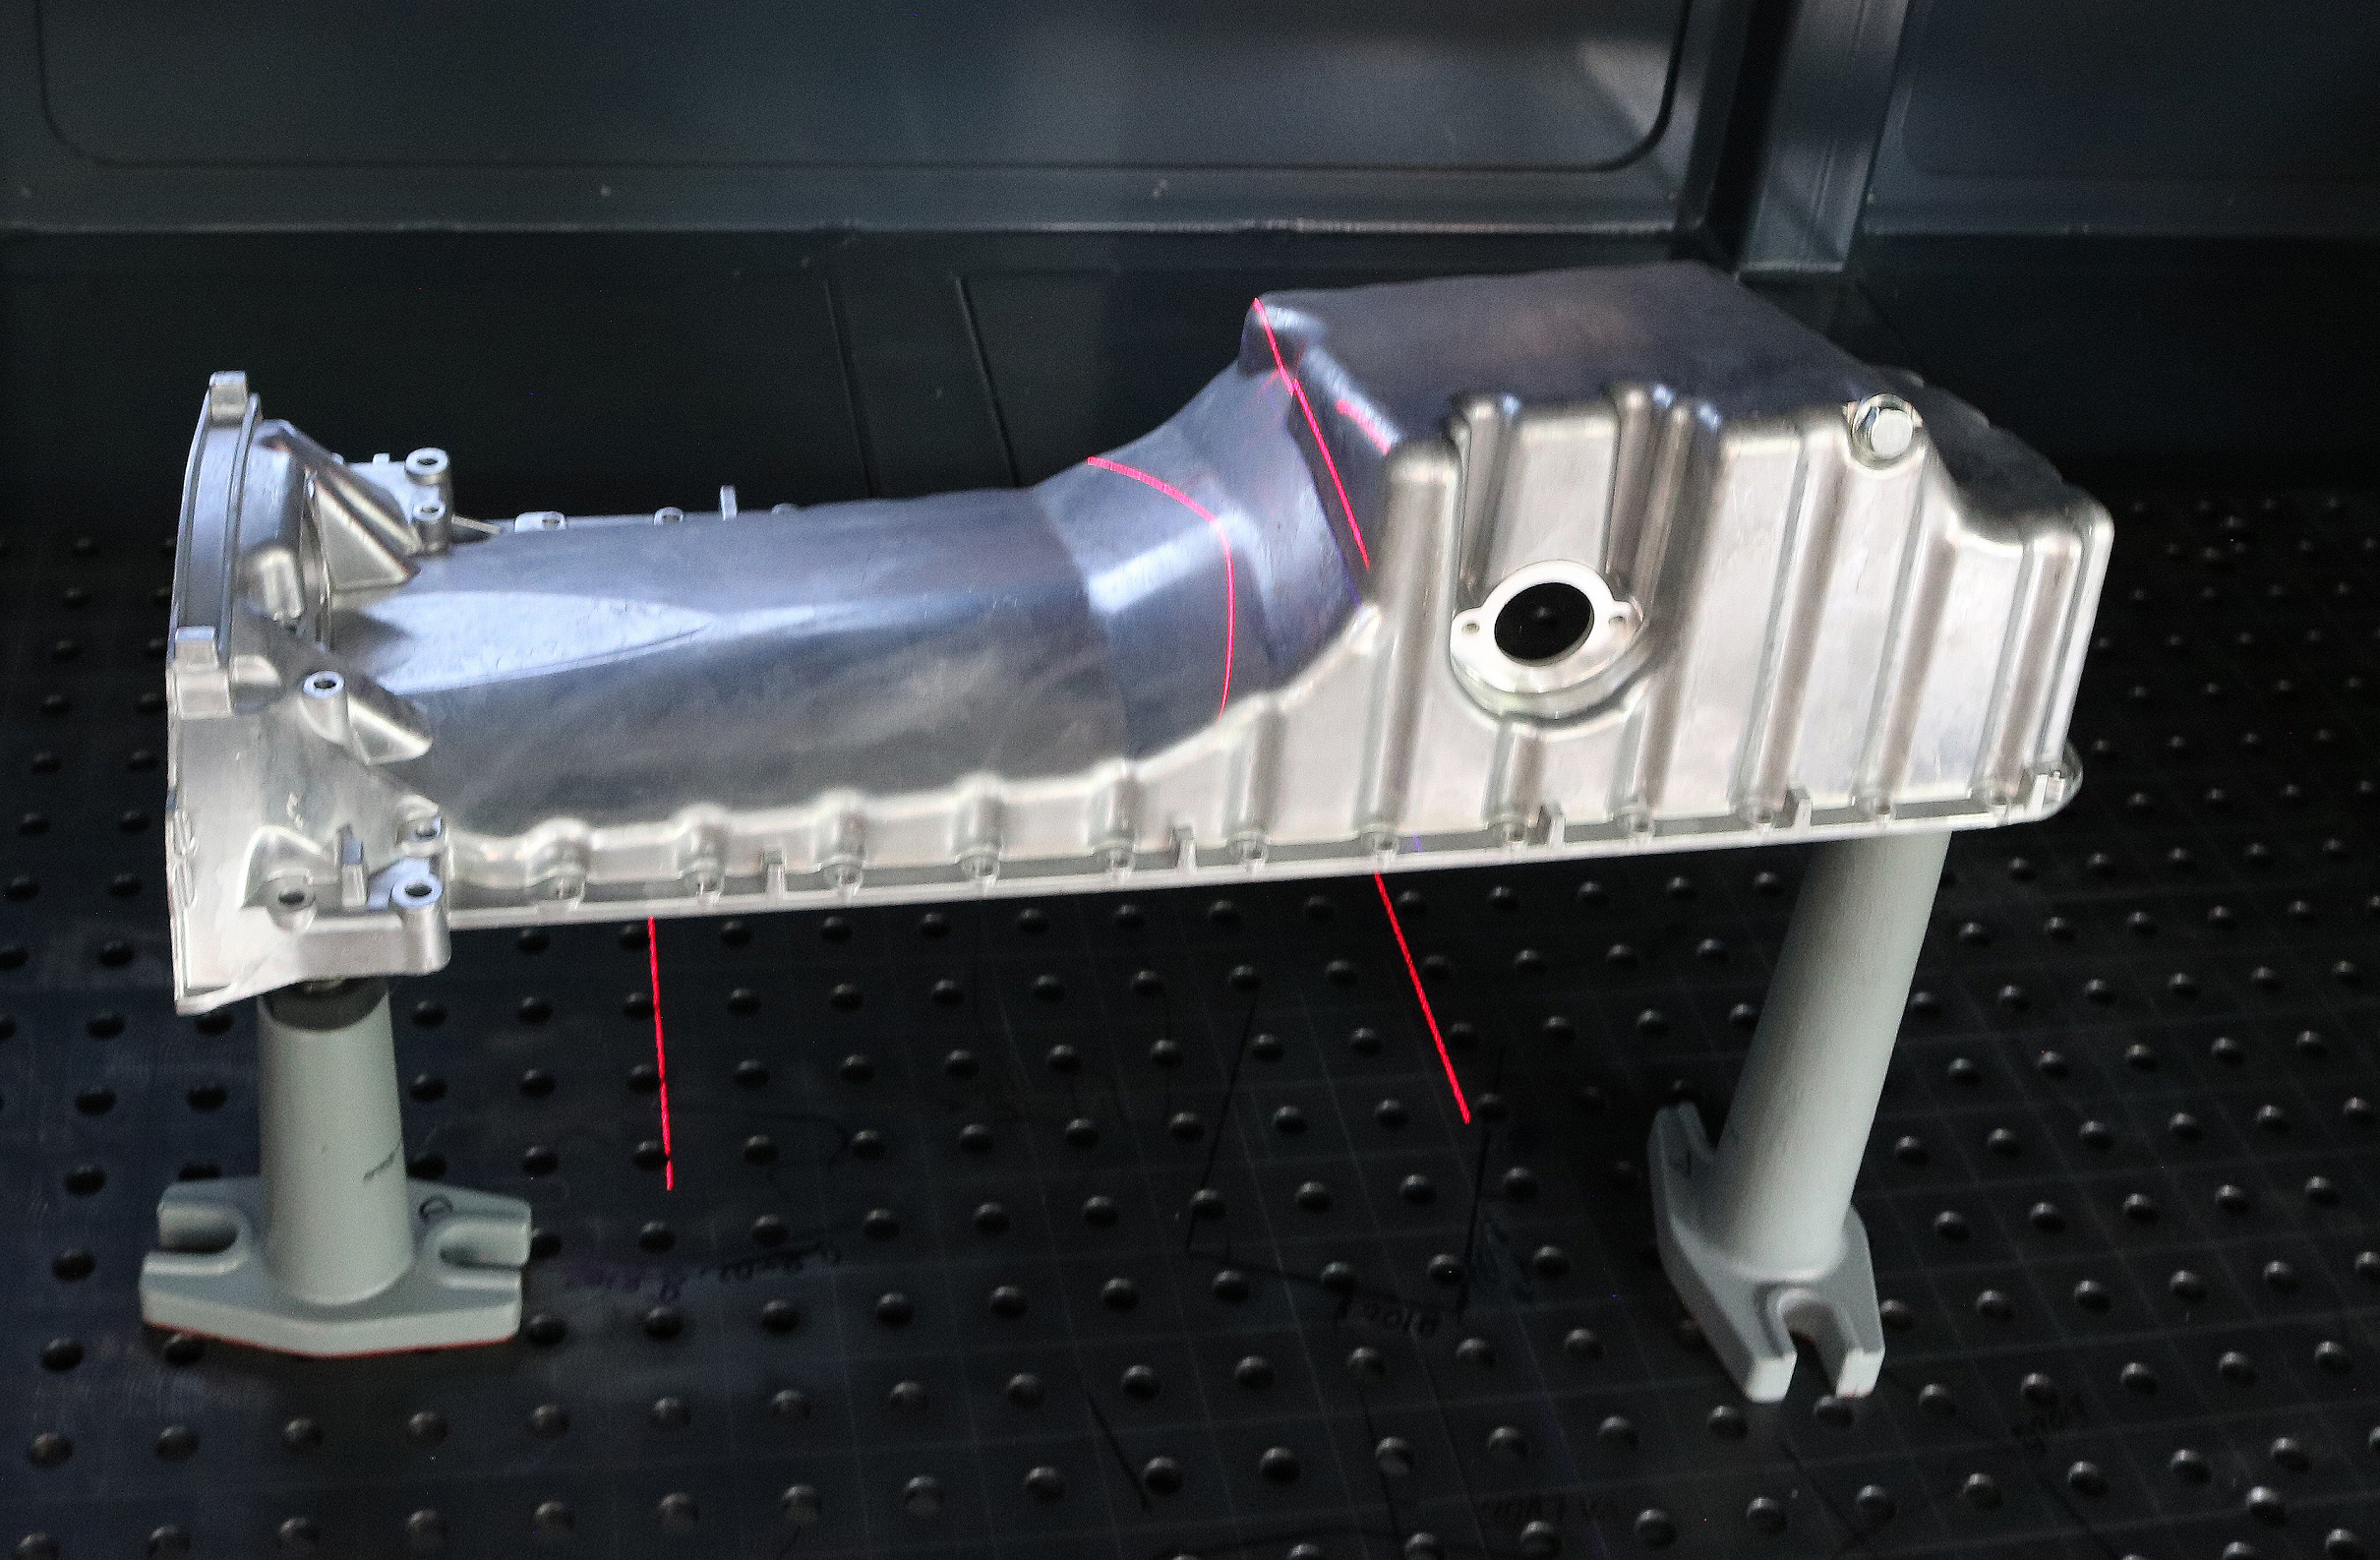
Exhibit overview

Complete and fast 3D measurement of large objects

With »ZScan«, senswork GmbH from Burghausen presents a 3D multi-sensor scanner that offers high-resolution scans of large parts. Within seconds, »ZScan« compares the result to a CAD model and determines the manufacturing quality of a product. The modular concept allows direct integration into a wide variety of manufacturing processes. It is ideal for the automotive and emobility industry, as well as for wood or food processing machines. Application examples include measurement of aluminum die castings, stamped and bent part, busbars of electric car batteries, as well as the shadow-free volume determination of cut goods.

Exhibitor: senswork GmbH, Burghausen (Germany)

Measurement on an aluminum die casting
© senswork GmbH
With a fast and high-resolution scan and CAD matching, the 3D multi-sensor scanner determines the manufacturing quality of large components within seconds.

System for fast thermographic analysis of objects with large temperature differences

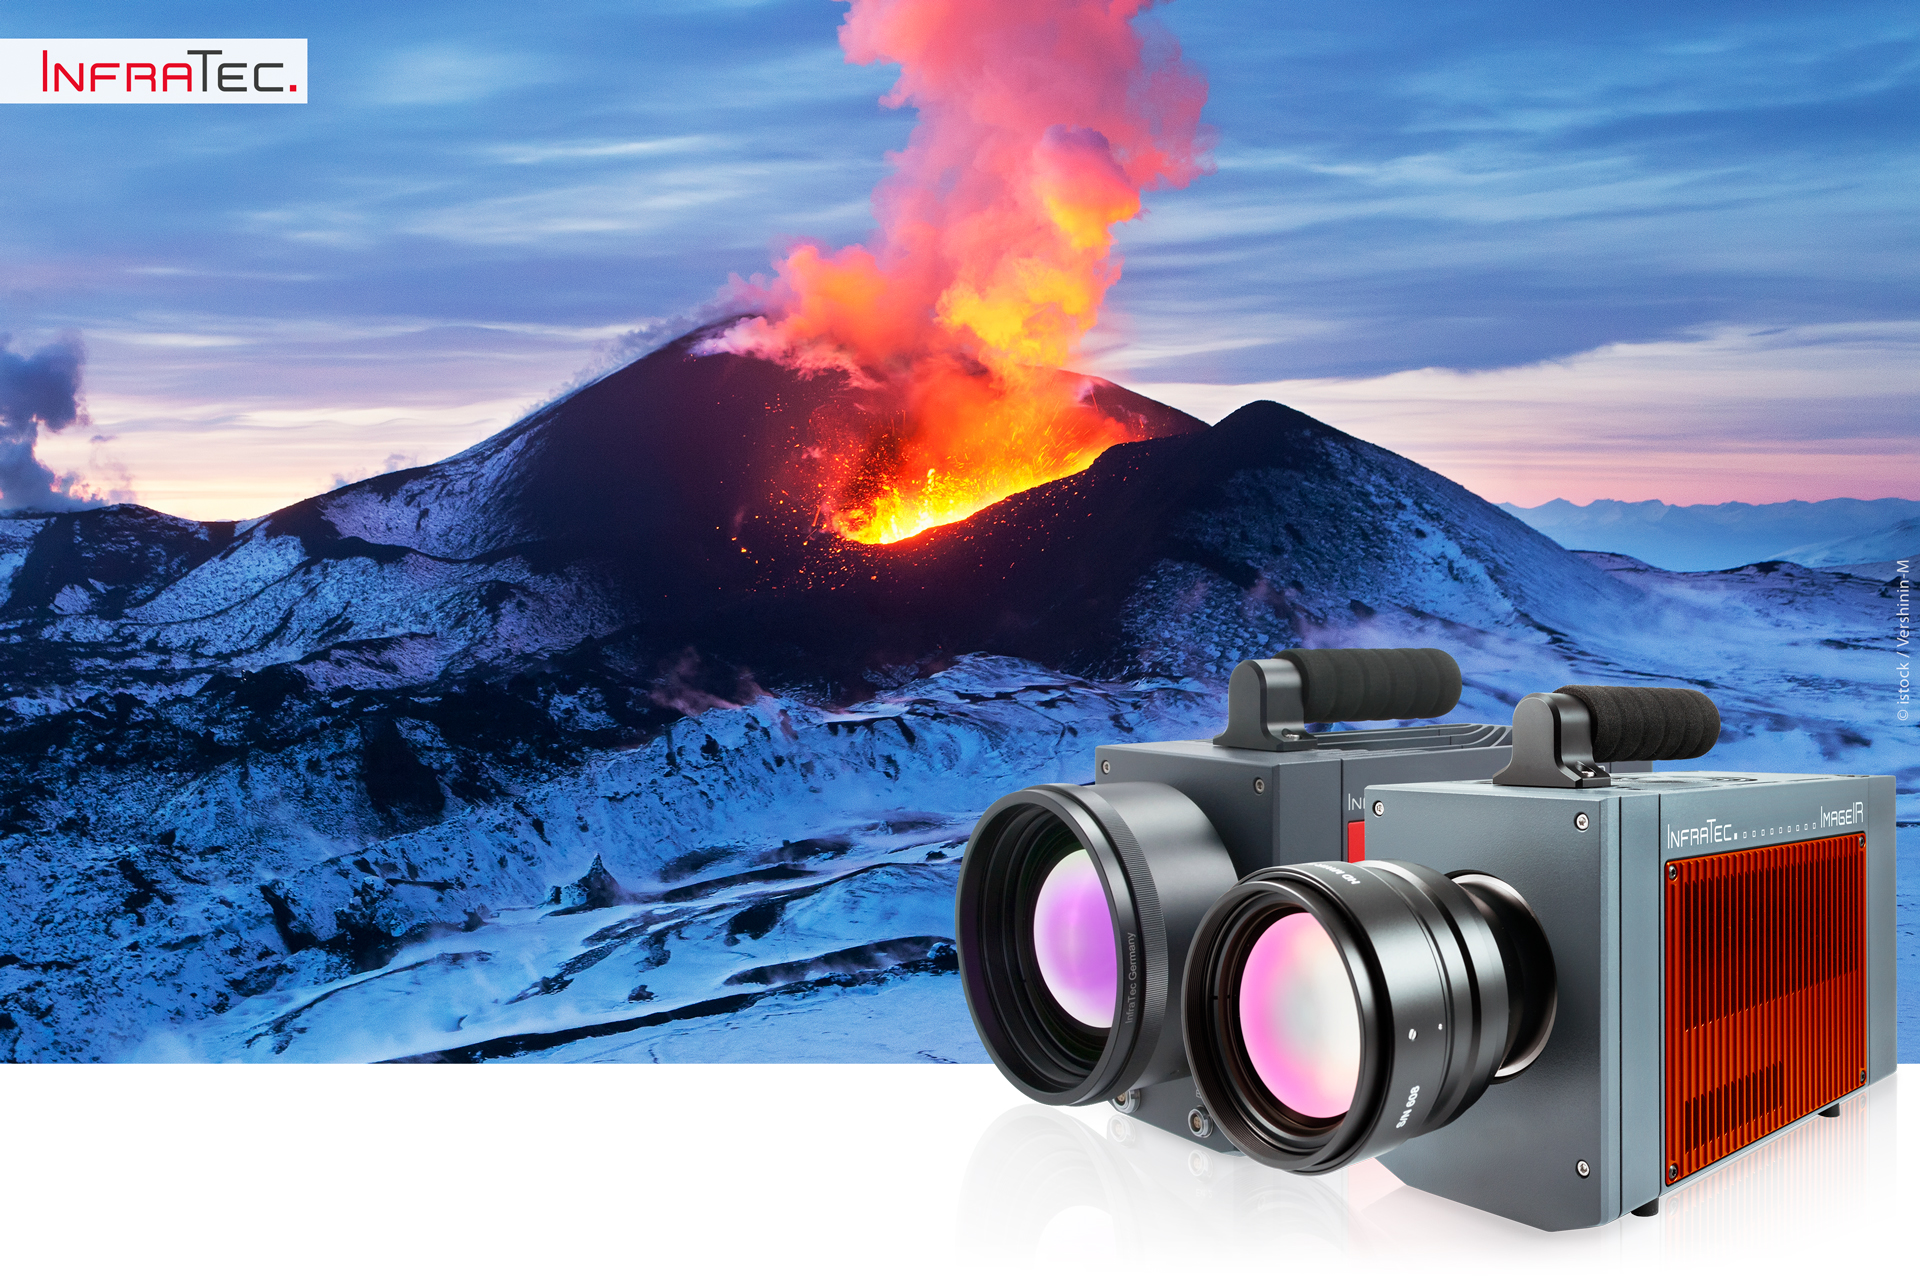
The thermal imaging camera series ImageIR® 8300 hp from InfraTec GmbH in Dresden facilitates the analysis of objects with extreme temperature gradients. The new »High Dynamic Range« (HDR) function with a fast rotating filter wheel enables the uninterrupted recording of measurement scenarios with a temperature range of up to 1500 K. This allows full-frame recordings with (640 × 512) IR pixels at a temporal resolution of 350 Hz. Areas of application include thermal stress analysis of metals or laser high-temperature capillary gap soldering.

Exhibitor: InfraTec GmbH, Dresden (Germany)

Fast thermographic analyses even with large temperature differences.
© istock / Vershinin-M
The thermography camera with cooled detector works with a filter wheel that replaces manual filter changes and enables fast thermography analyses even with large temperature differences.

Software library for fast, automated and inline-capable evaluation of point clouds - OptoInspect3D Inline

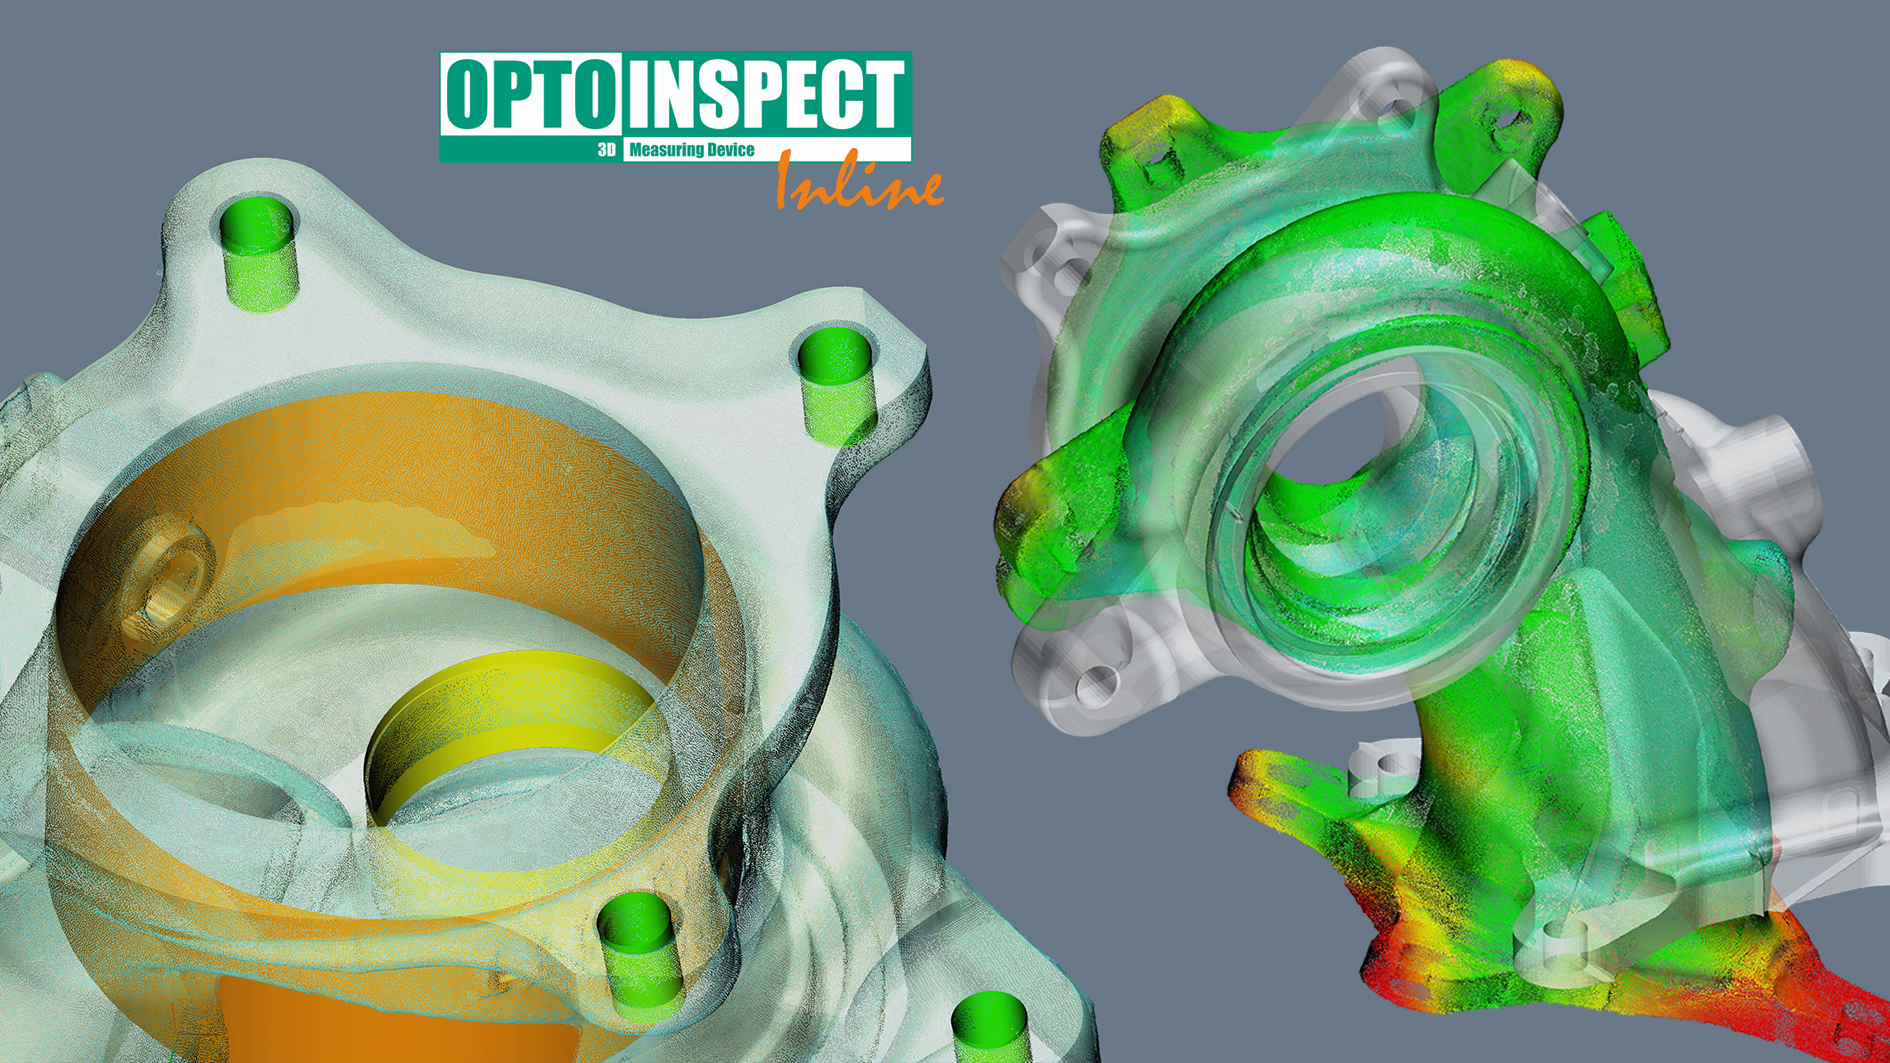
Scapos AG from Sankt Augustin presents the software library »OptoInspect3D Inline« developed by the Fraunhofer Institute for Factory Operation and Automation IFF, Magdeburg. With the help of the software, which can be used independently of the respective digitizing device (e.g. fringe projection, light section, laser scan), large quantities of 3D data can be compared quickly and automatically to optimal geometries. The inspection of each individual test specimen is thus possible »inline«, i.e. within the production process. The system can be used in a wide variety of industries and is also available to providers of 3D software and manufacturers of 3D measuring devices for integrating individual functions into their own products. »OptoInspect3D Inline« can be used on different platforms (e. g. Windows, Linux with Intel or ARM CPUs) and, as a result, supports smart sensor applications.

Exhibitor: scapos AG, Sankt Augustin (Germany)   

Checking the shape and position tolerance
© Fraunhofer IFF
Registration and testing of the form and position tolerance on a component.

System for very fast 2D and 3D inline surface inspection

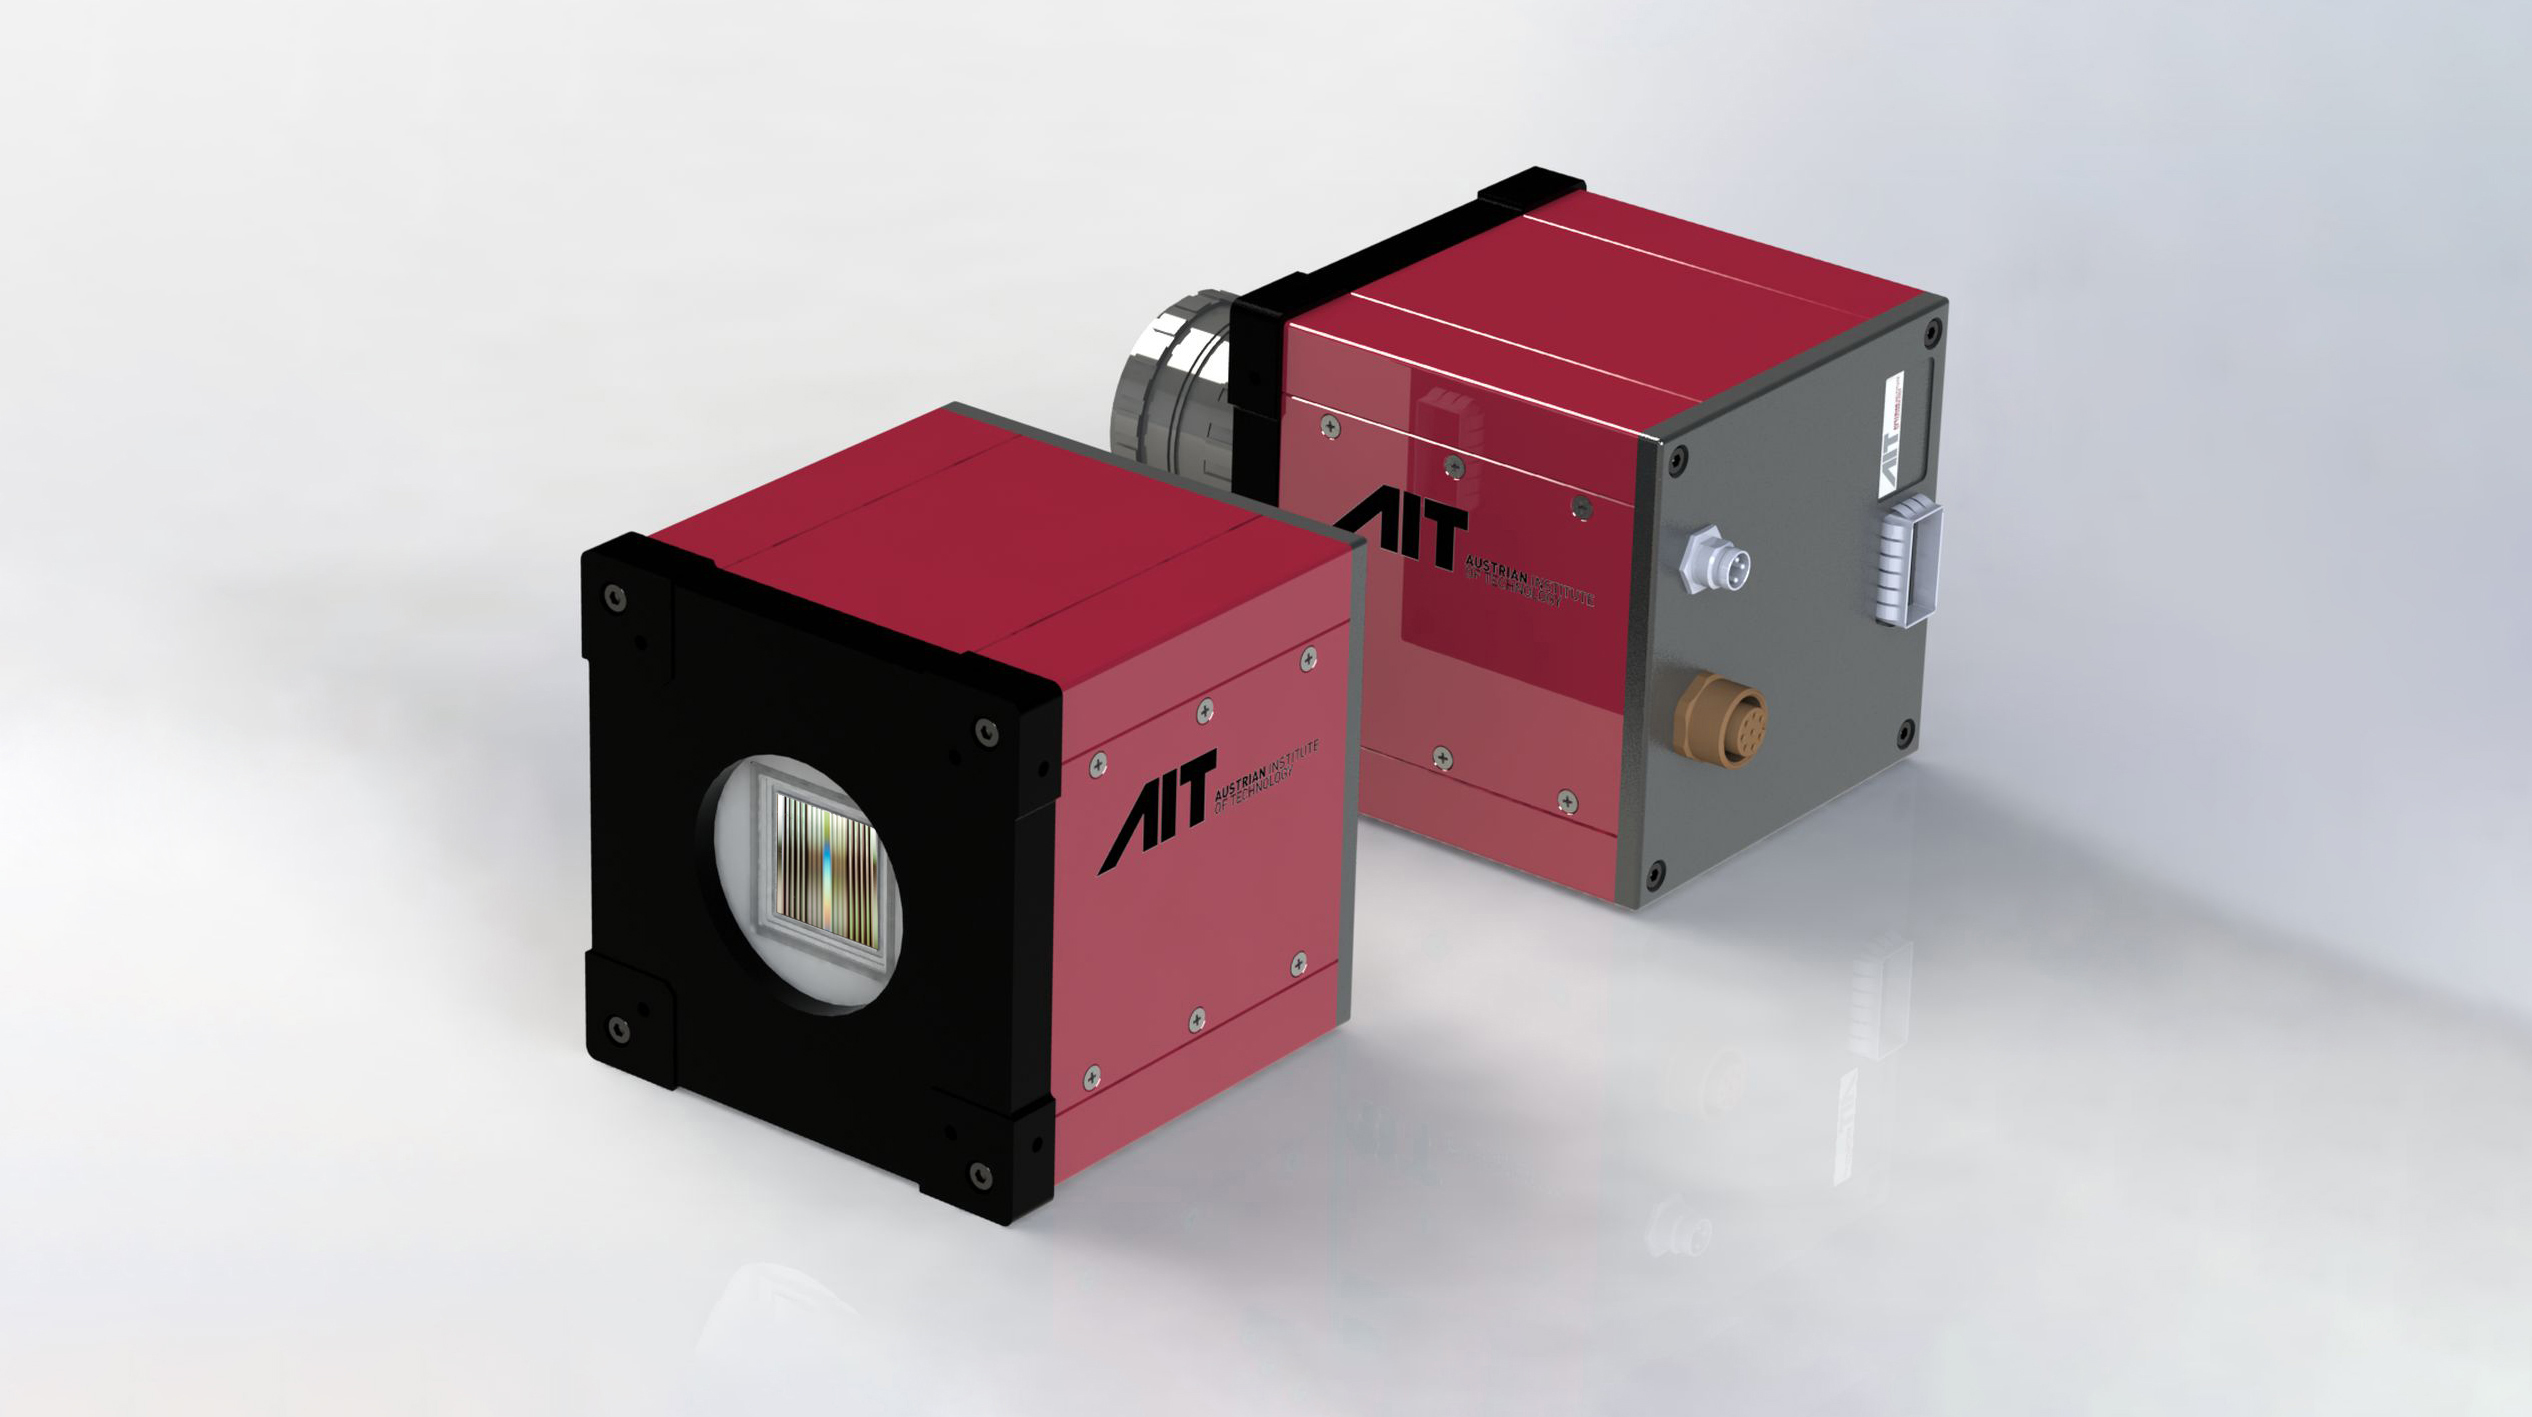
With »xposure:photometry«, the AIT Austrian Institute of Technology from Vienna, Austria, presents a system for very fast 2D and 3D inline surface inspection. By combining an xposure high-speed line scan camera with the xposure:flash illumination technology, it is possible to detect the smallest 3D defects at high speed even on challenging object surfaces (metallic, reflective, dark, grainy, etc.). The system is based on the principle of photometric stereo imaging and is just as suitable for use in industrial quality control for inspecting battery foils, embossing on packaging and gravure printing in banknotes as it is for inspecting infrastructure such as rails.

Exhibitor: AIT Austrian Institute of Technology GmbH, Vienna (Austria)

Zeilenkamera mit einer Zeilenfrequenz bis 600 kHz
© AIT Austrian Institute of Technology
The line scan camera with a line frequency of up to 600 kHz has been expanded to include a software module for on-board photometry and is now also a high-speed photometric smart camera.

Optical 2D measuring machine for contactless measurement

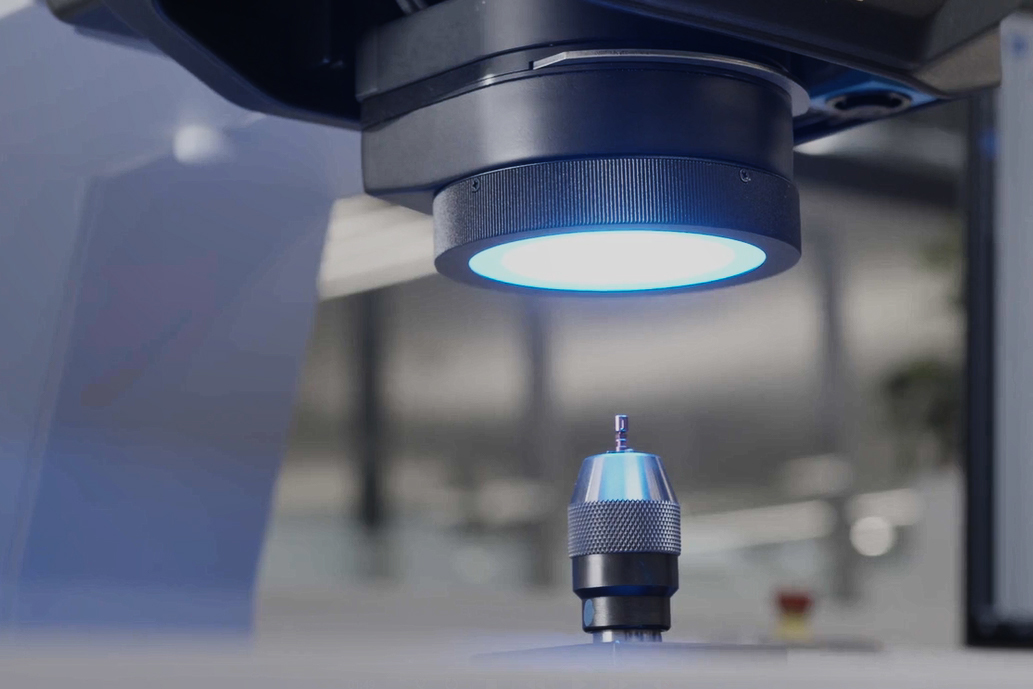
ZEISS Industrial Quality Solutions, Oberkochen, Germany, presents ZEISS O-DETECT, an optical 2D measuring machine for contactless and precise inspection of geometric parameters of workpieces, such as distances, lengths and angles as well as diameters of bores. The test specimens can be made of different materials such as metal, plastic or ceramics. The system is particularly suitable for very small, easily deformable components as well as for workpieces with sensitive surfaces that generally should not or cannot be measured tactilely. Areas of application include the medical sector, where measurements traceable (according to ISO 10360) can be supplied, and the watch industry, where high-resolution testing of micromechanics is required.

Exhibitor: ZEISS Industrial Quality Solutions, Oberkochen (Germany)

Testing with diffuse lighting
© ZEISS Industrial Quality Solutions
The system with diffuse illumination during the inspection of a medical component.

Optical measuring system for automated measurement of rotationally symmetrical components

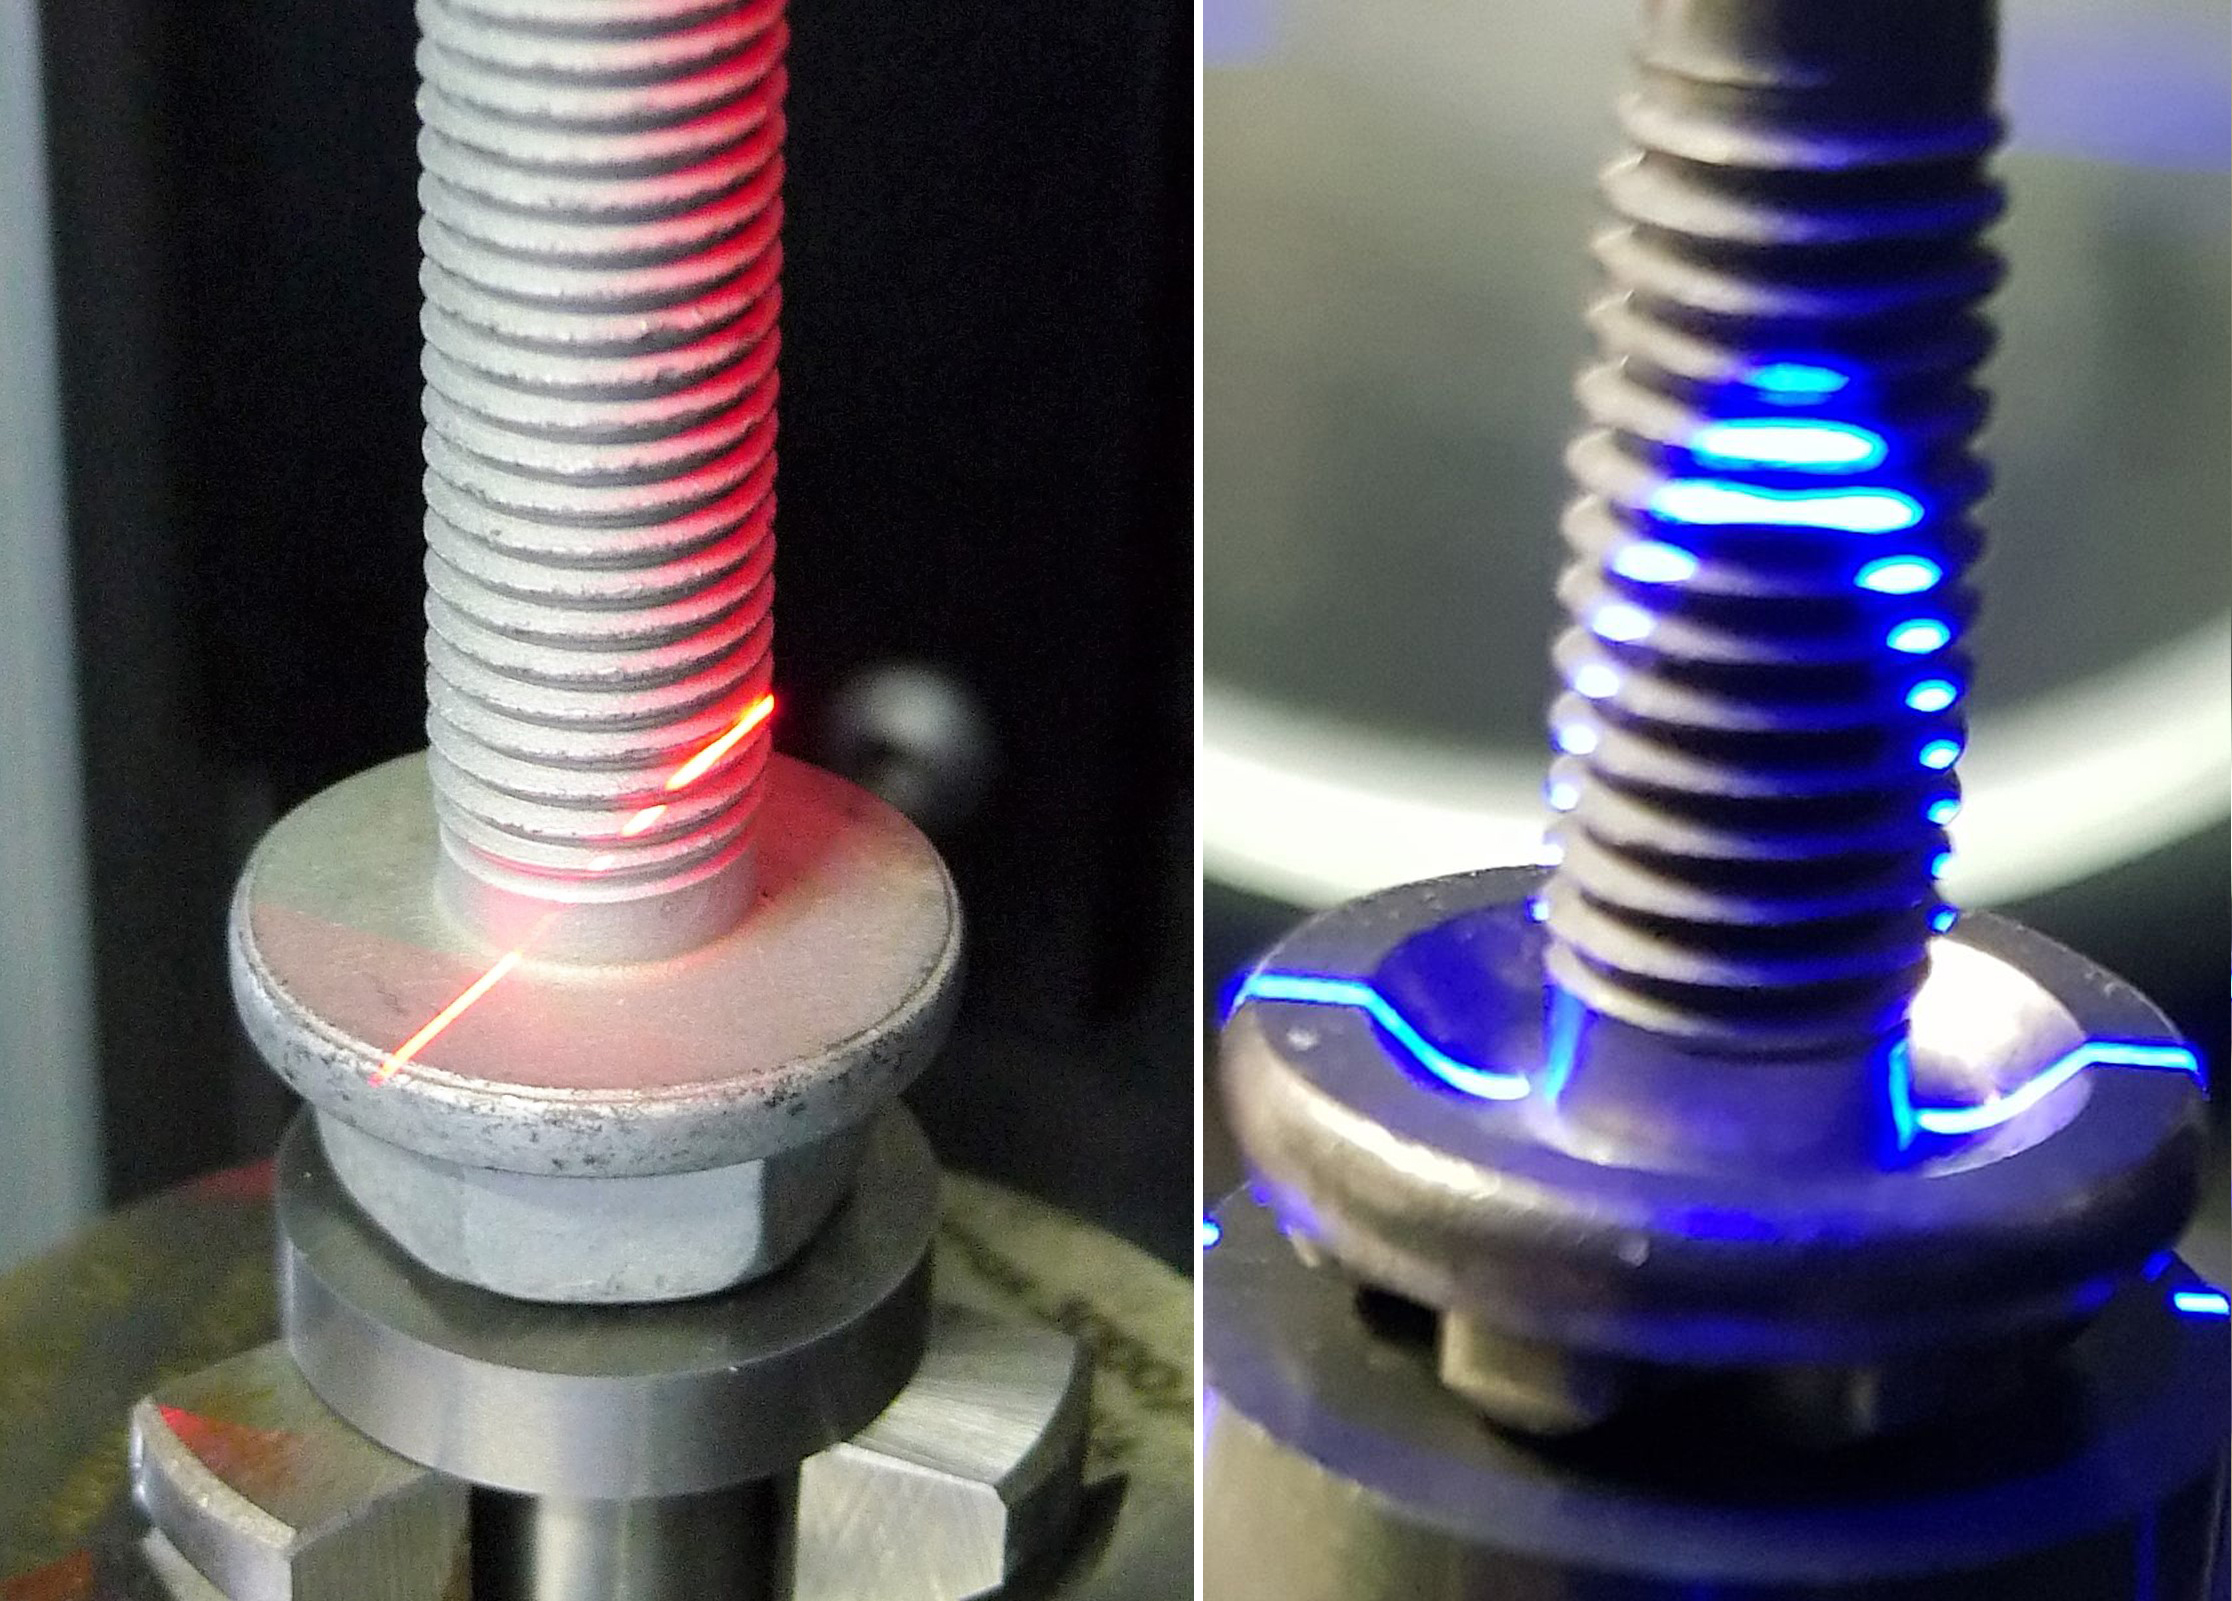
The Institut fuer Umformtechnik der mittelstaendischen Wirtschaft GmbH (Institute for Forming Technology of Medium-Sized Enterprises GmbH) from Luedenscheid, together with ECM Datensysteme GmbH from Bliedersdorf, presents an optical precision measuring system for the automated measurement of dimensional, form and positional tolerances on rotationally symmetrical components. In addition, concave underhead structures on screws or bolts etc. can also be measured. The system operates on the basis of the shadowgraph method and was specially developed for use in the production area. It is used both for random sample inspection during production (worker self-inspection) and for initial sample inspection.

Exhibitor: Institut fuer Umformtechnik der mittelstaendischen Wirtschaft GmbH, Luedenscheid (Germany)

Testing head support of a screw.
© Institut fuer Umformtechnik der mittelstaendischen Wirtschaft GmbH
The system during the inspection of the head support of a screw.

Measuring system for hyperspectral surface and layer inspection

The Fraunhofer Institute for Material and Beam Technology IWS, Dresden, introduces imanto® obsidian, a measurement system for hyperspectral surface and thin film testing. With the help of hyperspectral imaging (HSI), the light reflected from a sample to be inspected is not only recorded with spatial resolution, but also with spectral resolution. Since different surface conditions - material- or topology-related - manifest themselves in a spectral change of the optical behavior of the sample section through deviating absorption, refraction or scattering, hyperspectral imaging represents a universal tool for determining and visualizing the distribution of multiple surface and layer parameters or sample properties derived from them, and thus for clarifying industrial processes, making them more effective and automating them.

Exhibitor: Fraunhofer Institute for Material and Beam Technology IWS, Dresden (Germany)

Hyperspectral imaging as inline adaptation
© ronaldbonss.com/Ronald Bonss
Hyperspectral imaging as an inline adaptation to the roll-to-roll film inspection system.

Non-contact and non-destructive technologies for measuring temperature and hardness depths

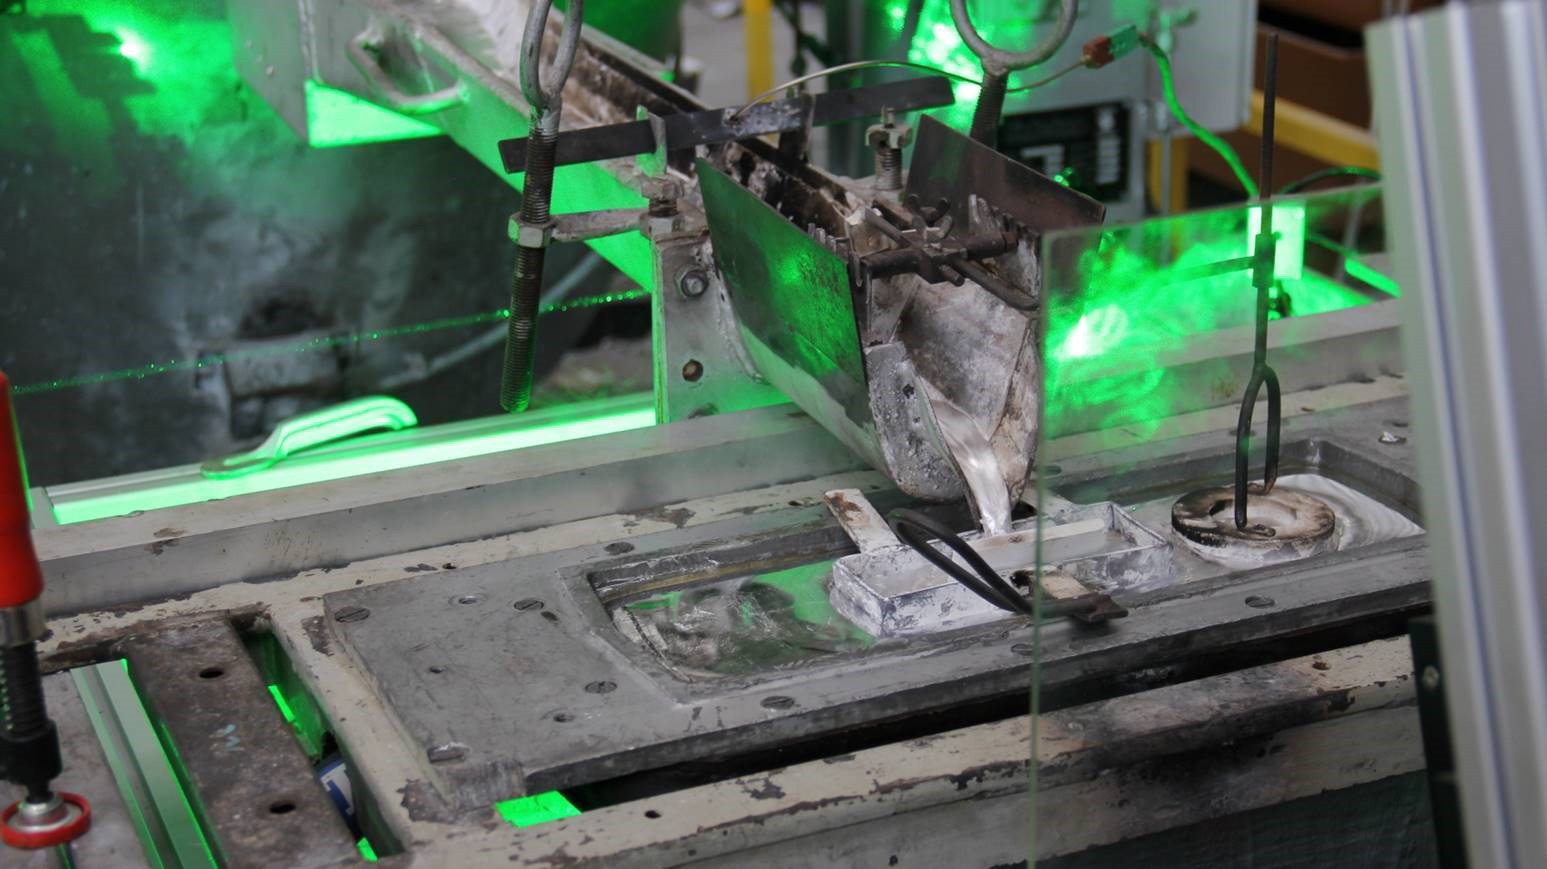
RECENDT - Research Center for Non-Destructive Testing GmbH from Linz, Austria, presents two different contactless and non-destructive technologies for both the precise determination of component temperature and the measurement of microstructure transformation as well as the hardness depth of metals. The solution for spectroscopic temperature measurements, based on micro-opto-electro-mechanical technologies, enables the determination of exact surface temperatures from 200°C and actively detects false temperature values thanks to a full-spectral detection of thermal radiation. The system for non-destructive measurement of hardness depth is based on the methods of laser ultrasound and enables analysis of even hot samples in the manufacturing process.

Exhibitor: RECENDT - Research Center for Non-Destructive Testing GmbH, Linz (Austria)

Process control metal casting
© RECENDT GmbH
Extreme heat, such as in metal casting, poses special challenges for the measurement technology used for process control.

Application-specific lenses and illuminators for a wide range of applications

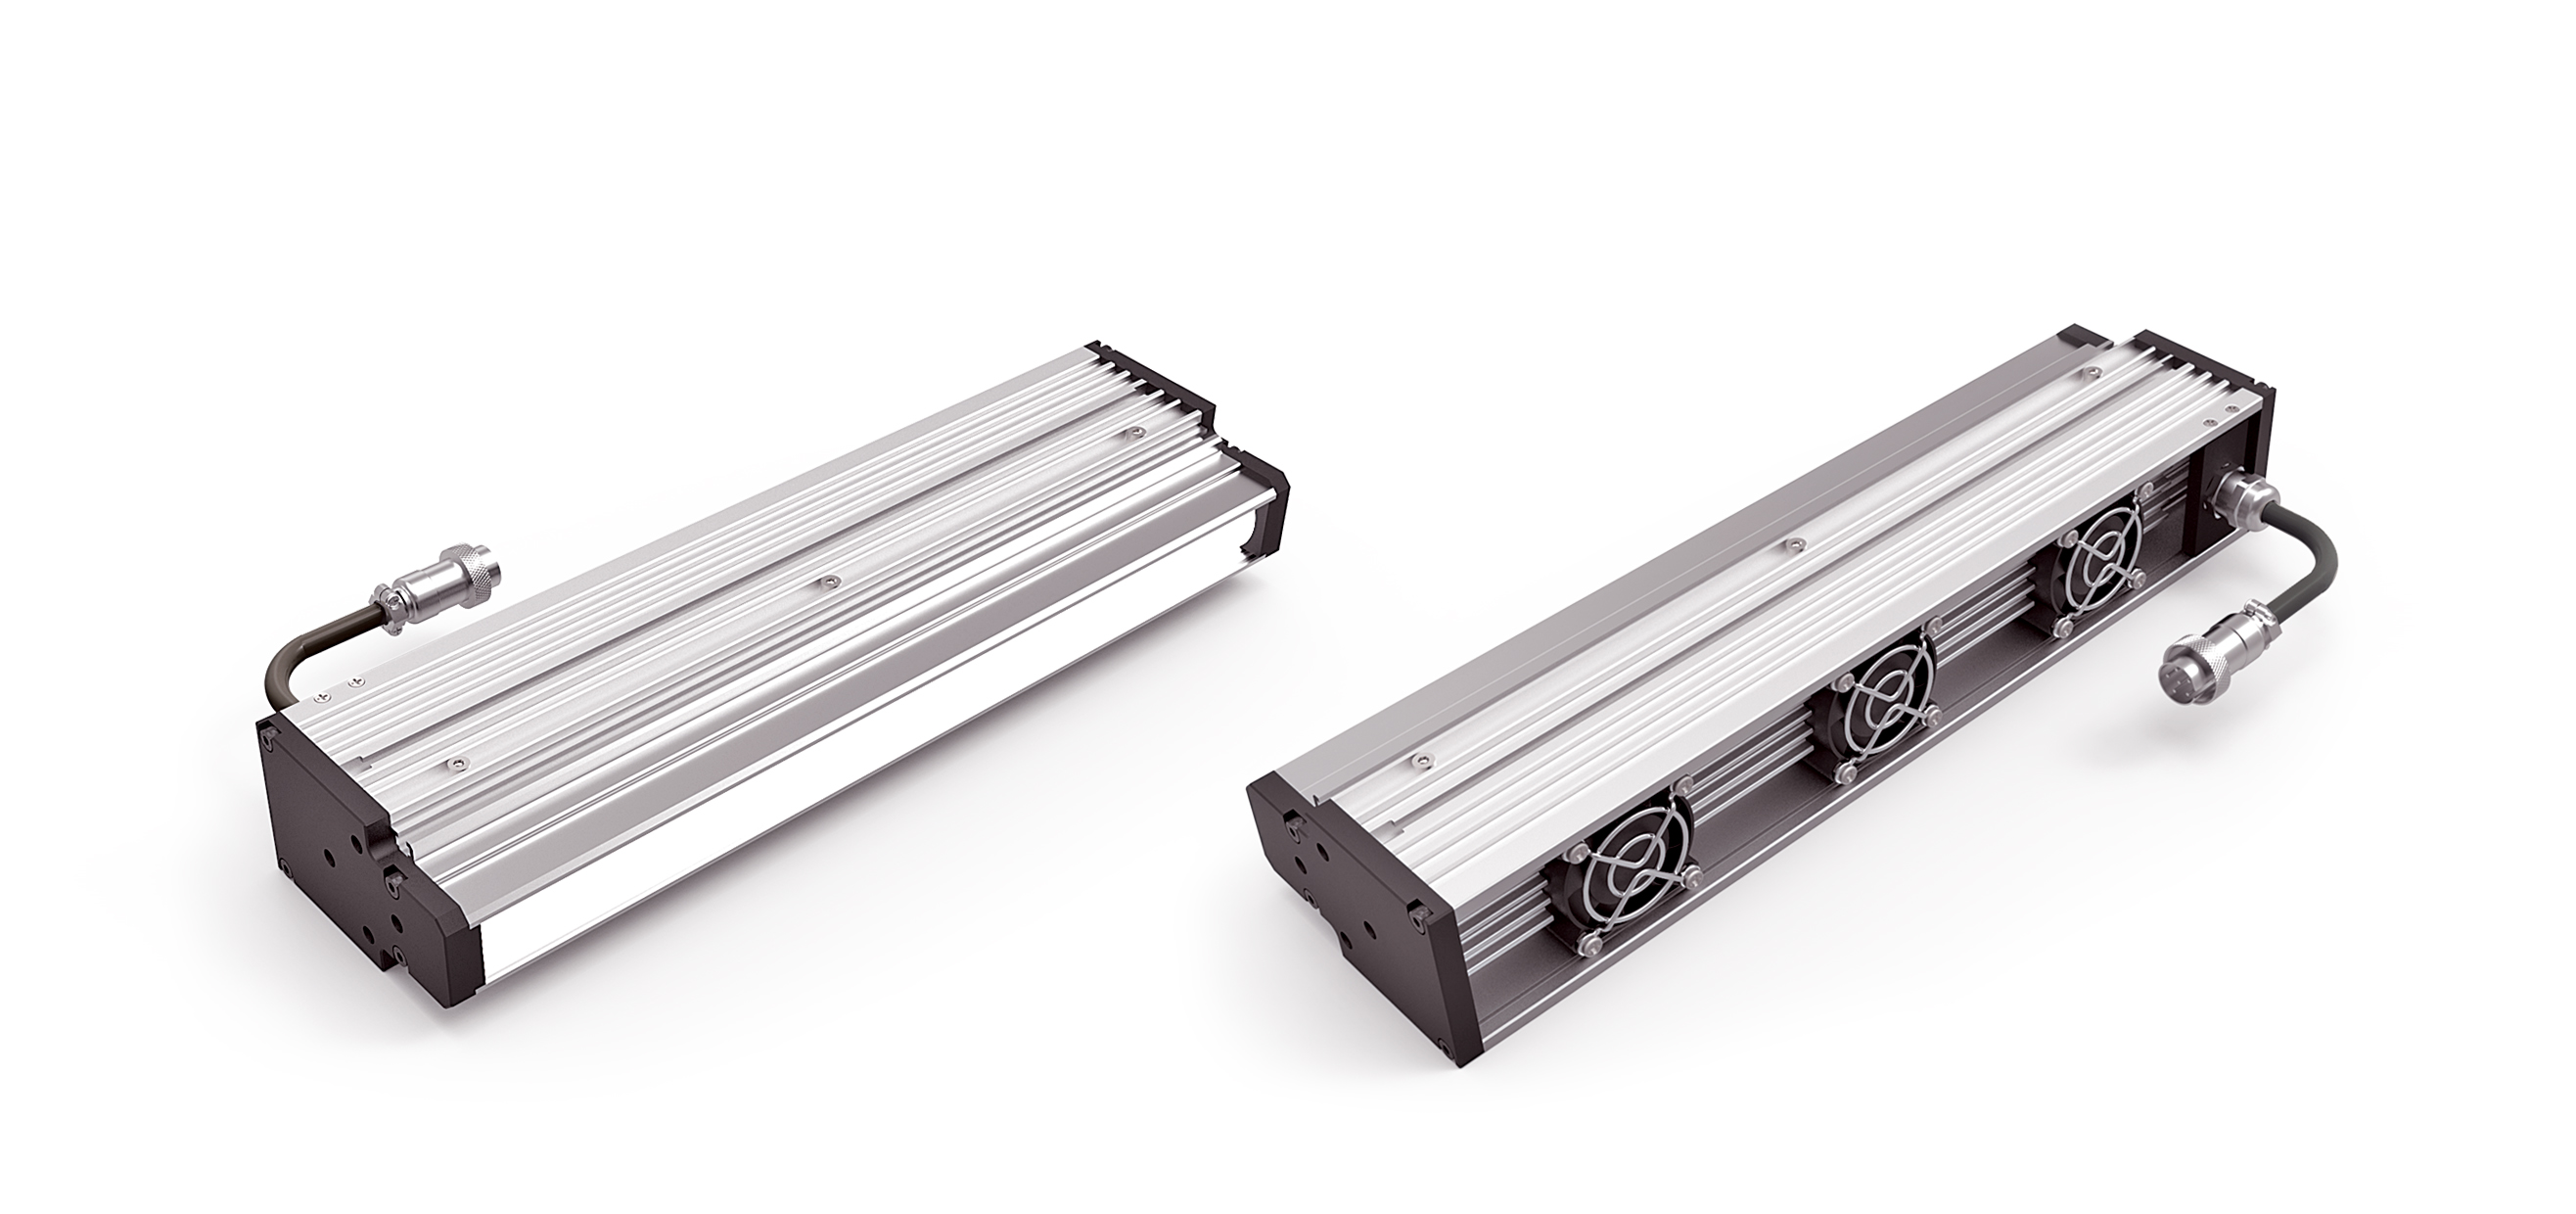
OPT Machine Vision GmbH from Stuttgart presents a selection of new machine vision components for a wide range of applications. The presented lenses and illumination technologies are available as standard components, but can also be adapted to specific customer requirements depending on the task at hand.

Exhibitor: OPT Machine Vision GmbH, Leinfelden-Echterdingen (Germany)

Line scan camera lighting system
© OPT Machine Vision GmbH
The technology provides crossed light beams through special optics, so that with only one line illumination fast moving web material is illuminated once in the direction of the feed and additionally also against the direction of the web movement.

Precise 3D measurements of technical components

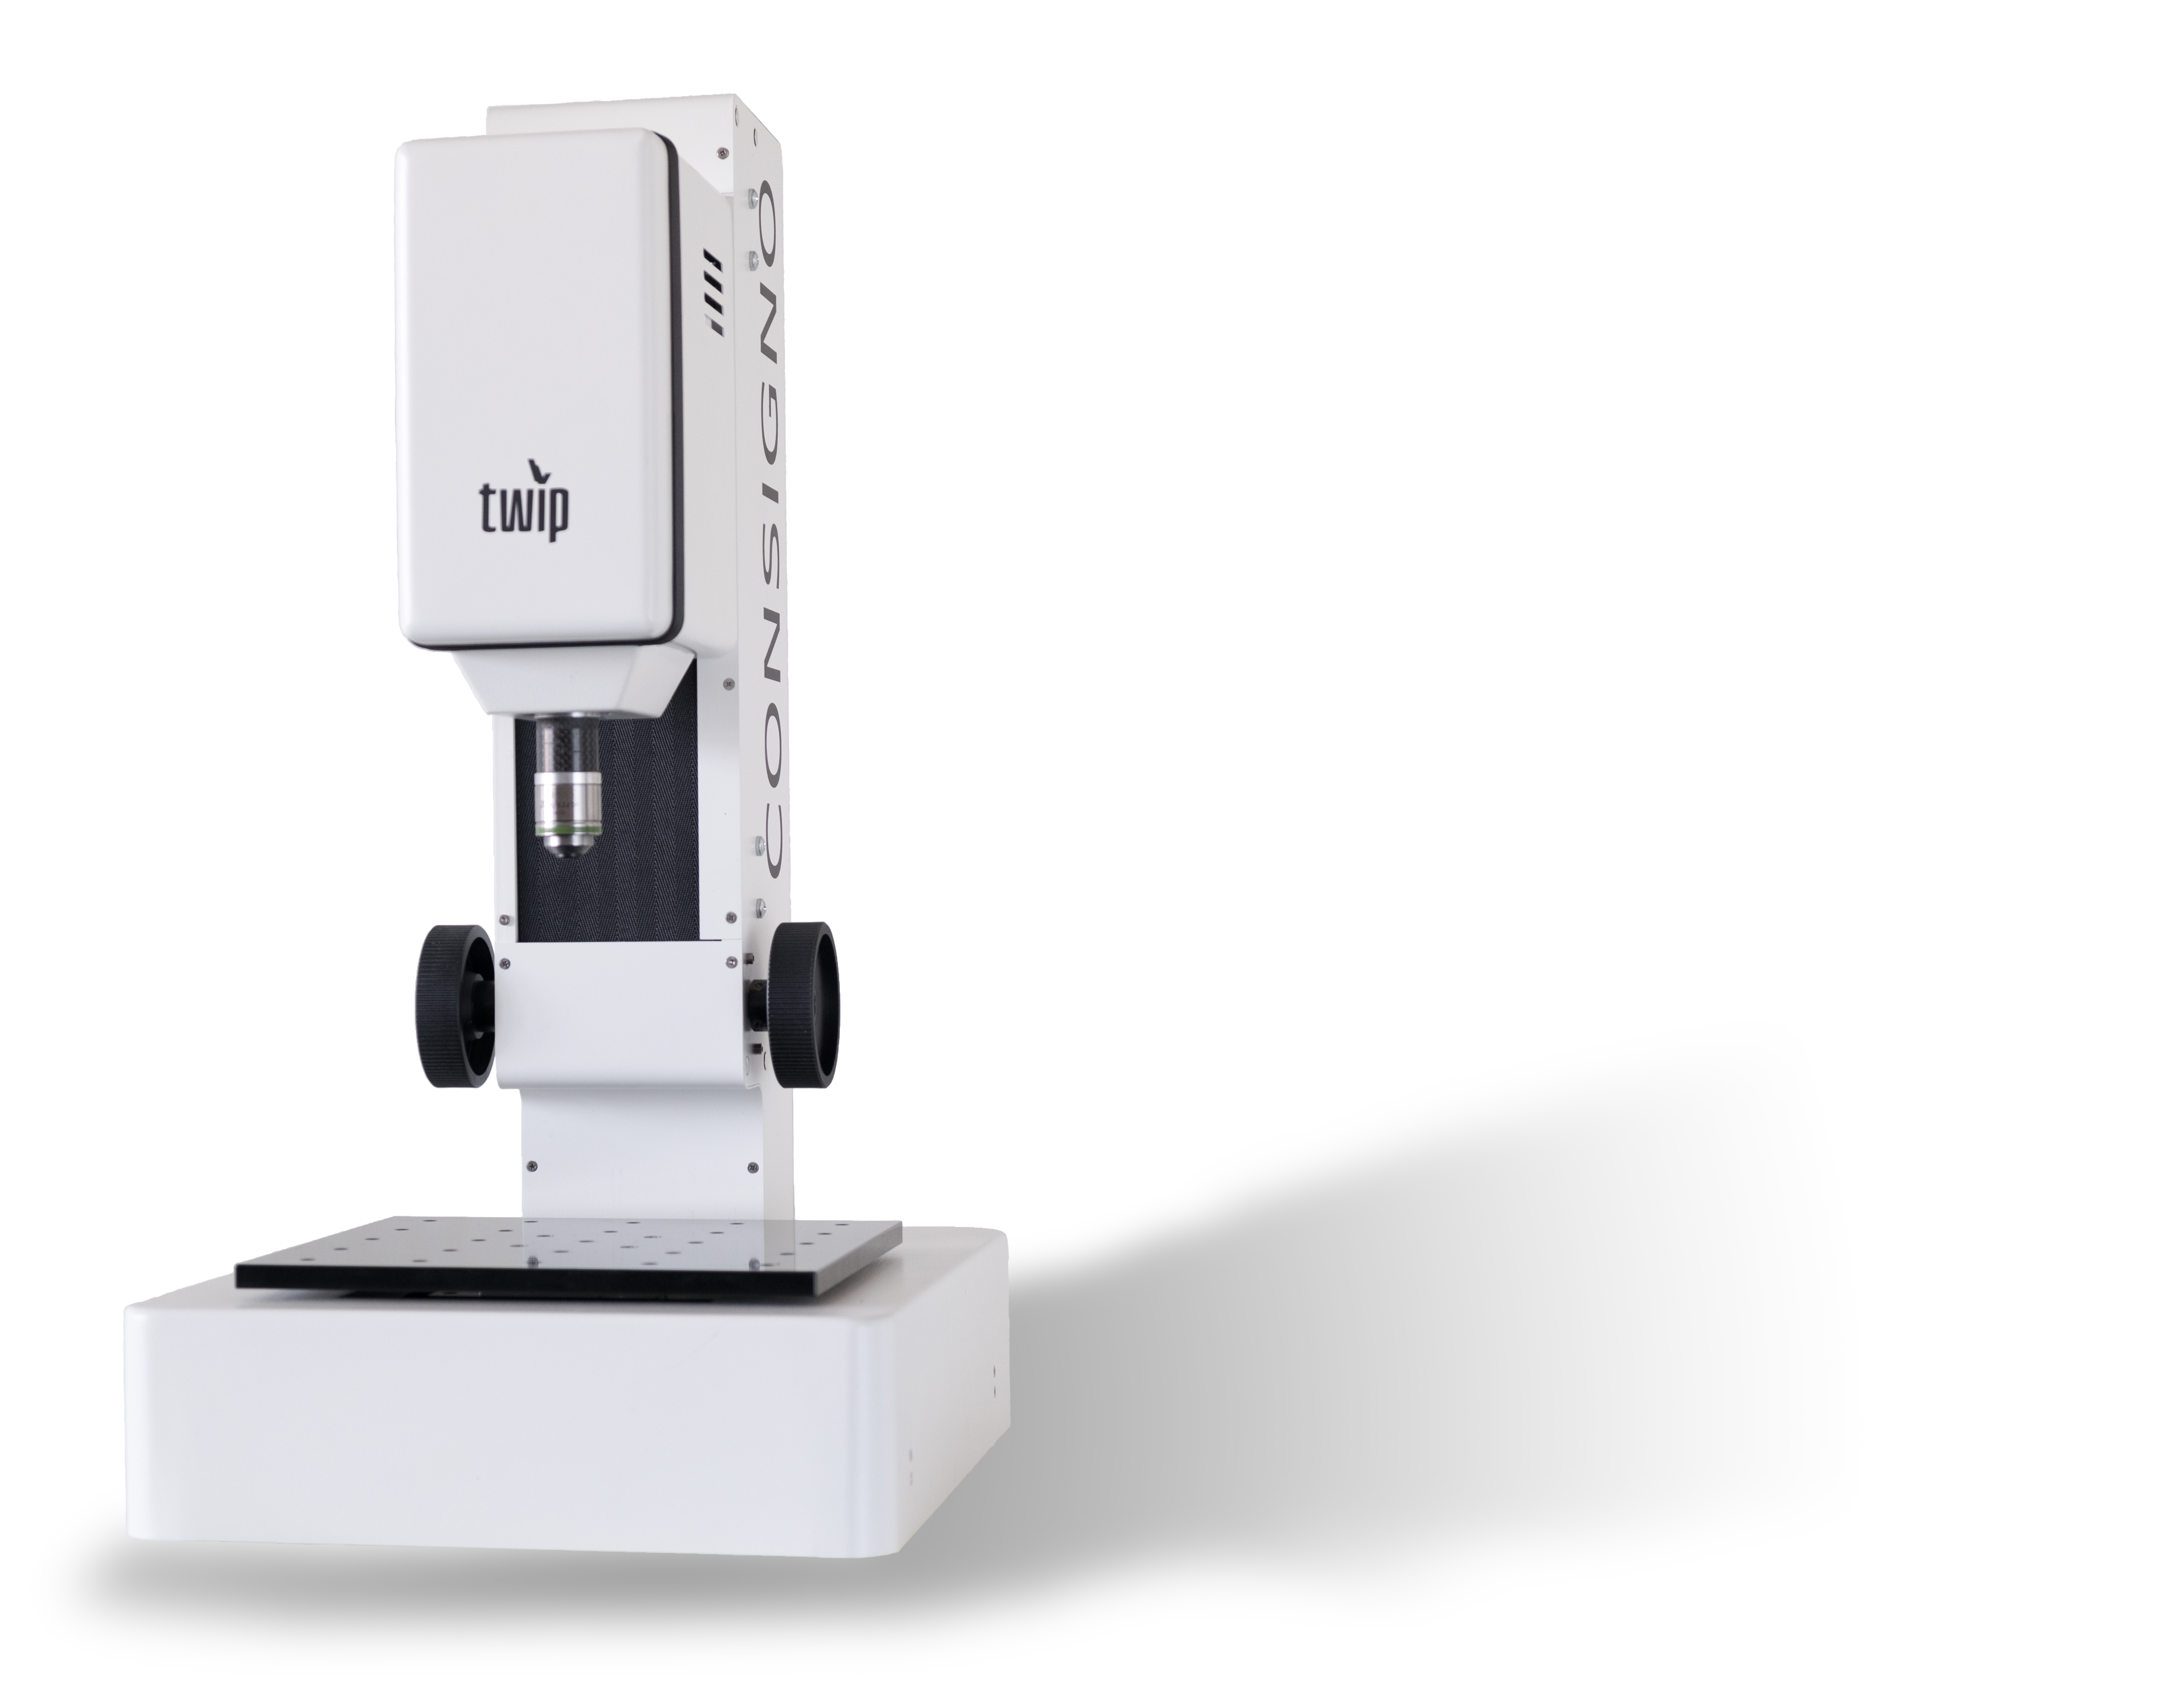
Twip optical solutions GmbH from Stuttgart presents the 3D surface measuring system »Consigno«, which can be used as a laboratory measuring device as well as an OEM measuring head for the automation of metrology tasks due to its small and lightweight design. The system is based on the confocal measuring principle, which exploits the depth-of-field range for topography detection, and is used, for example, for surface inspection (functional surfaces, e.g. on micro-optics or running surfaces of cylinders and plain bearings), for the determination of geometric properties (e.g. height of a gradation on injection-molded plastic components) or for roughness and contour measurement.

Exhibitor: twip optical solutions GmbH, Pleidelsheim (Germany)

Confocal measuring system
© twip optical solutions GmbH
Confocal measuring system for precise 3D measurements of technical surfaces.

Time-of-flight camera with HDR and high-speed mode for precise 3D object detection and measurement

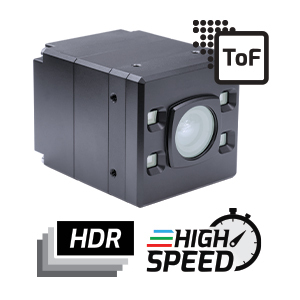
LUCID Vision Labs GmbH based in Ilsfeld, Germany, introduces the new Helios2+3D time-of-flight camera, an enhanced version of the Helios2 system with two new in-camera processing modes for use in challenging work environments. While the High Dynamic Range mode provides accurate depth information even in high-contrast, complex scenes containing both highly reflective and weakly reflective objects by fusing multiple images in the phase domain, the high speed mode enables depth detection with a single phase measurement. This achieves fast acquisition speed and high frame rates, enabling accurate 3D imaging of moving objects without distortion.

Exhibitor: LUCID Vision Labs GmbH, Ilsfeld (Germany)

Time-of-Flight Camera
© LUCID Vision Labs GmbH
Time-of-flight camera with HDR and high-speed mode for precise 3D object detection and measurement.

High-quality microfocus X-ray tubes for non-destructive, non-contact measurement tasks in industry, research and development

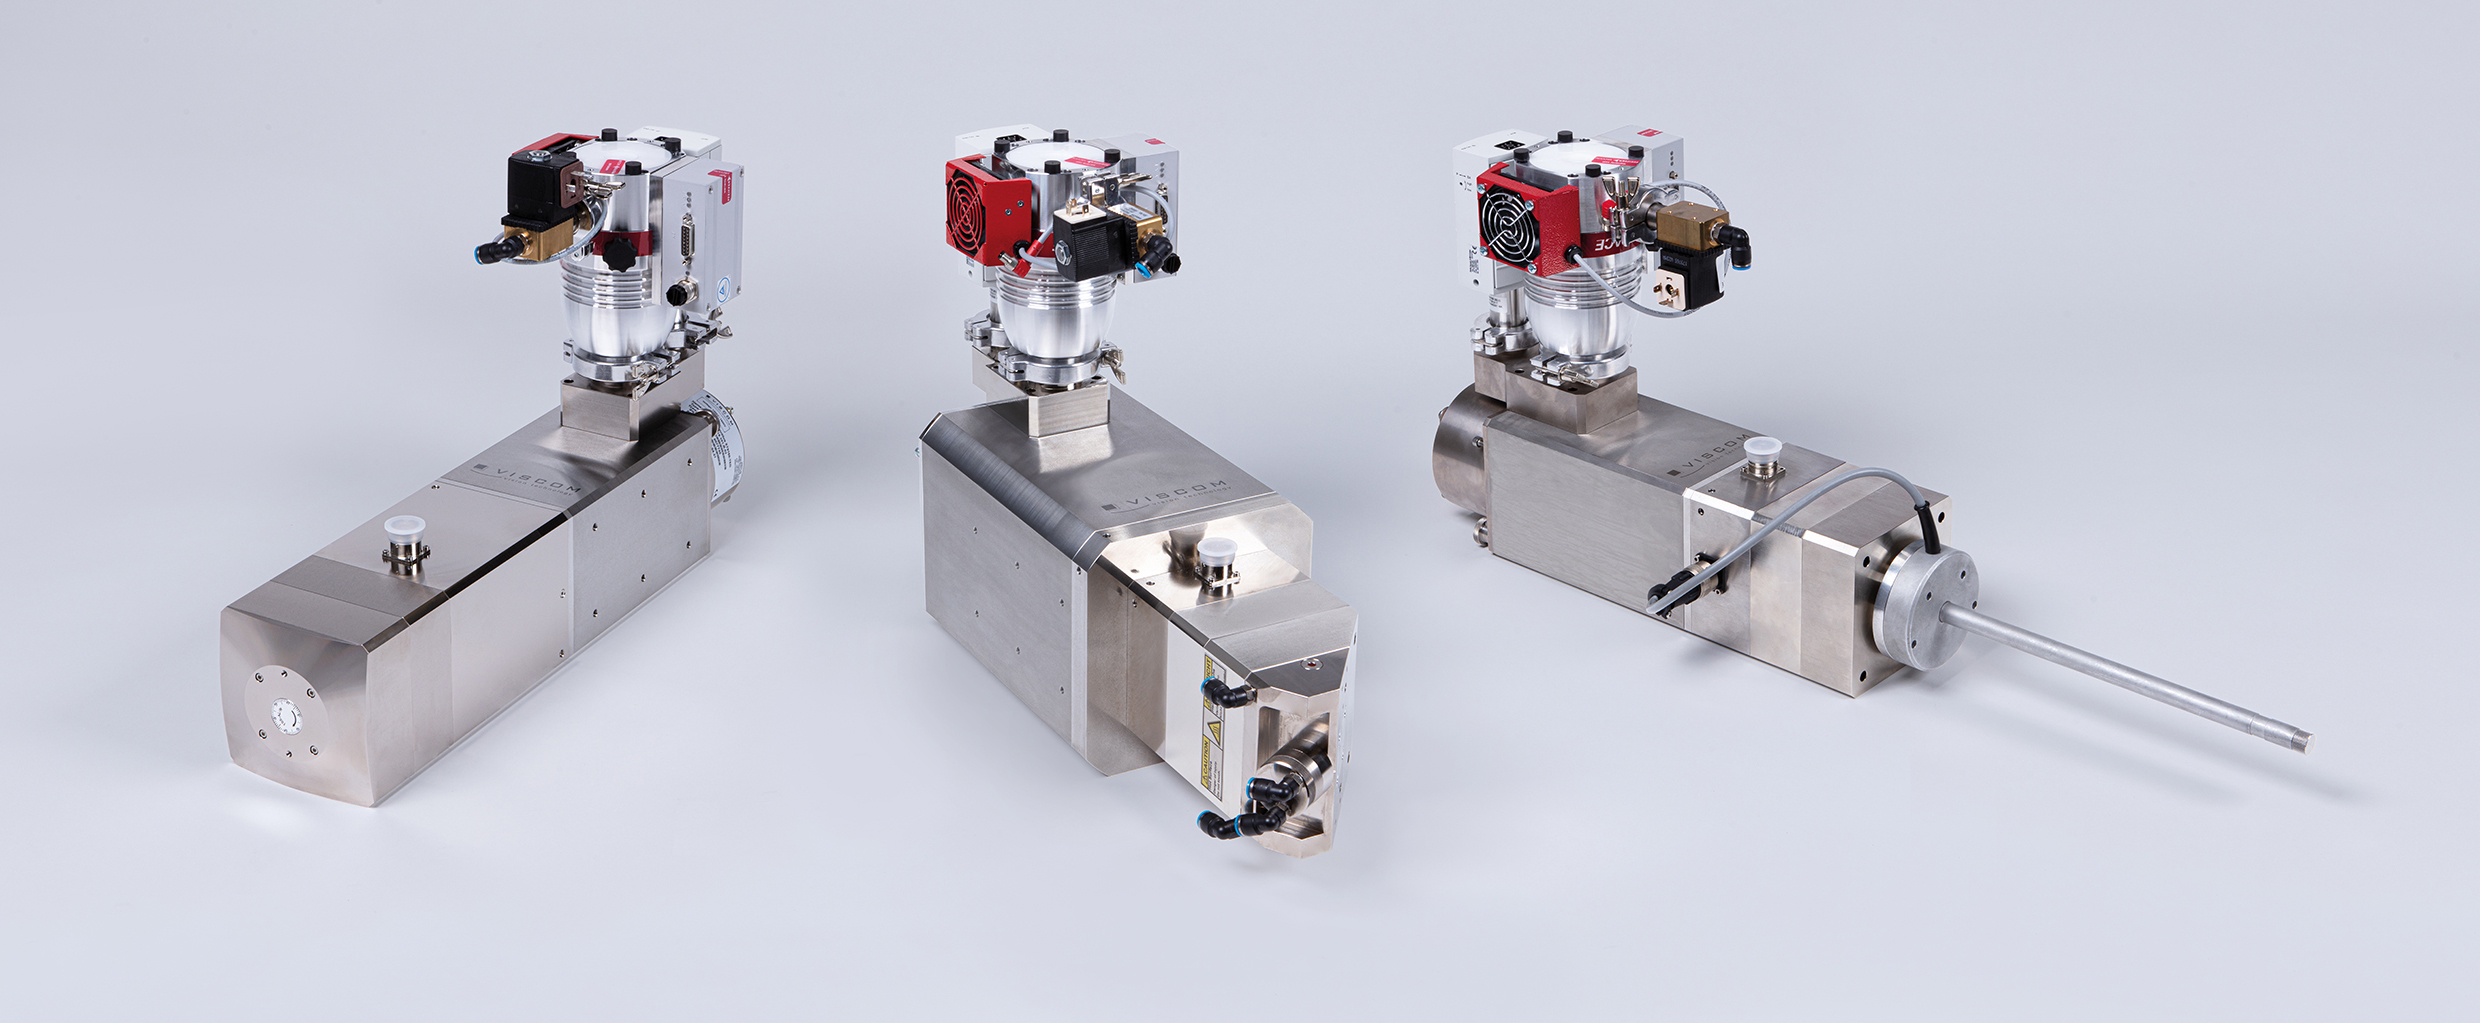
Viscom AG from Hannover, Germany, shows a selection of its high-performance microfocus X-ray tubes, which cover a wide range of applications and are characterized by their compact design and long maintenance intervals. Both in x-ray laboratories and as a component of premium machines, the most diverse tasks can be solved with just one system, from the inspection of small, filigree objects with high resolutions to time-optimized series inspections and the radiography of large and massive components. In a coordinate measuring system with X-ray computed tomography for three-dimensional quality control of workpieces, it is therefore not necessary to install two different types of tubes in order to quickly set up the inspection of completely different objects via the operating software.

Exhibitor: Viscom AG, Hannover (Germany)

Various transmission, direct beam and rod anode tubes
© Viscom AG
Various transmission, direct beam and rod anode tubes suitable for many different requirements and applications.

Portable surface particle counter with wireless measuring head

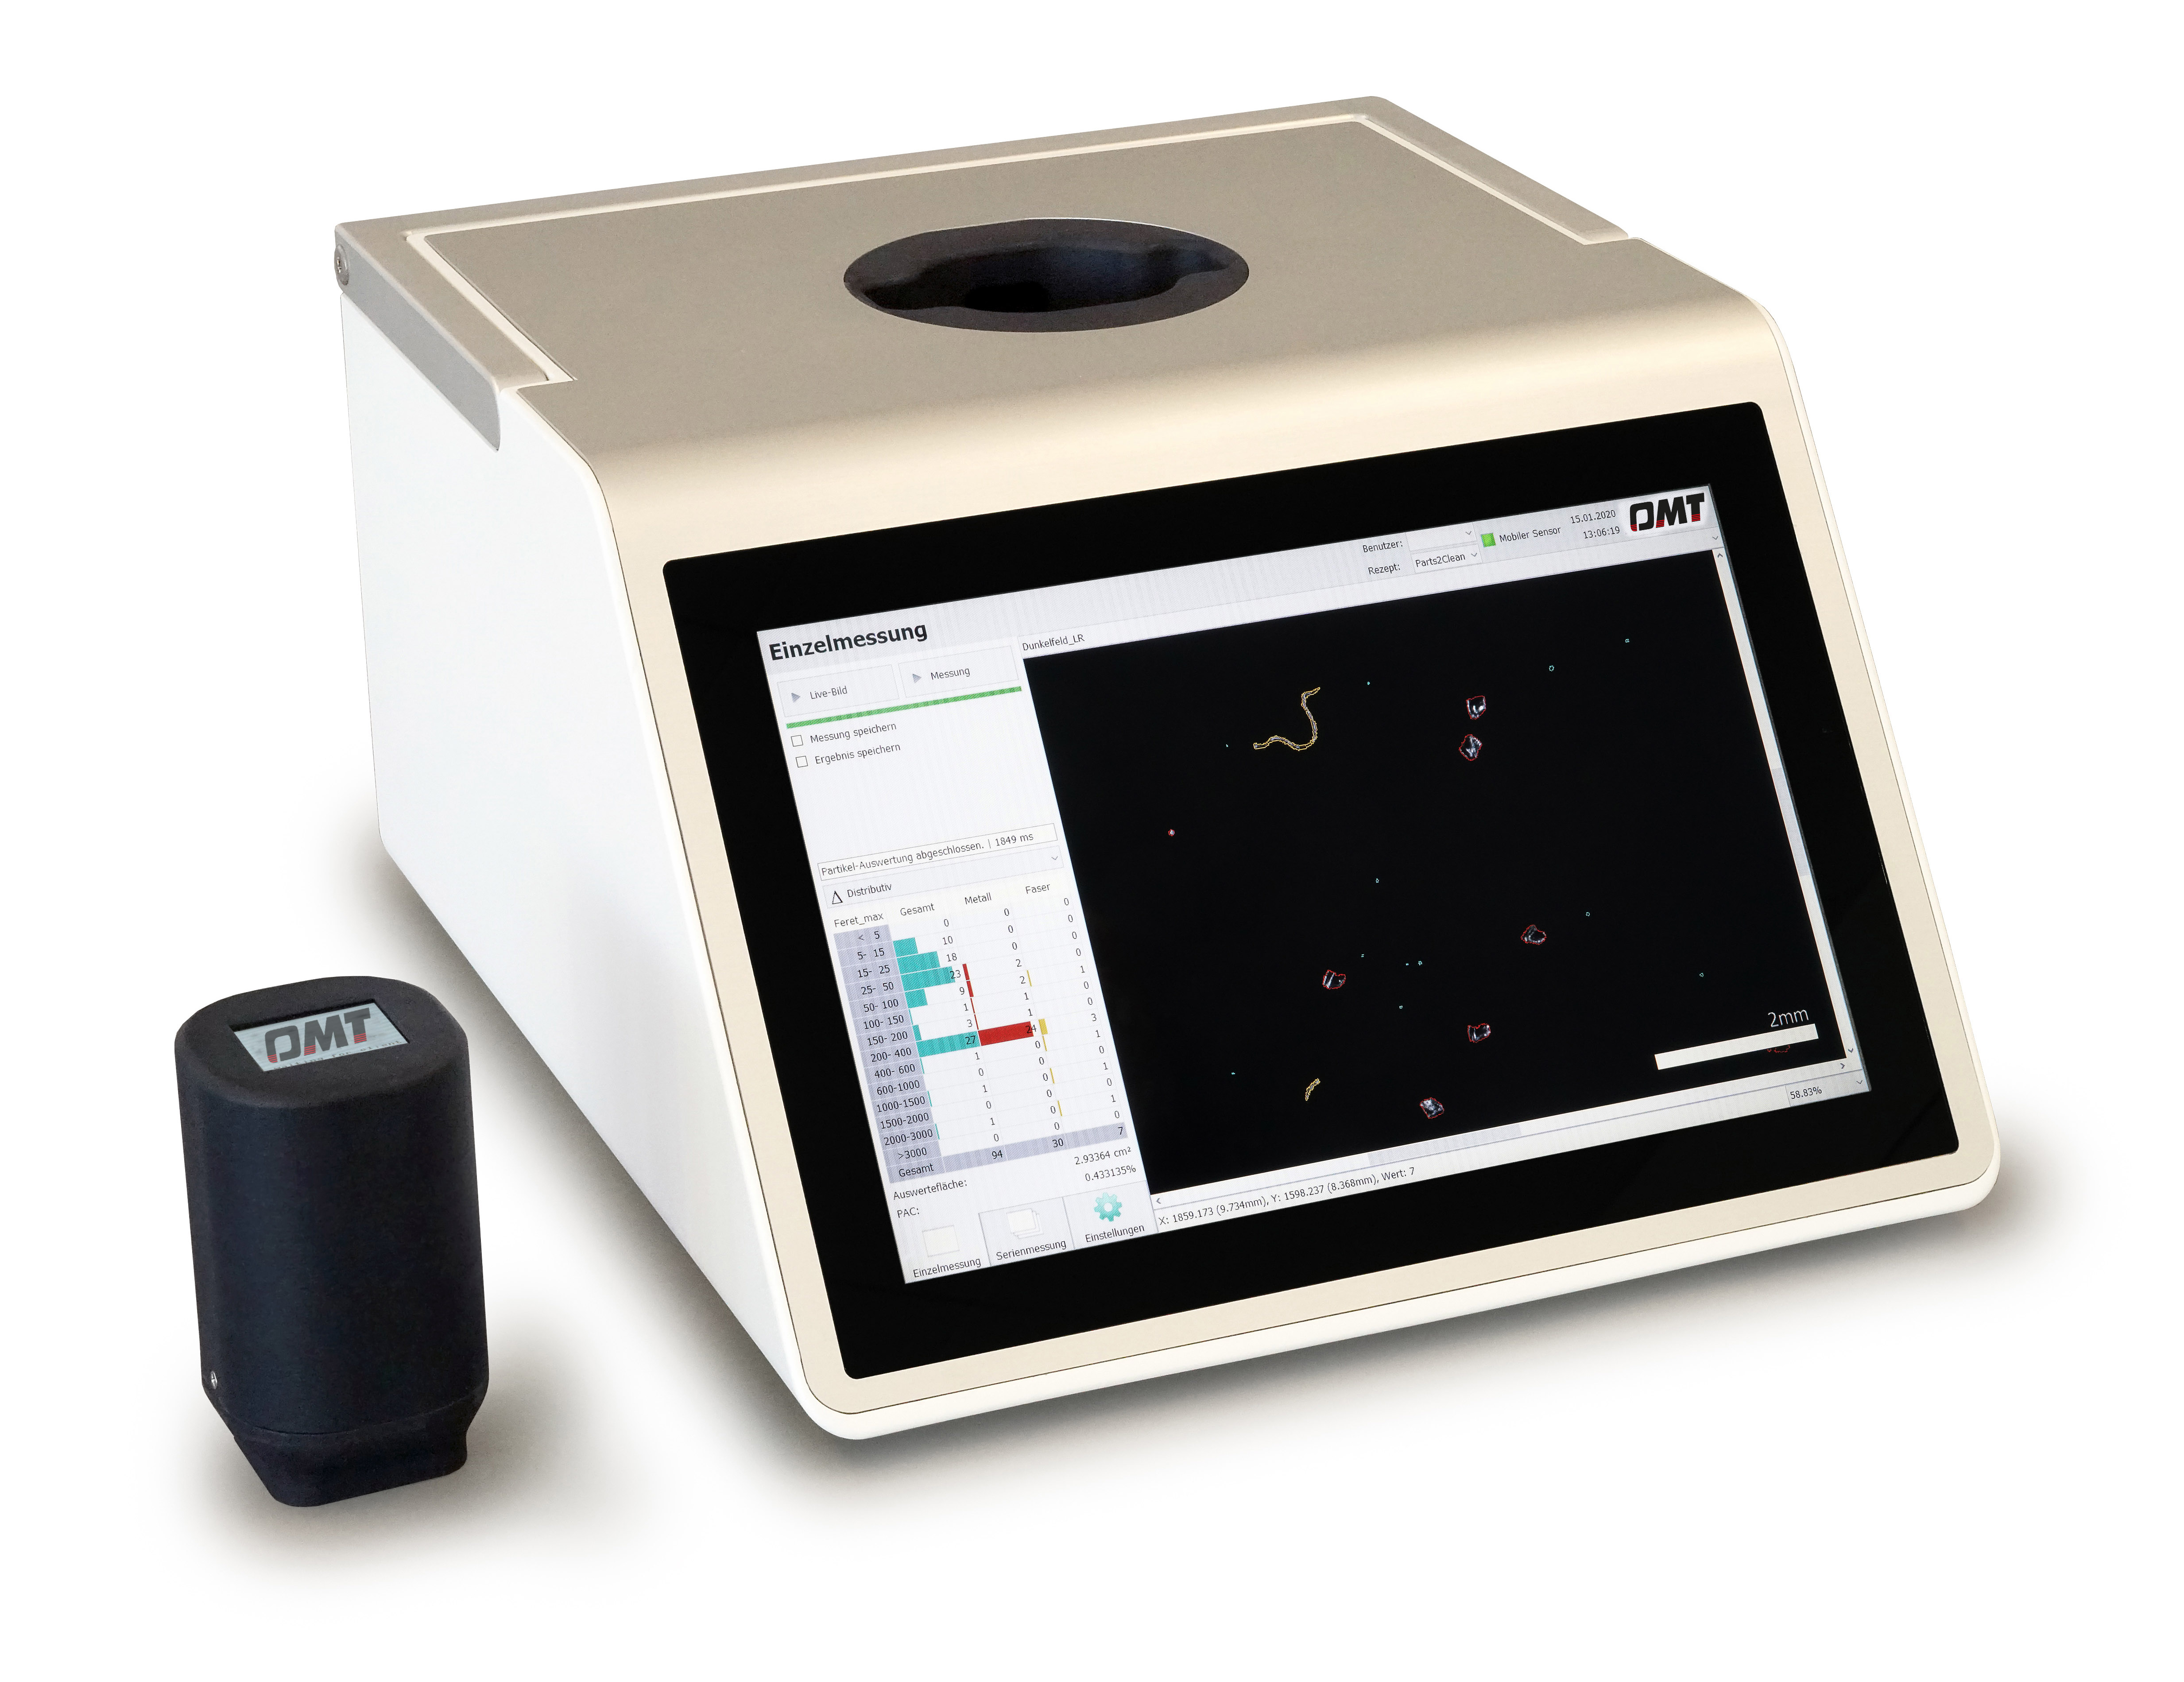
The PMT Partikel-Messtechnik GmbH from Heimsheim, Germany, will show PartSens 4.0, a portable measuring system with a wireless measuring head for direct measurement of particles on various surfaces such as stainless steel, silicon, glass or plastic. The measurement result, including the captured images, is transmitted in real time via WLAN and displayed on a screen. The PartSens+ 4.0 model additionally offers the possibility of differentiating particle sizes and numbers of metallic and non metallic particles as well as fibers on surfaces. Reproducible and accurate measurement results are generated by using the grazing light technology according to ISO 14644-9. Complex sampling by gas extraction is eliminated, as are subjective measurement methods or error-prone multi-stage procedures, such as surface rinsing through filter media with subsequent filter analysis. Applications can be found in all areas where clean product surfaces or production environments must be ensured.

Exhibitor: PMT Partikel-Messtechnik GmbH, Heimsheim (Germany)

Portable measuring system
© PMT Partikel-Messtechnik GmbH
Portable measuring system with wireless measuring head for direct measurement of particles on different surfaces.

Software platform for augmented reality based quality control

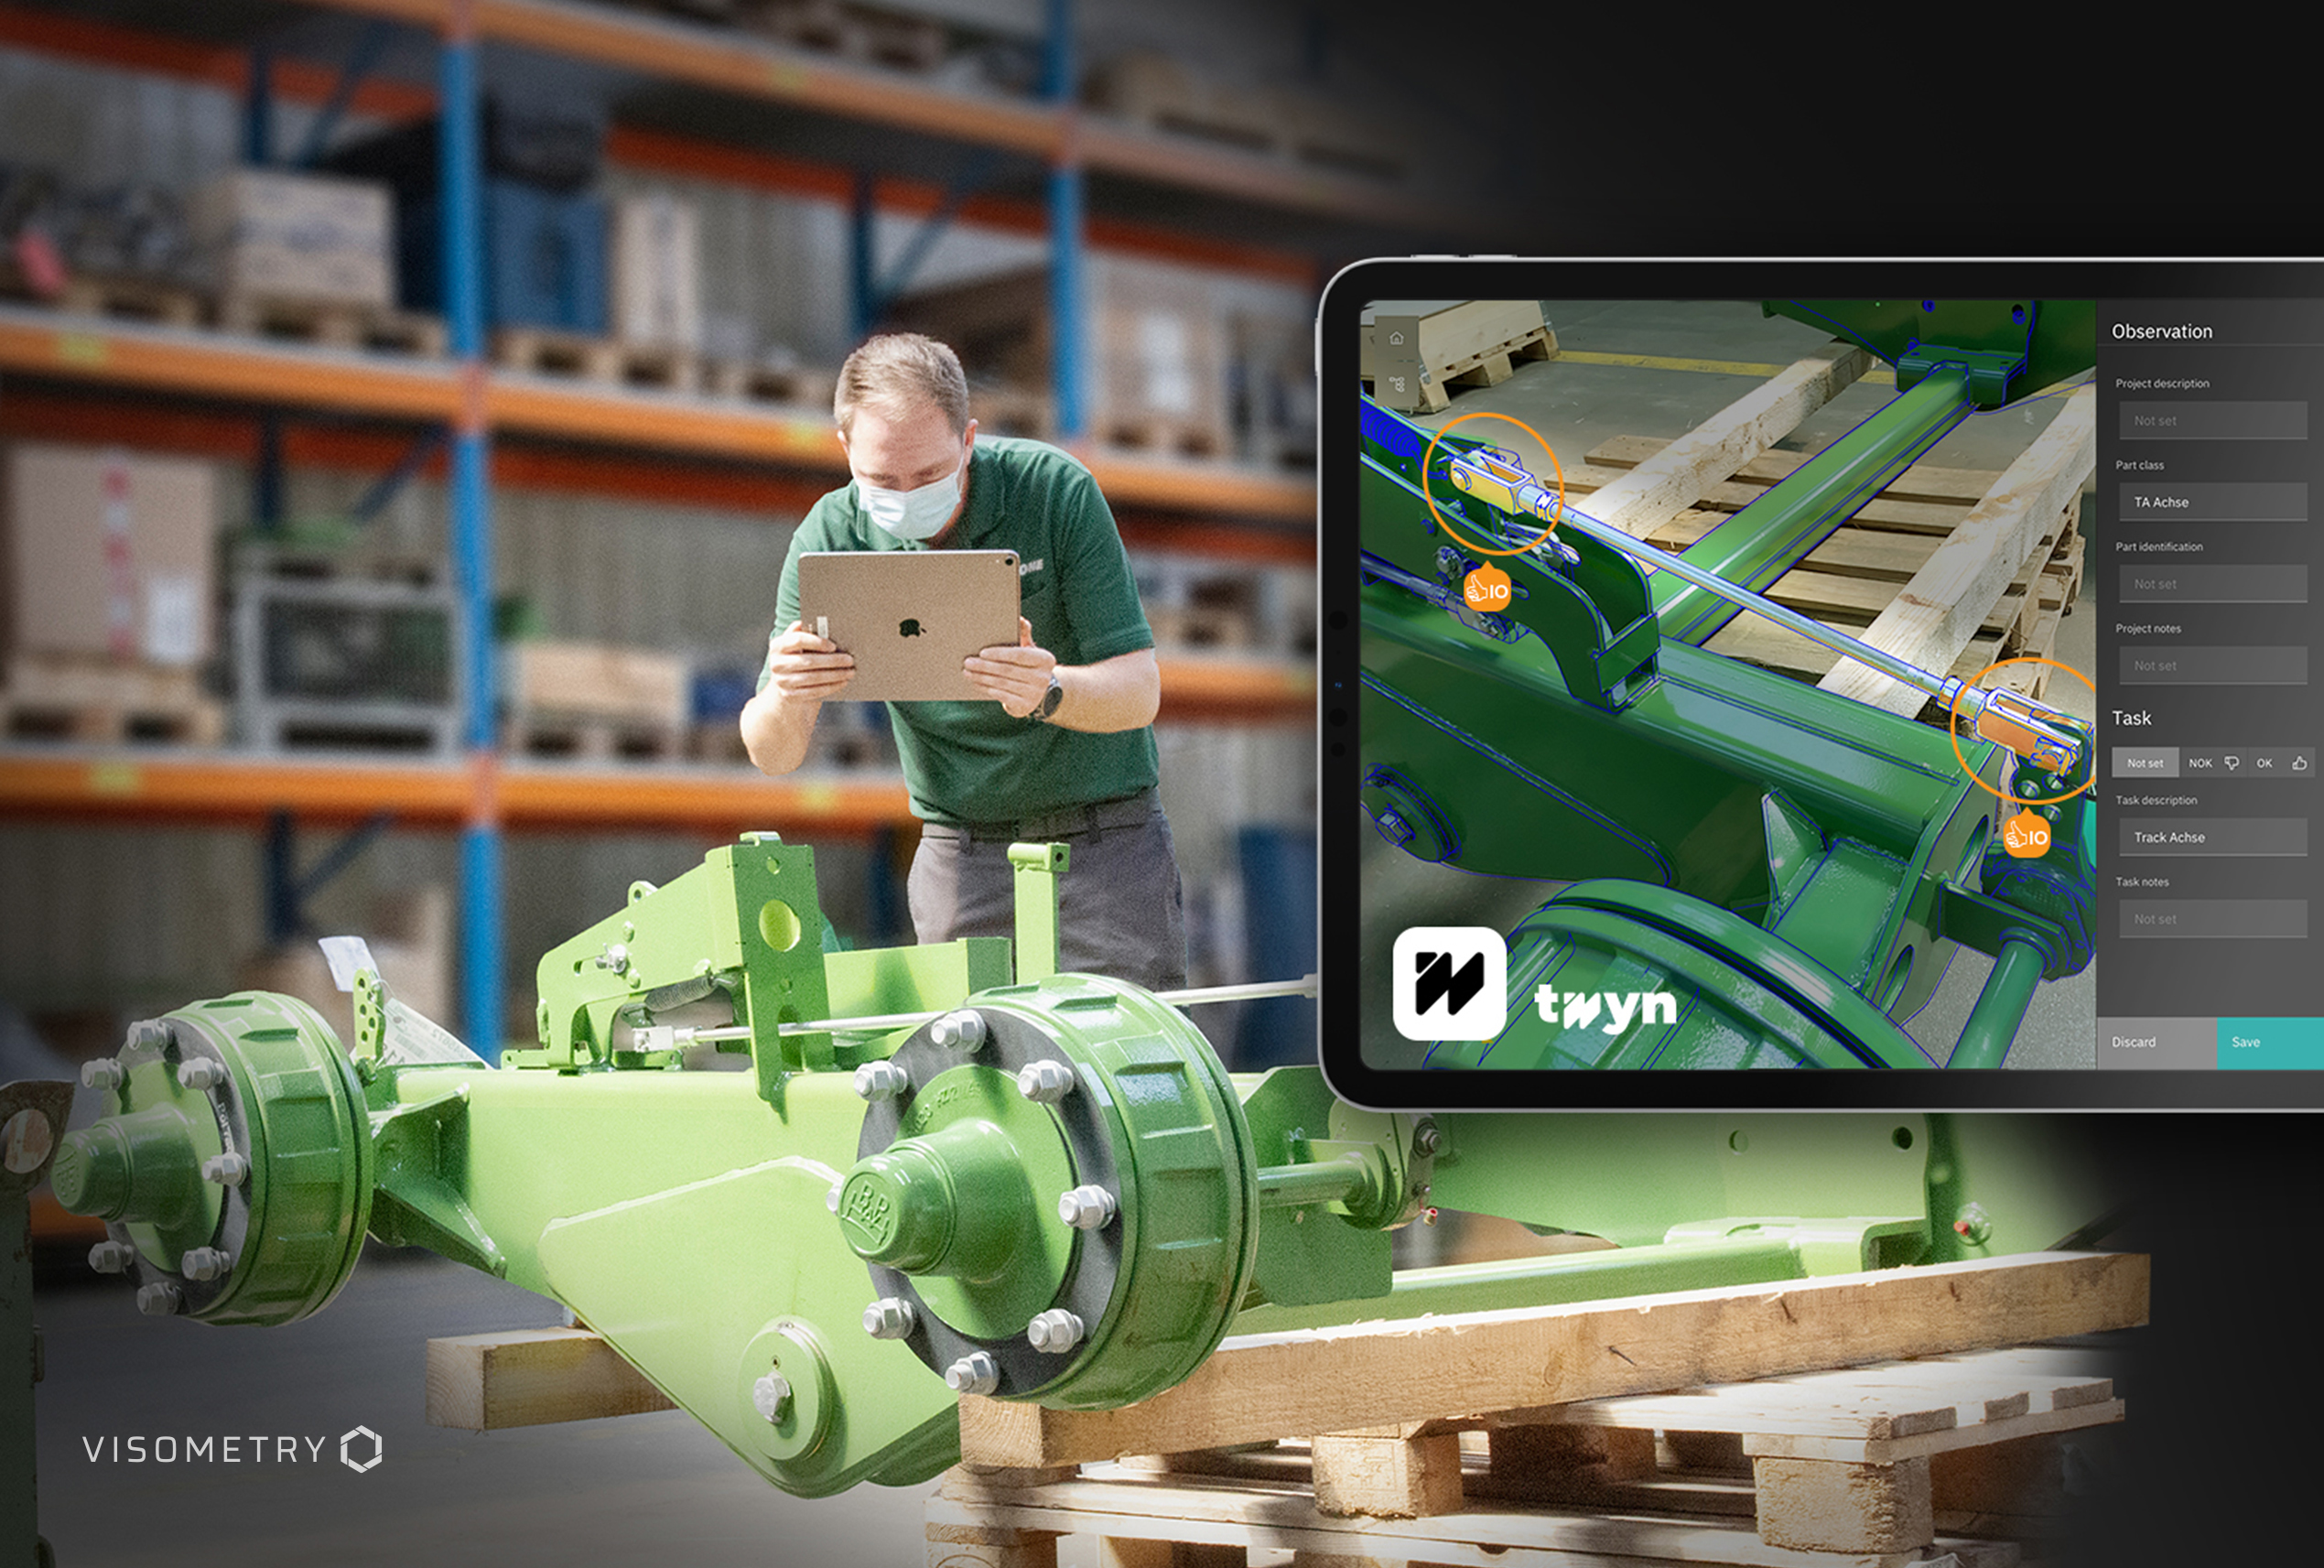
With »Twyn«, Visometry GmbH, Darmstadt, presents a mobile, flexible and fast software platform for the quality inspection of components and assemblies. With the help of a tablet's camera, the software automatically locates, registers and tracks the test parts. Using CAD data and augmented reality (AR), a digital twin is superimposed directly onto the object - no special markings or other preparation of the test item is required for this. Deviations between target and actual conditions thus become directly visible to the inspector. The system can be used, for example, to determine the geometric deviation, to check the alignment and position of a component or to check for completeness.

Exhibitor: Visometry GmbH, Darmstadt (Germany)   

The software platform works on a tablet
© Visometry GmbH
The software platform uses the camera of a tablet for testing.

Automotive platform for mobile data acquisition

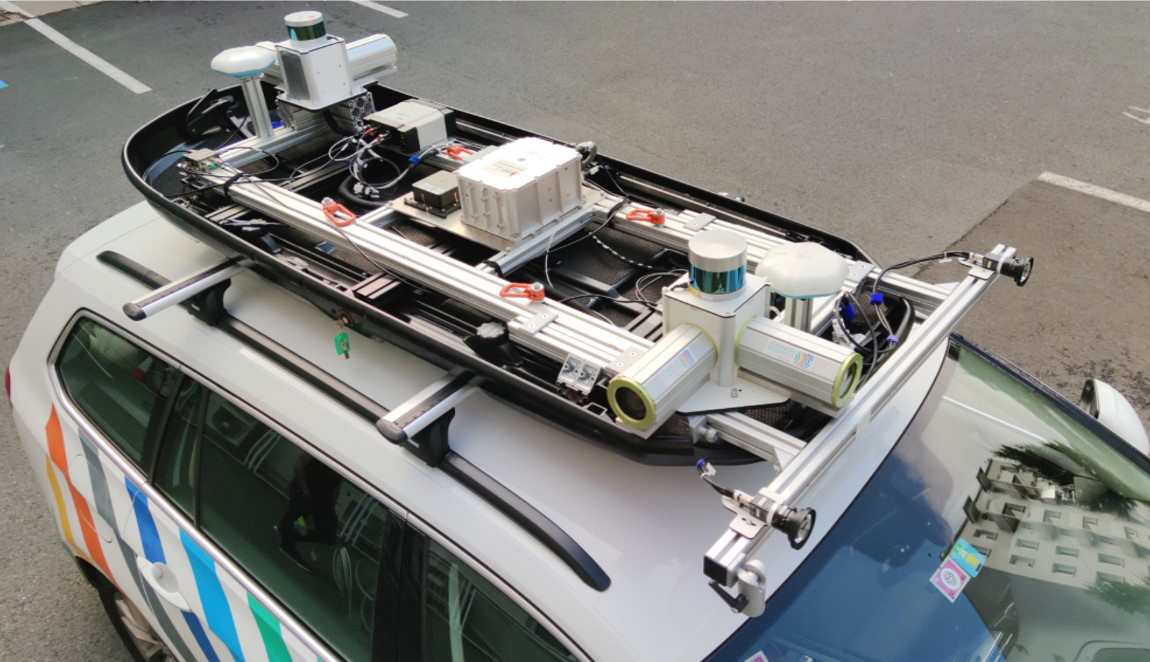
The Institute for Information and Communication Technologies DIGITAL of the Joanneum Research Forschungsgesellschaft mbH from Graz (Austria) shows a flexible, vehicle-mounted outdoor sensor system for georeferenced recording of static and dynamic objects.

In the sensor network, data from GNSS / IMU (Global Navigation Satellite System/Inertial Measurement Unit), LiDAR, radar and high-resolution cameras are recorded synchronized and geo-referenced and made available as a data source. The weather-protected and inconspicuous design enables 360-degree acquisition around the own vehicle and provides automated data for subsequent simulation and evaluation tasks. One possible field of application is, for example, the examination of road surfaces on highways and freeways in order to detect potential road damage (small cracks, incipient ruts or potholes) and other irregularities at an early stage. With the help of the system, detailed road wear maps are created that contain the impairments and the associated safety risks down to the centimeter.

Exhibitor: JOANNEUM RESEARCH Forschungsgesellschaft mbH, DIGITAL - Institute for Information and Communication Technologies, Graz (Austria)

Sensor platform
© JOANNEUM RESEARCH Forschungsgesellschaft mbH
Sensor platform without cover.

Industrial computer tomograph for measuring complex components

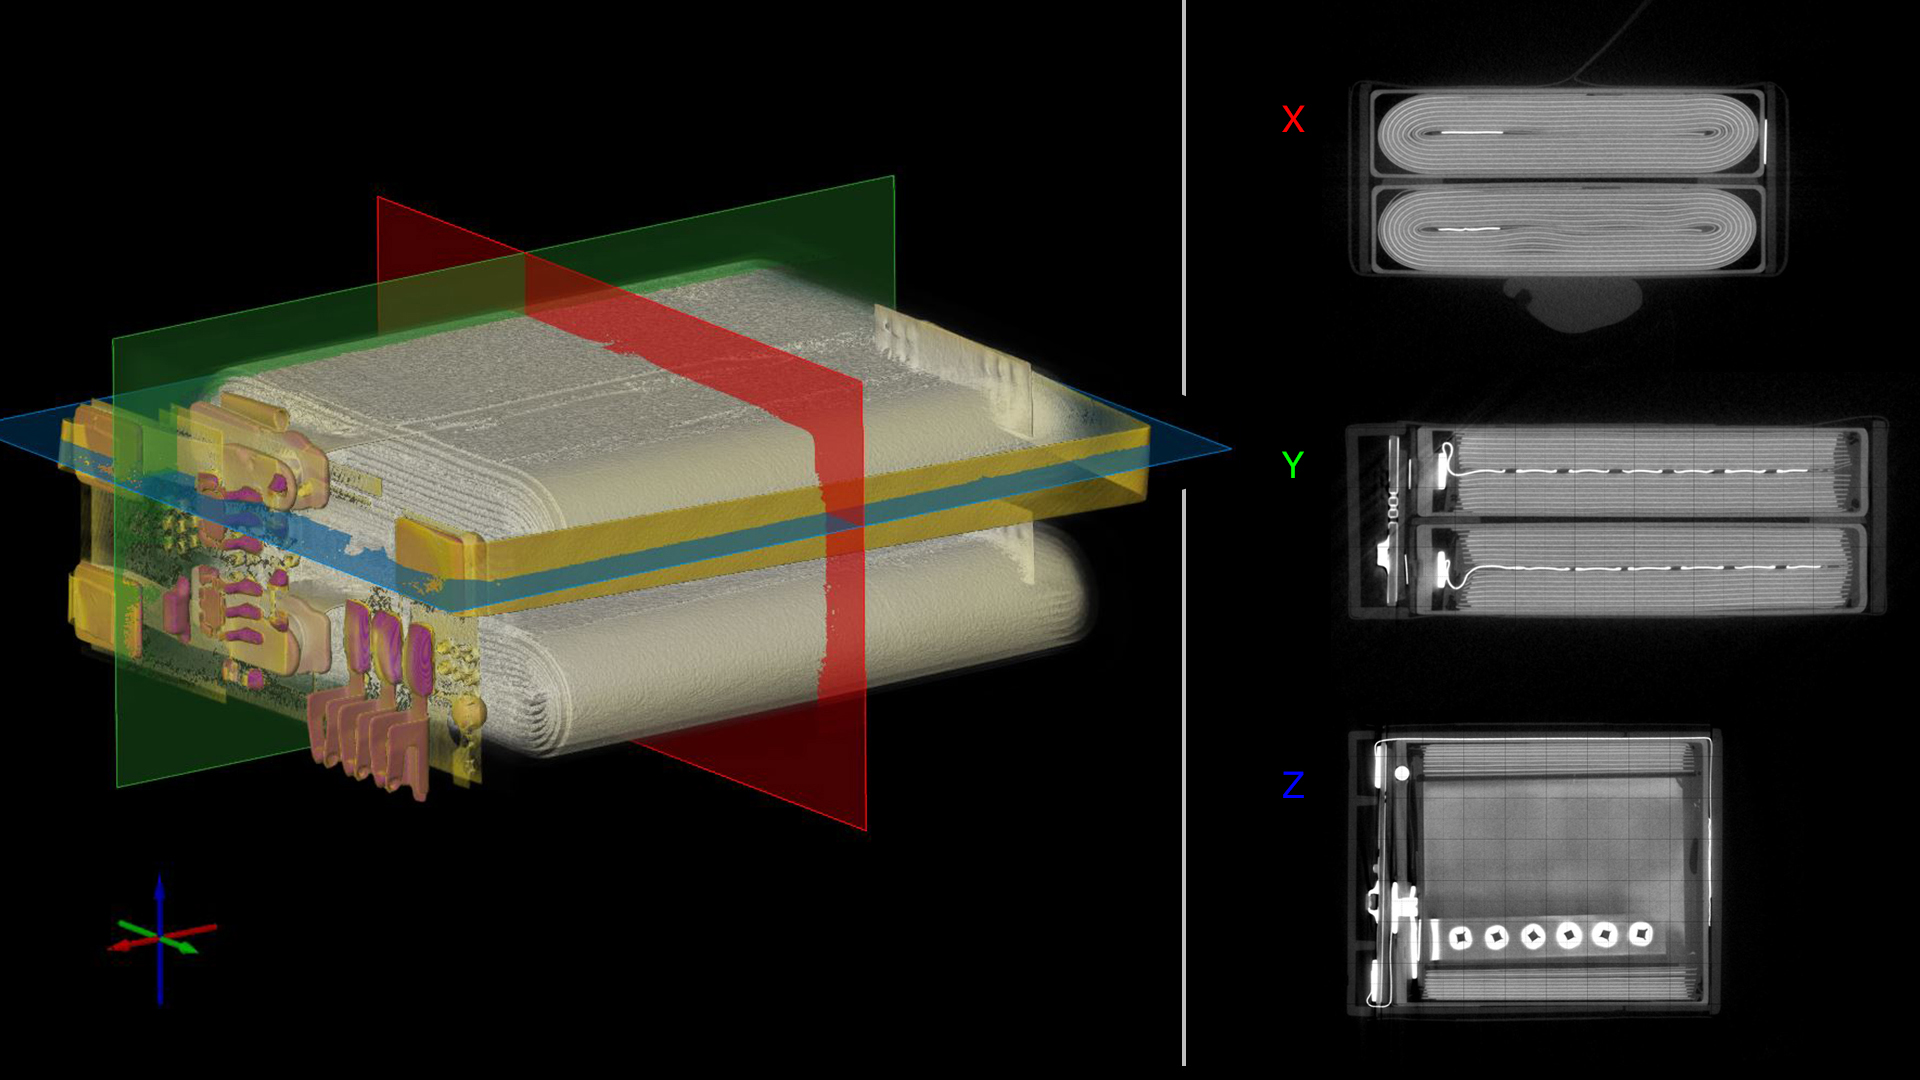
ZEISS Industrial Quality Solutions, Oberkochen, Germany, presents ZEISS METROTOM 6 scout, an industrial computed tomography (CT) system that digitizes complex components, including internal structures, in a contactless and non-destructive manner and makes very fine details visible. The system, equipped with a 3k X-ray detector (3008 x 2512 pixels), is particularly suitable for measuring small plastic parts. Thanks to automatic object positioning with the help of 5-axis kinematics, each test specimen is measured in the best possible position and thus in the highest possible resolution. After the inspection, users receive a full 3D image for form and position analyses or target/actual comparisons. Based on the measurement results, reliable and precise statements can be made about the component quality and further analyses can be carried out.

Exhibitor: ZEISS Industrial Quality Solutions, Oberkochen (Germany)

Volume visualization
© ZEISS Industrial Quality Solutions
Extensive volume visualization of a component.

Automatic segmentation and classification with artificial intelligence

Bruker Alicona of Graz, Austria, introduces new classification software based on artificial intelligence (AI) that enables automatic detection of i.o. and n.i.o. surfaces. The procedures for automatic classification and segmentation are thereby based on intelligent, self-learning algorithms that characterize, segment, analyze and classify a component without the need to program special workflows. Surface parameters for component evaluation are automatically derived and evaluated. The technology is used, for example, to analyze the grain distribution on grinding tools or to evaluate sandblasted or laser-machined components.

Exhibitor: Bruker Alicona, Raaba/Graz (Austria)

Classification software
© Vitesco Technologies
The classification software can be used, for example, for quality control of laser machining processes.

Initial and continuing education offers in the field of industrial image processing

Machine vision and optical measurement and inspection technologies are an important element in the implementation of zero-defect concepts whose goal is 100 percent inspection in production. Their contactless, fast and reliable operation means that they can now be used increasingly frequently in step with the production cycle. However, it is still not easy for potential users to decide which machine vision technology is most suitable for their own applications. The Technology Days, seminars and publications of the Fraunhofer Vision Business Unit offer decision support for this purpose.

Exhibitor: Fraunhofer Business Unit Vision, Fuerth (Germany)

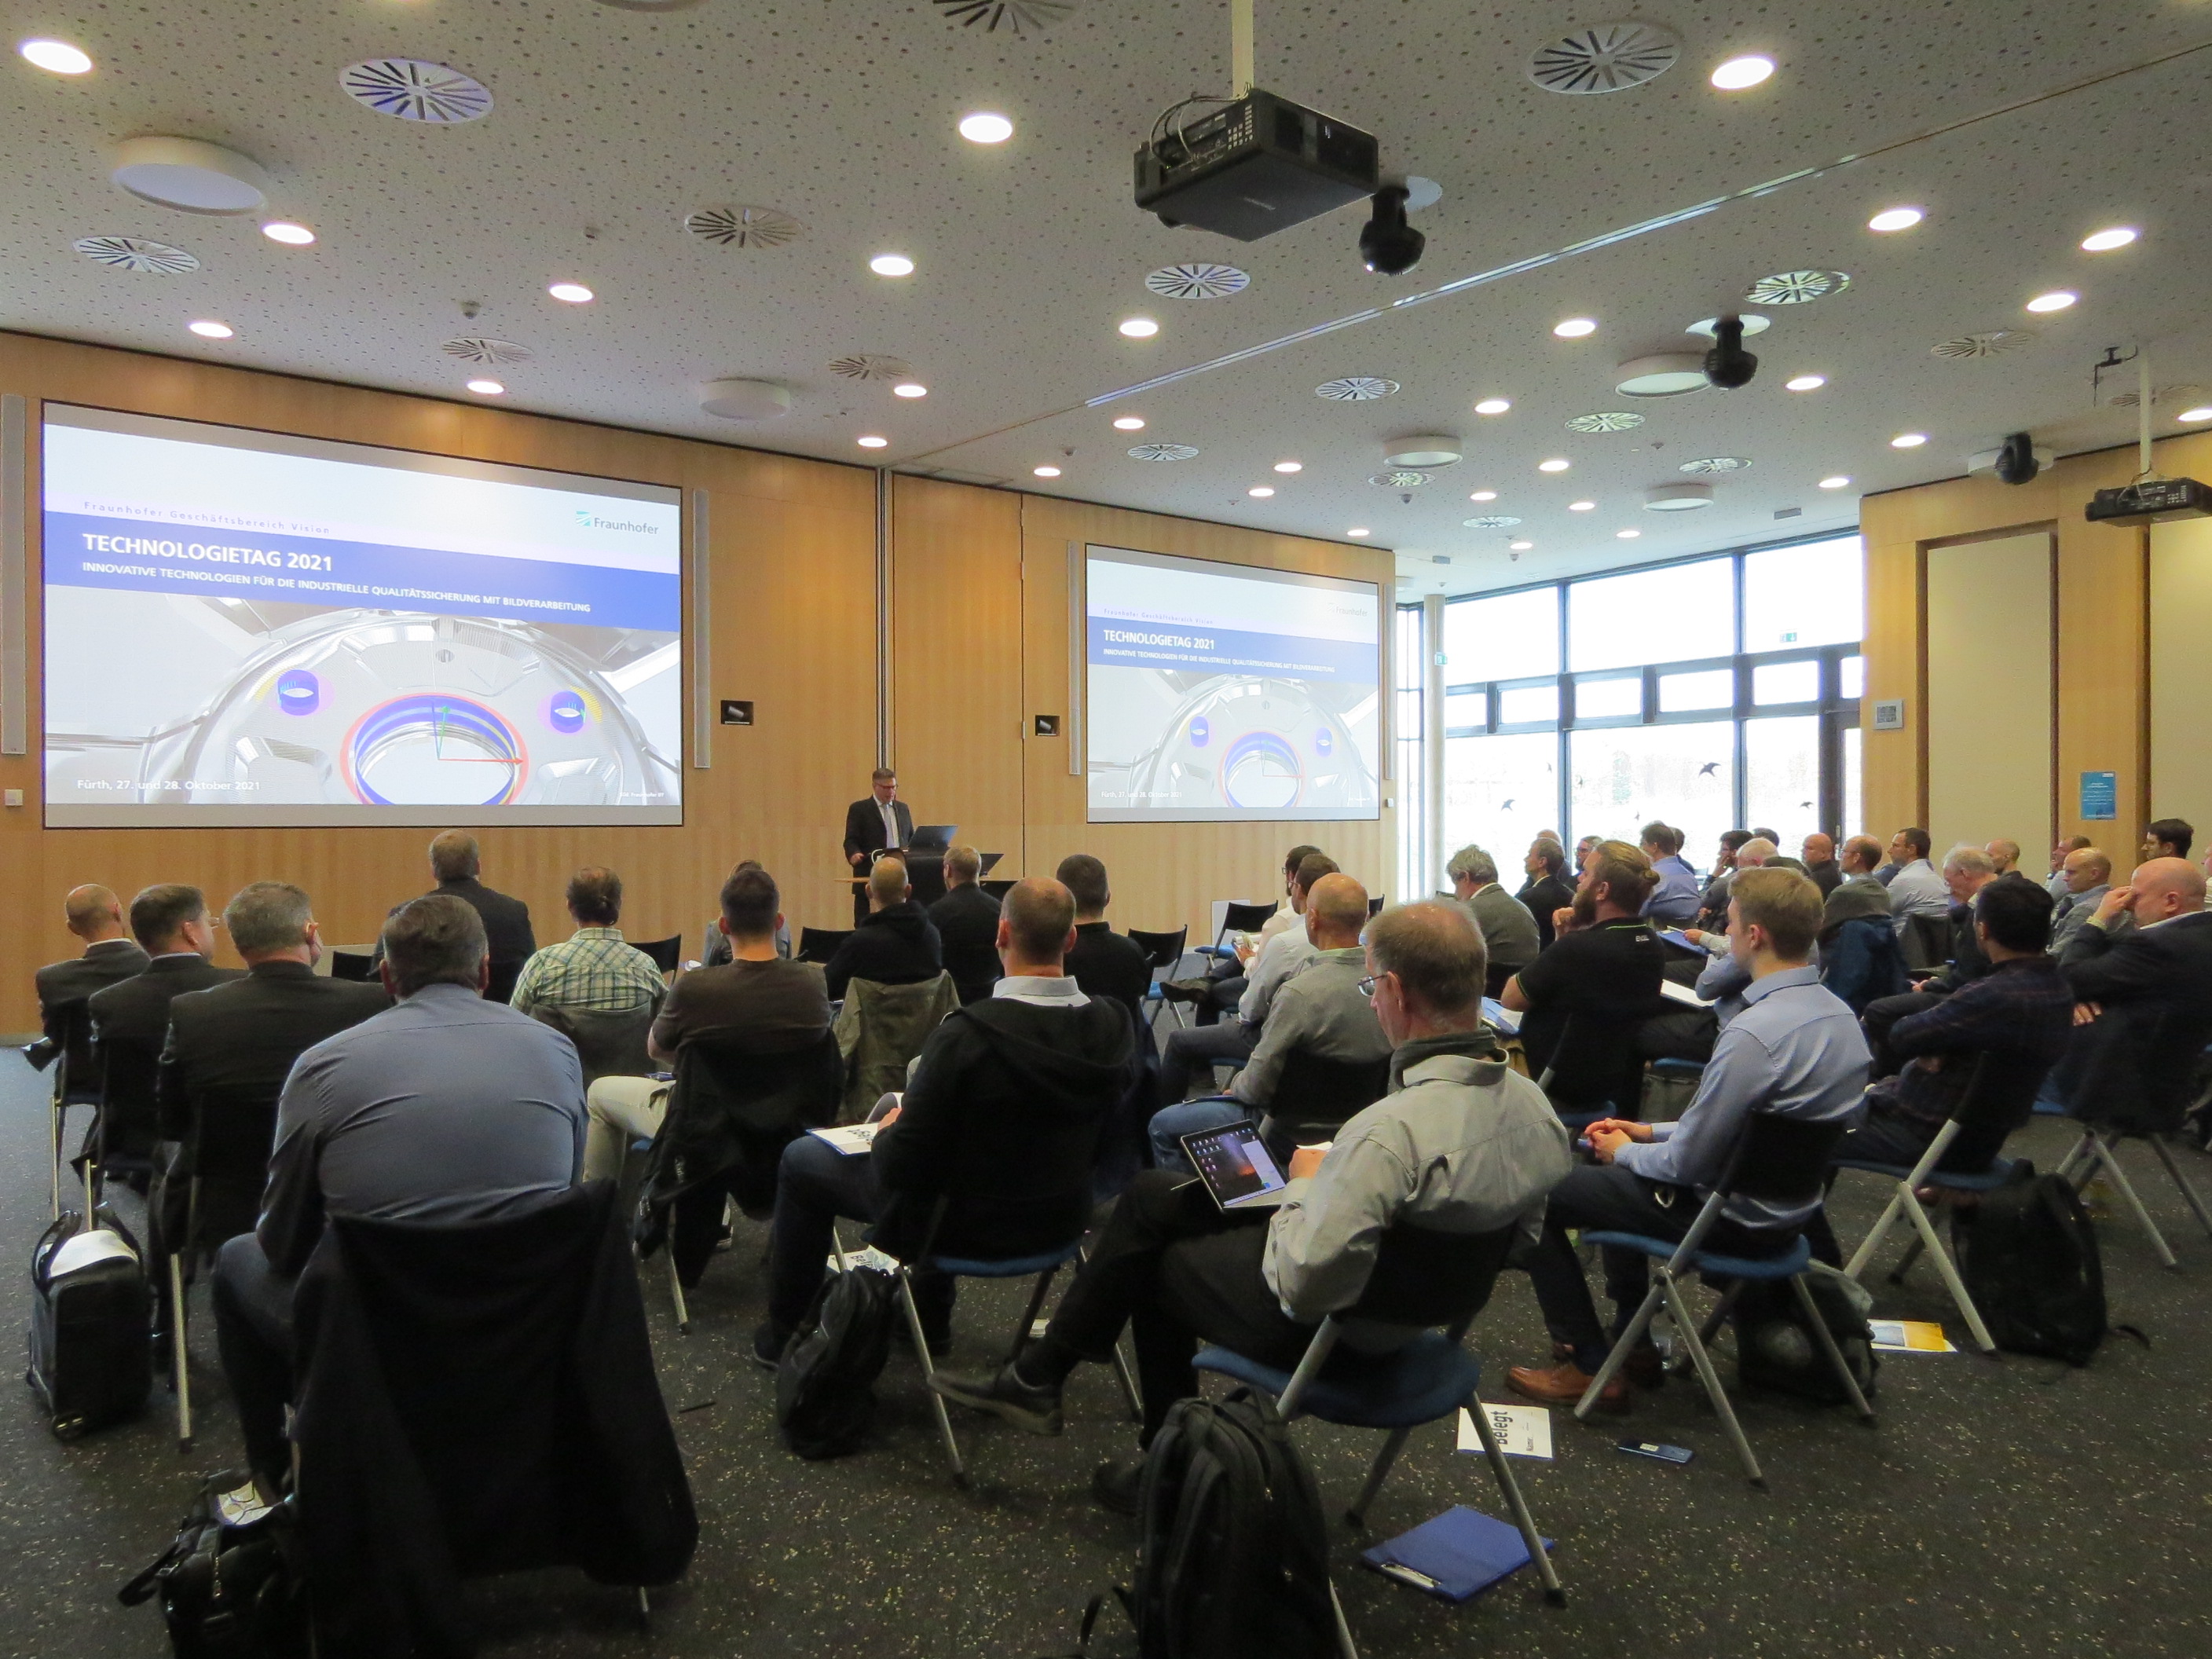
Opening technology days 2021 in Fürth
© Fraunhofer
Opening of the 13th Fraunhofer Vision Technology Day 2021 at Fraunhofer EZRT in Fuerth.