Inspection of forged parts with magnetic particle inspection or dye penetrant inspection
Despite constant improvements in manufacturing processes, defects can occur in manufactured forged components, either due to defects in the raw material or deviations from the ideal process parameters. Therefore, non-destructive testing of components is often required, in extreme cases with the requirement of »defect-free«. The magnetic particle crack detection or dye penetrant testing traditionally used for this purpose have the following disadvantages:
- The result evaluation depends strongly on the test personnel and their permanent attention during their period of operation.
- The differentiation between false indications and real defects is difficult and requires experienced test personnel.
- Additional costs may occur due to the need to clean the test object from the particle suspensions.
- UV illumination can be hazardous to health if not used properly.
- After testing for surface defects, no raw digital data is available for later analysis.
Robot-assisted induction thermography with automated defect detection
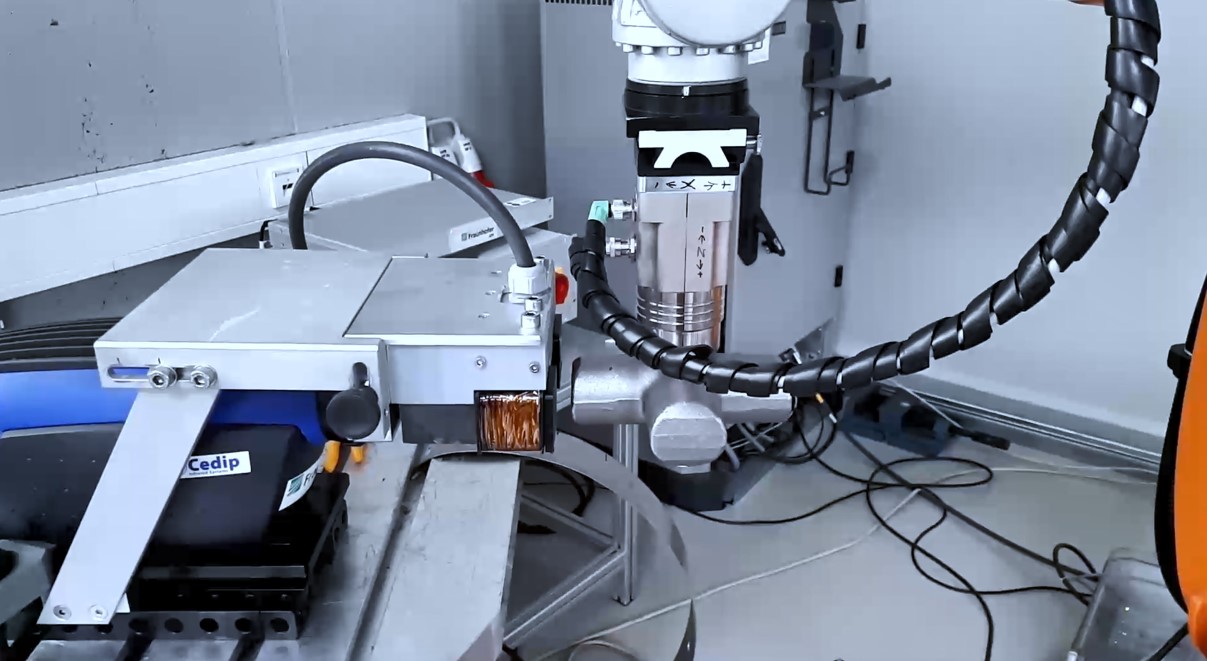
The »ForgeCheckTherm« system for robotic induction thermography with automated defect detection developed at the Fraunhofer Institute for Nondestructive Testing IZFP, Saarbrücken, Germany, detects surface defects by generating an alternating current in the surface of the electrically conductive steel via an inductor. When the induced current encounters a surface crack, it must take detours around the crack. Associated with the current flow in the component is heating due to ohmic losses. At cracks, the current density is altered and a characteristic defect signature becomes visible to an infrared camera. In a short time, the image sequence recorded by the infrared camera can be evaluated. After pre-processing and automated defect detection, the defect images appear.
A robot grips the test part and holds it in several test positions in front of the thermographic inspection head. The pre-processed image sequences from the camera are fed to a defect detection module that has been trained in advance with images of OK and not OK parts. In comparison with magnetic particle crack detection, this results in high inspection reliability.
Advantages of eddy-current excited thermography
- Automatable, fast testing technique
- No need for chemicals and cleaning processes, works contact-free
- Direct delivery of images of the defect indications, which can be easily and 100% documented
- Standardized technique (DIN 154183:2018-2, EN standard is in preparation)
- Possibility to increase test reliability and reduce rejects due to false alarms
- Avoidance of complaints and saving of personnel costs
Fields of application of inductive excited thermography
The technique is suitable for steel components, especially forged parts from the automotive sector, safety-relevant components in aerospace, also made of carbon fiber composite material, and medical implants.
