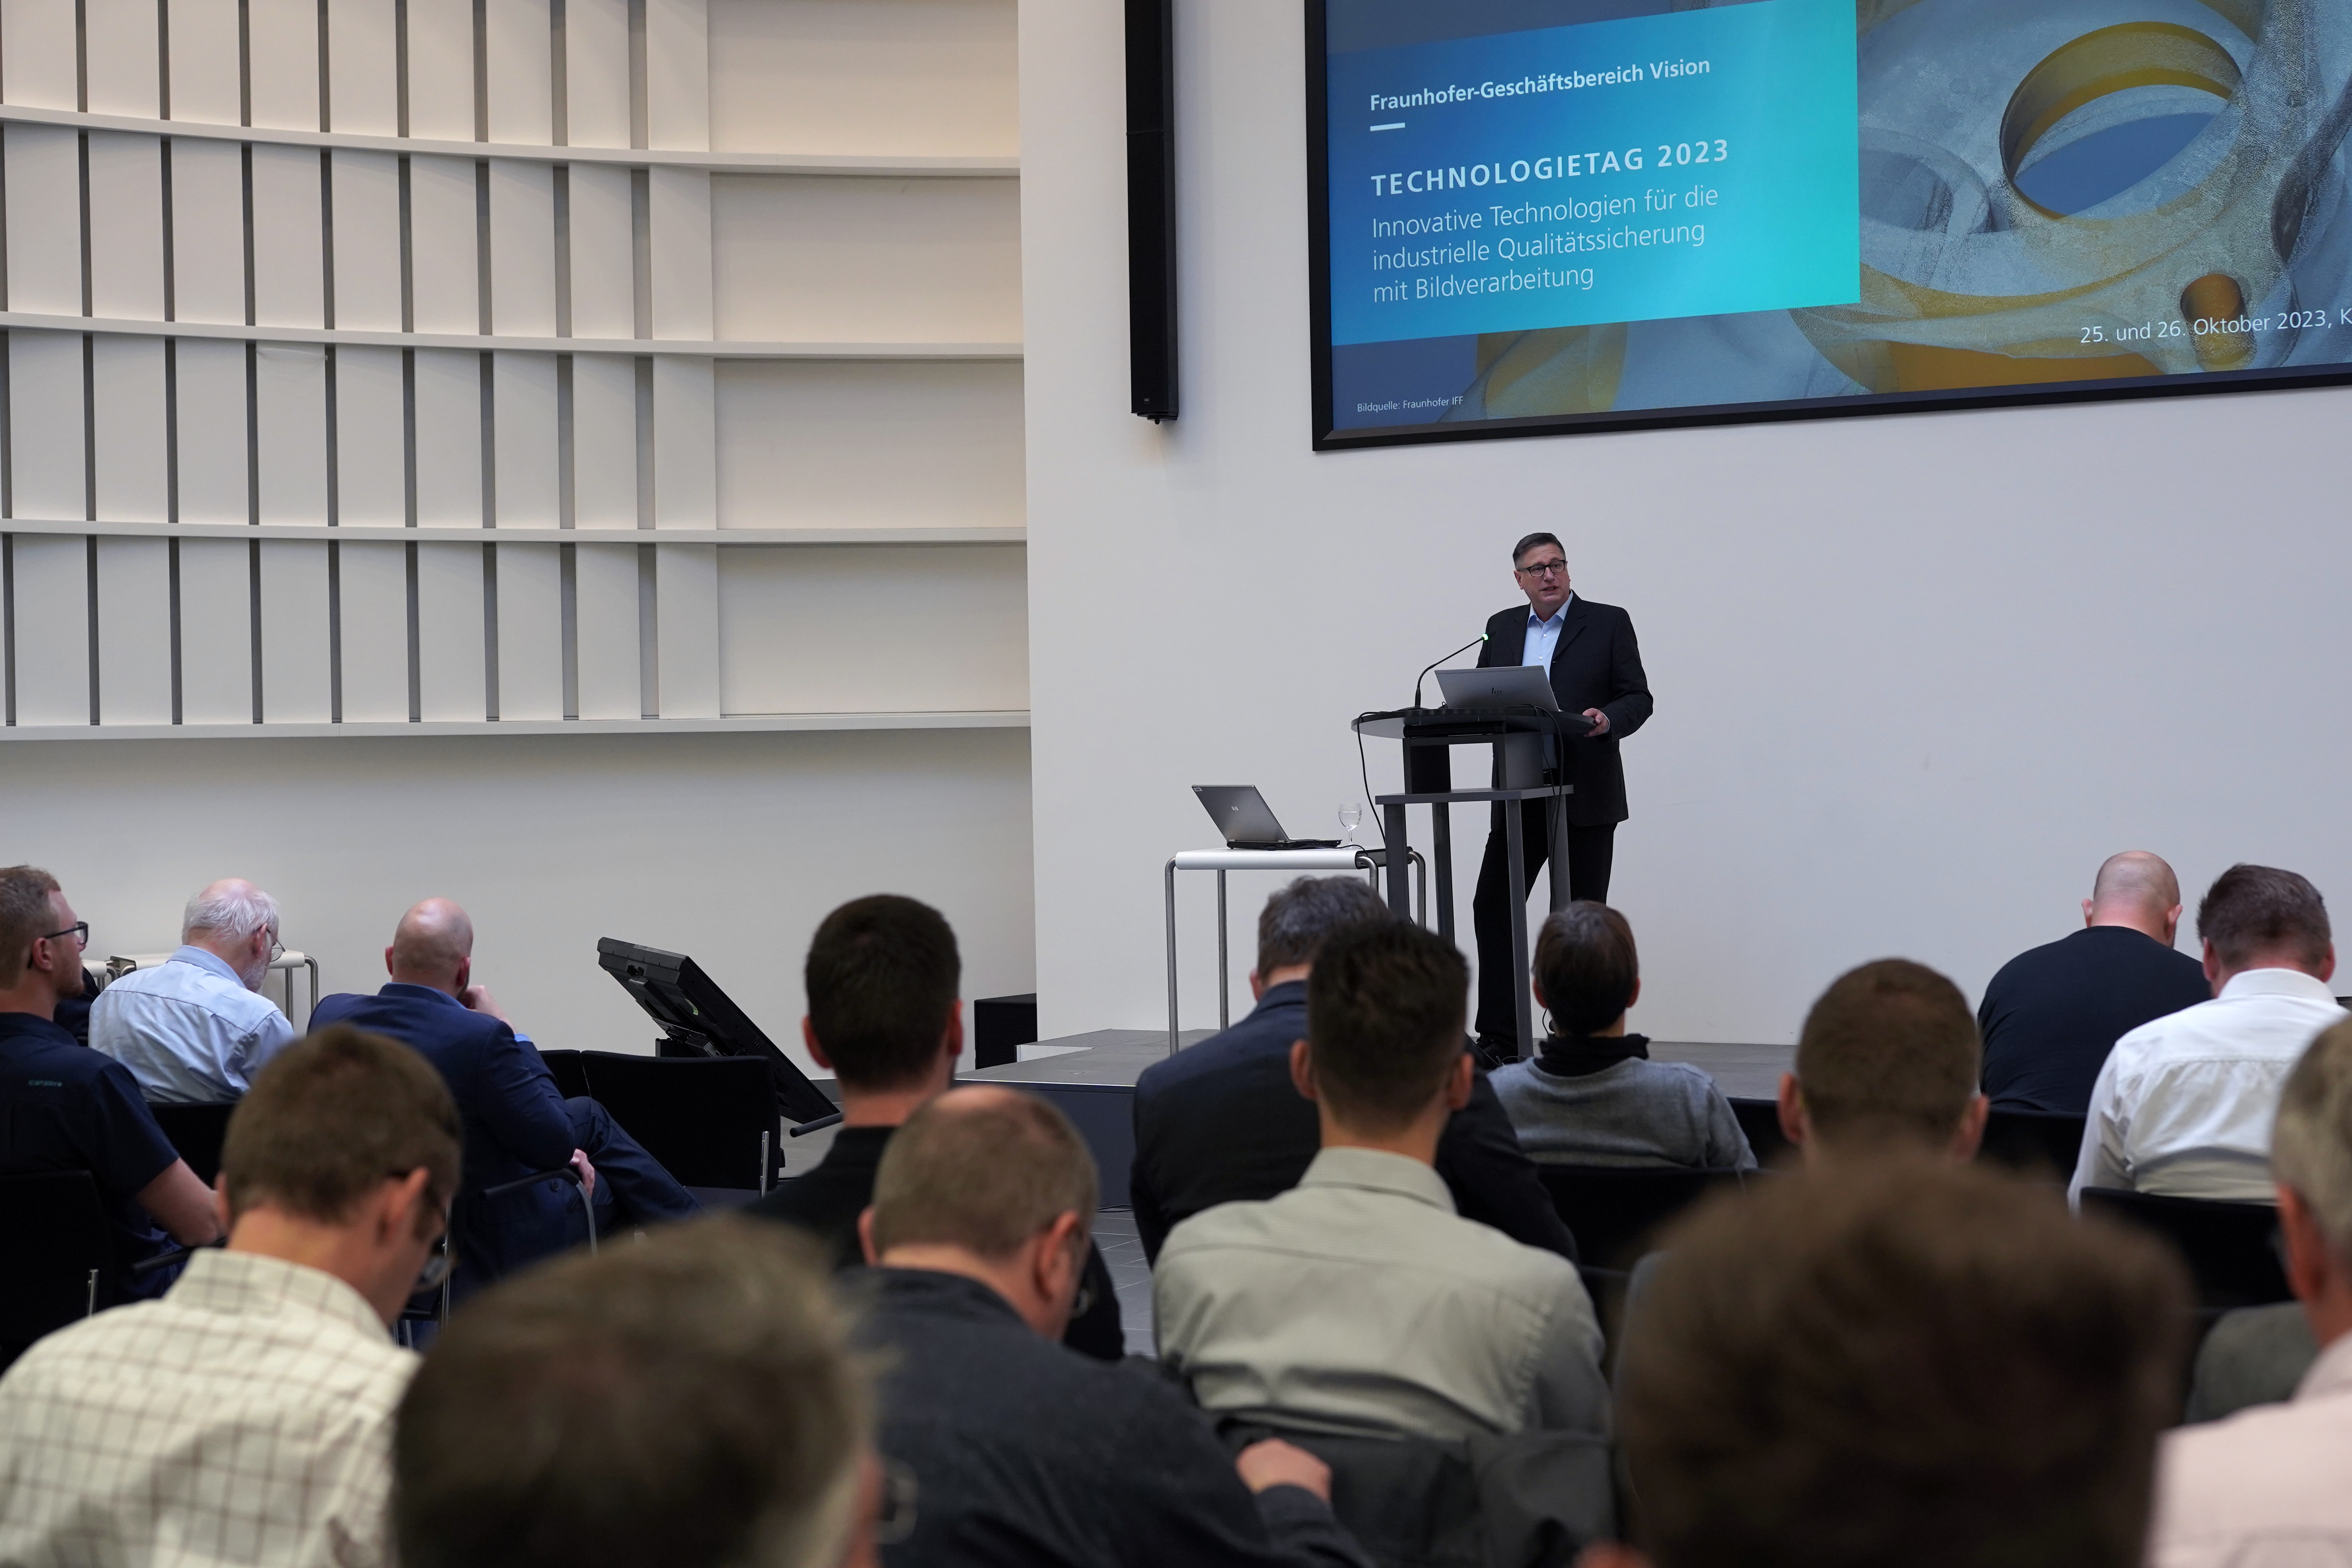
The Special Show »Non-Contact Measurement Technology« at the leading international trade fair for quality assurance »Control« in Stuttgart, April 23rd to 26th, 2024, will be held for the 18th time this year and will present the latest developments and pioneering technologies from the field of non-contact measuring and testing technology. The Special Show has established itself as a marketplace of innovations for both exhibitors and trade fair visitors and will be on display in a centrally located position in Hall 8 this year.
Exhibits of the 18th Special Show »Non-Contact Measurement Technology«
Concepts and goals
The Special Show, whose concept it is to present a variety of different technologies for non-contact and non-destructive measuring and testing technology in a concentrated area, offers interested parties and potential users initial guidance when selecting a suitable technology in order to master their own testing tasks. This is because the performance and flexibility of modern systems is constantly growing. Wider and wider scales are being covered and new fields of application explored. Due to the rapid pace of technical development, it is not easy for users to orient themselves on the market and make a suitable selection with regard to their own requirements. In addition to this initial orientation aid, the exhibitors at the Special Show booth also offer complete non-contact measuring and testing systems, where visitors with specific tasks can find possible solutions. The Special Show is being organized with the support of the Fraunhofer Business Unit Vision and P. E. Schall GmbH & Co. KG.
Topics and exhibits
Thermal stress analysis with thermography
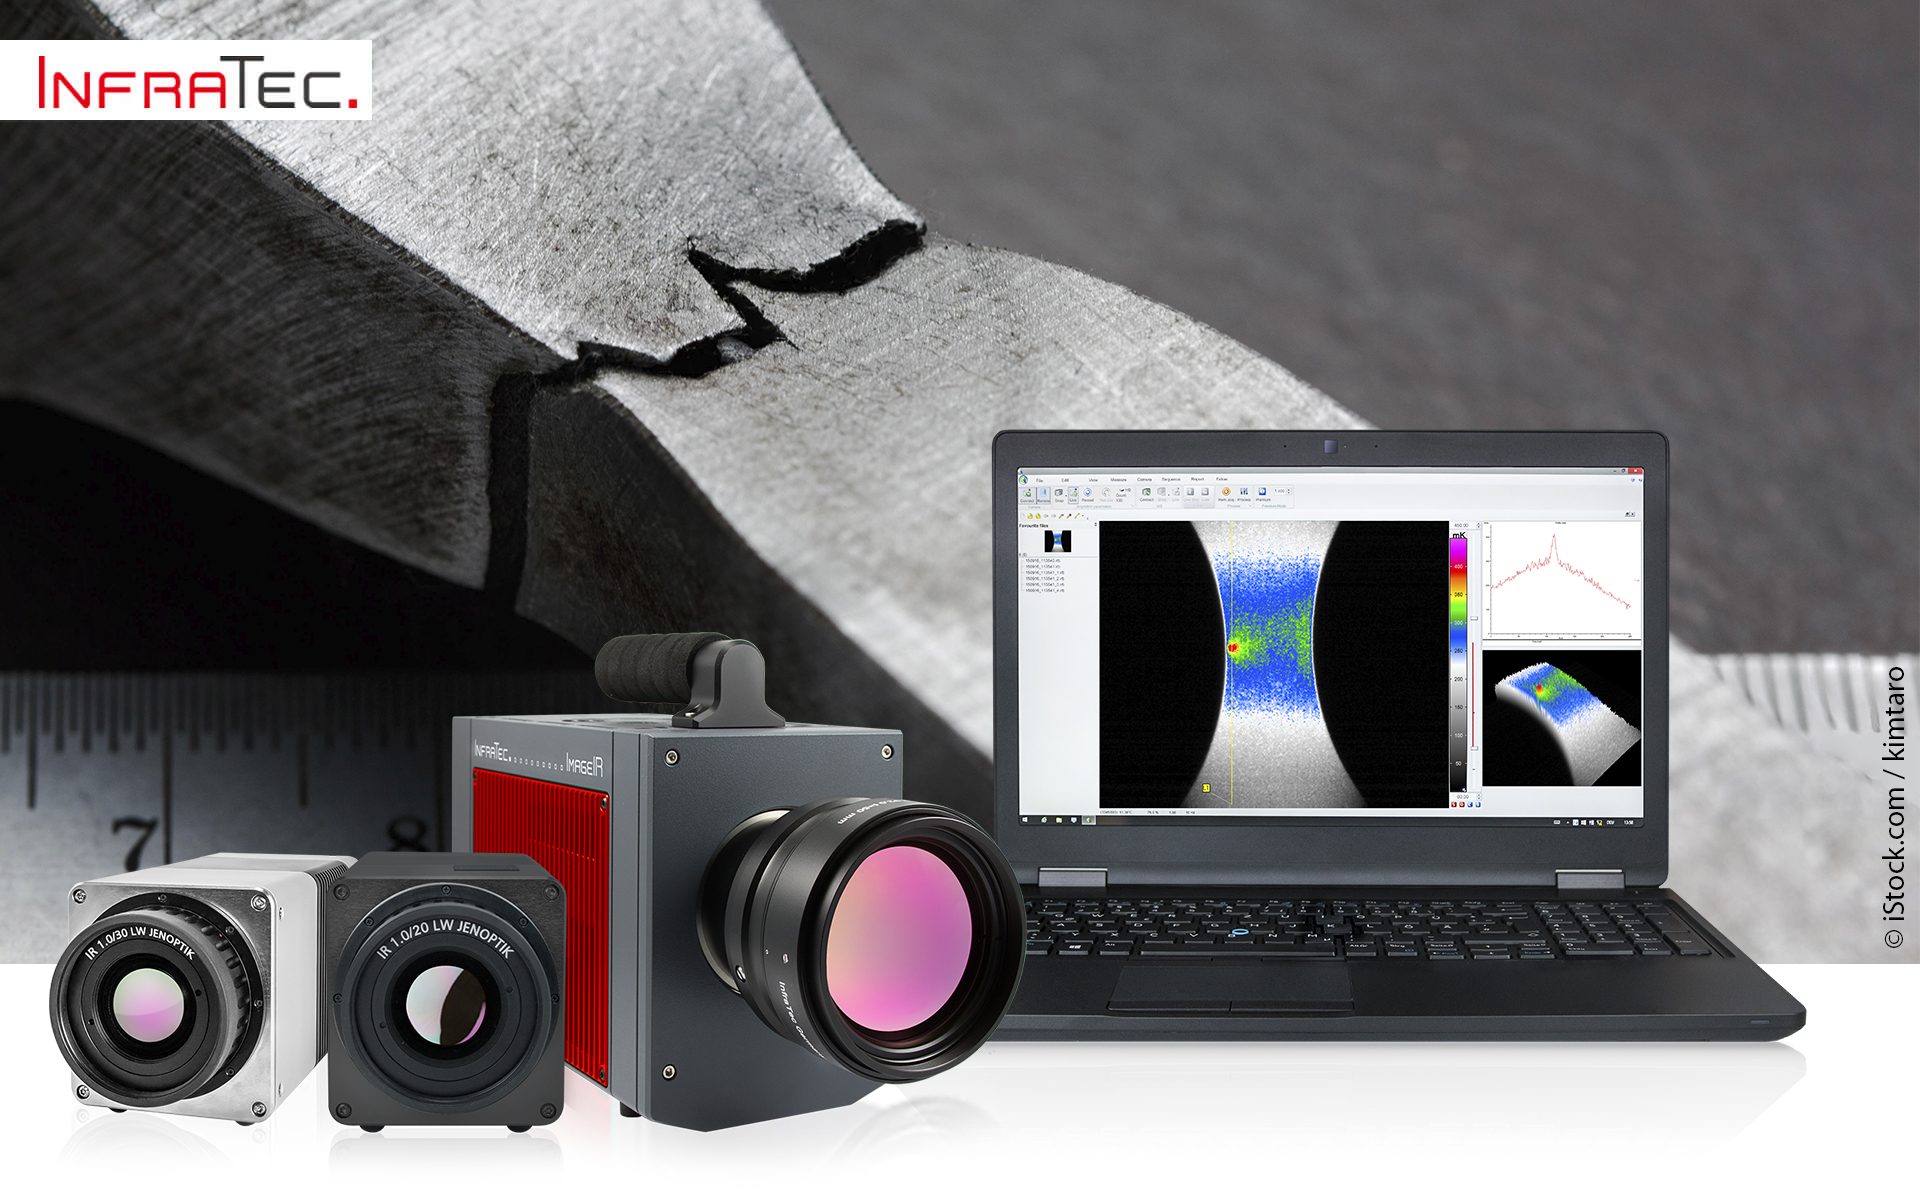
The Dresden-based company InfraTec GmbH Infrarotsensorik und Messtechnik illustrates the correlation between elastic deformation and thermal signals using the »ImageIR® 9400« thermal imaging camera and a part of a car bumper that is exposed to a periodically changing force. Thanks to this correlation, the thermal behavior and thus the internal stress of a test object can be analyzed. In the field of material and component testing, materials such as metals, plastics and composites as well as electronic power components can be examined in detail this way.
Exhibitor: InfraTec GmbH Infrarotsensorik und Messtechnik, Dresden (Germany)
Confocal 3D measuring systems for surface inspection
twip optical solutions GmbH from Pleidelsheim is presenting various 3D measuring systems for surface inspection based on the confocal measuring principle. The mobile and flexible »CONSIGNO MR« technology, which can be adapted to a wide range of measurement tasks in roughness inspection and is operated via touchscreen, is brand new.
The fast optical measuring device »CONSIGNO UL«, which specializes in roughness depth and contour measurement and enables flexible use in quality assurance and production measurement technology, will also be on display. An innovative mechanical drive ensures a high measuring speed over the entire measuring range.
Exhibitor: twip optical solutions GmbH, Pleidelsheim (Germany)
Simultaneous microscopic 2D and 3D quality control for inspecting the smallest structures
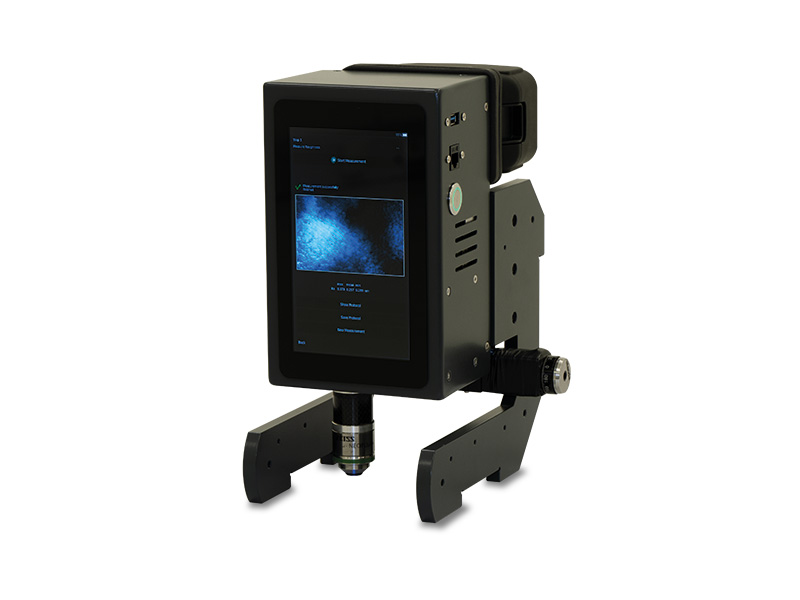
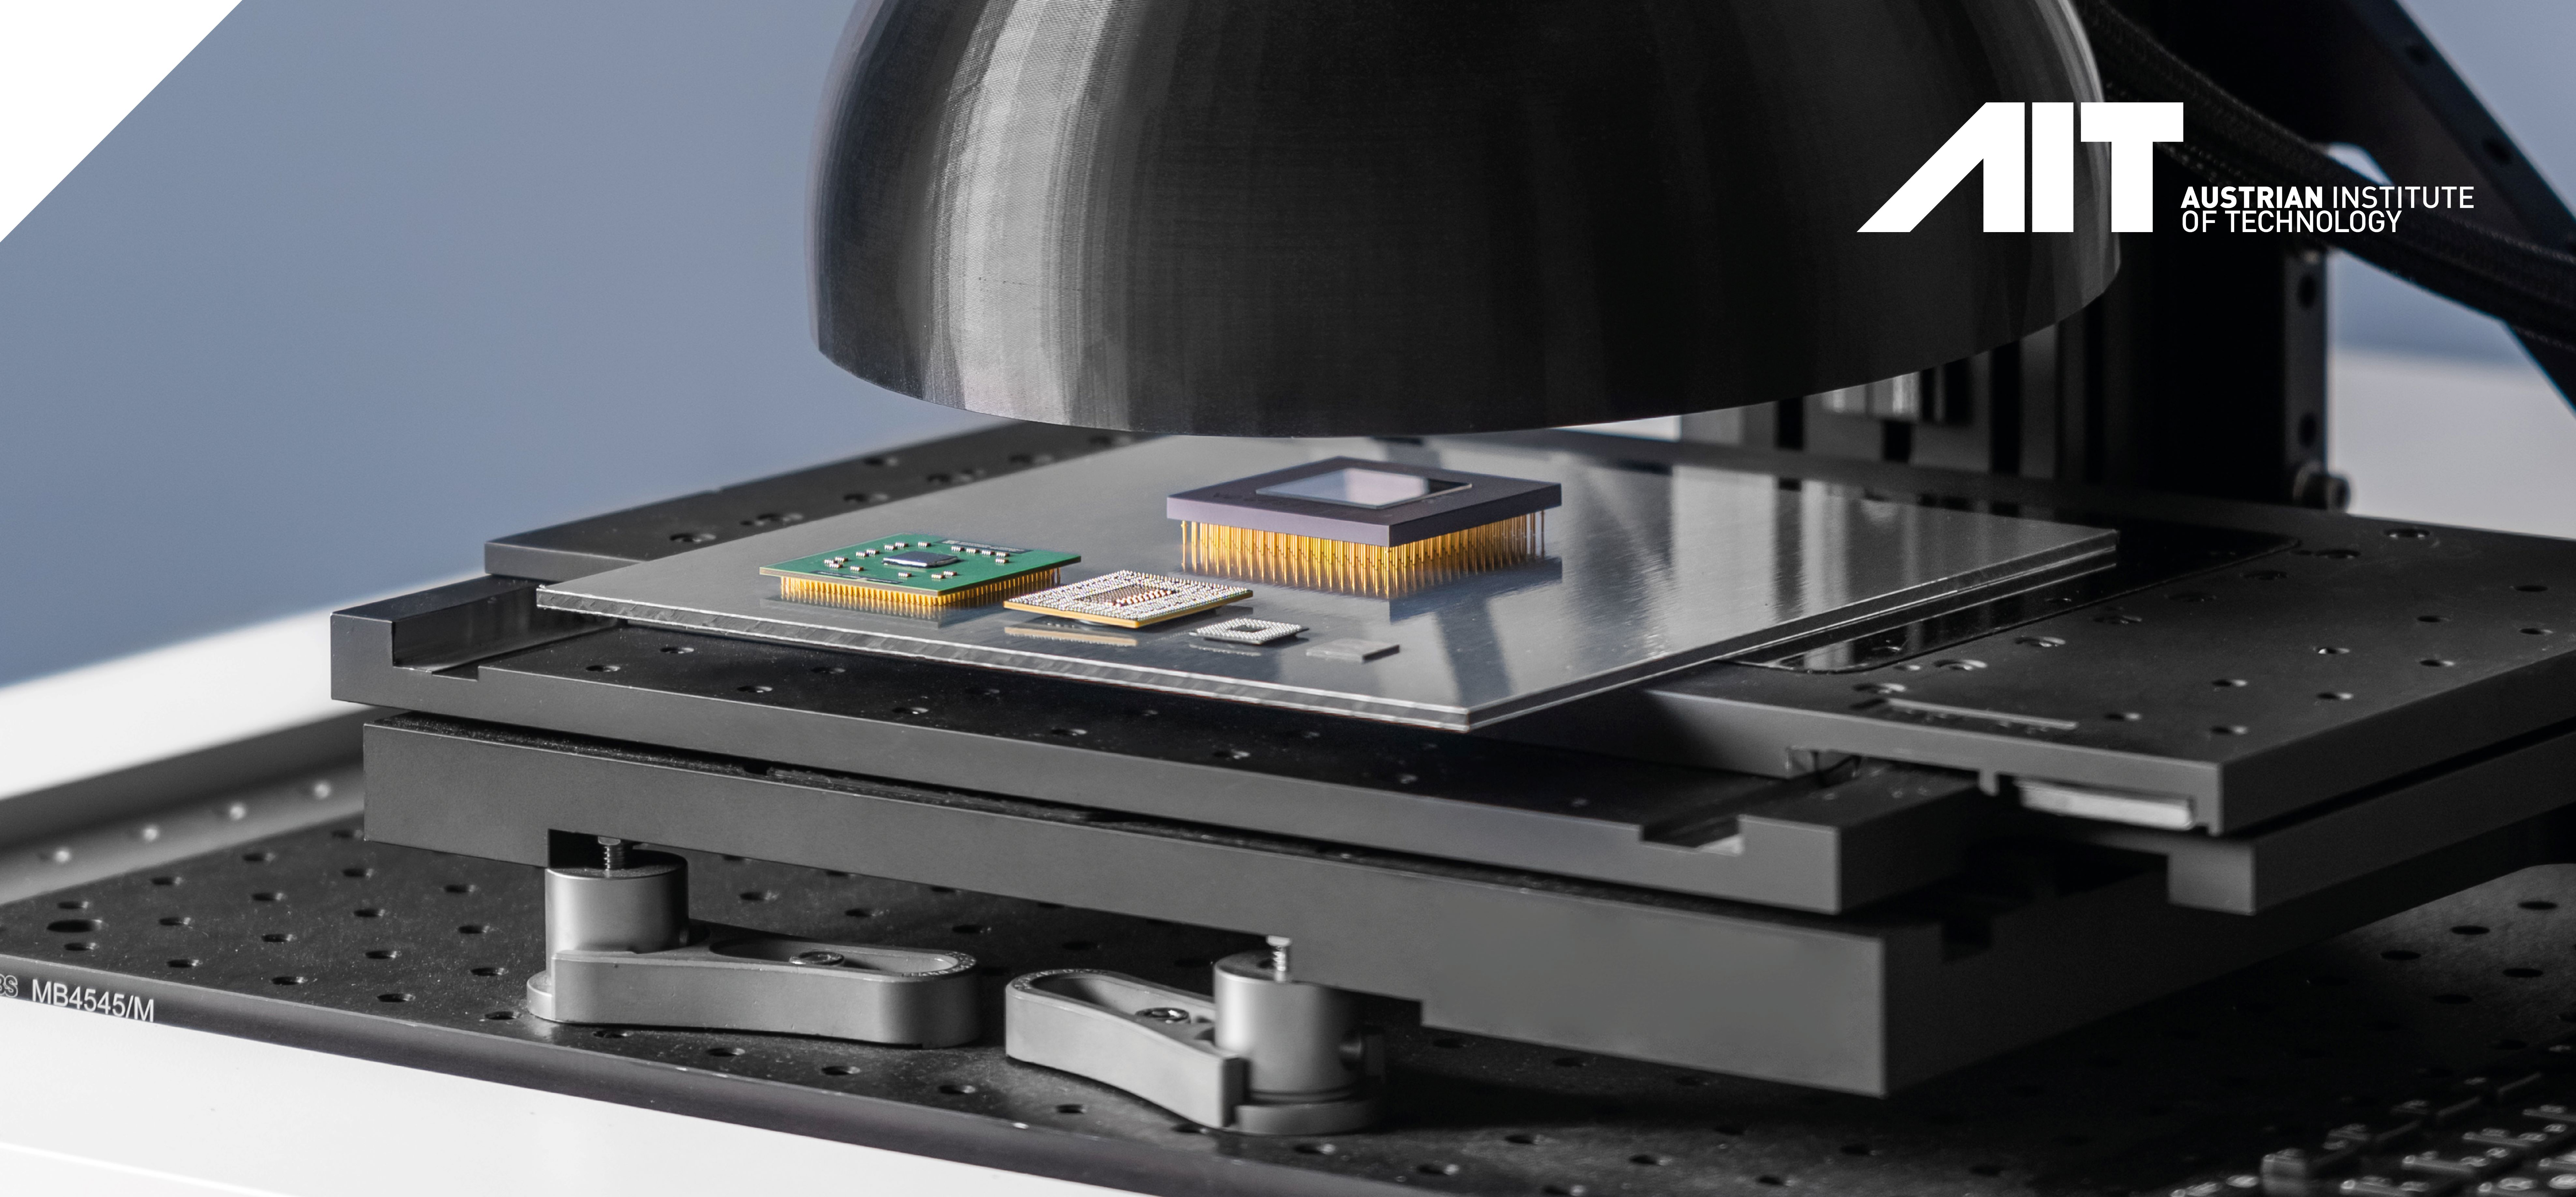
The AIT Austrian Institute of Technology from Vienna presents »ici:microscopy«, a system for simultaneous microscopic 2D and 3D quality control. The inline 3D microscope delivers up to 40 million 3D points per second and therefore enables larger areas to be scanned quickly as well. It is designed to inspect the smallest structures even at high speeds and is based on the »Inline Computational Imaging (ICI)« technology developed at AIT. This combines the methods of light field and photometry by using the natural transport motion of the object for simultaneous detection from different viewing and illumination directions. Possible areas of application include electronics production, the inspection of metallic surfaces and packaging and security print.
Exhibitor: AIT Austrian Institute of Technology GmbH, Vienna (Austria)
Optical precise measuring system for dimensional, shape and position tolerances on rotation-symmetrical components
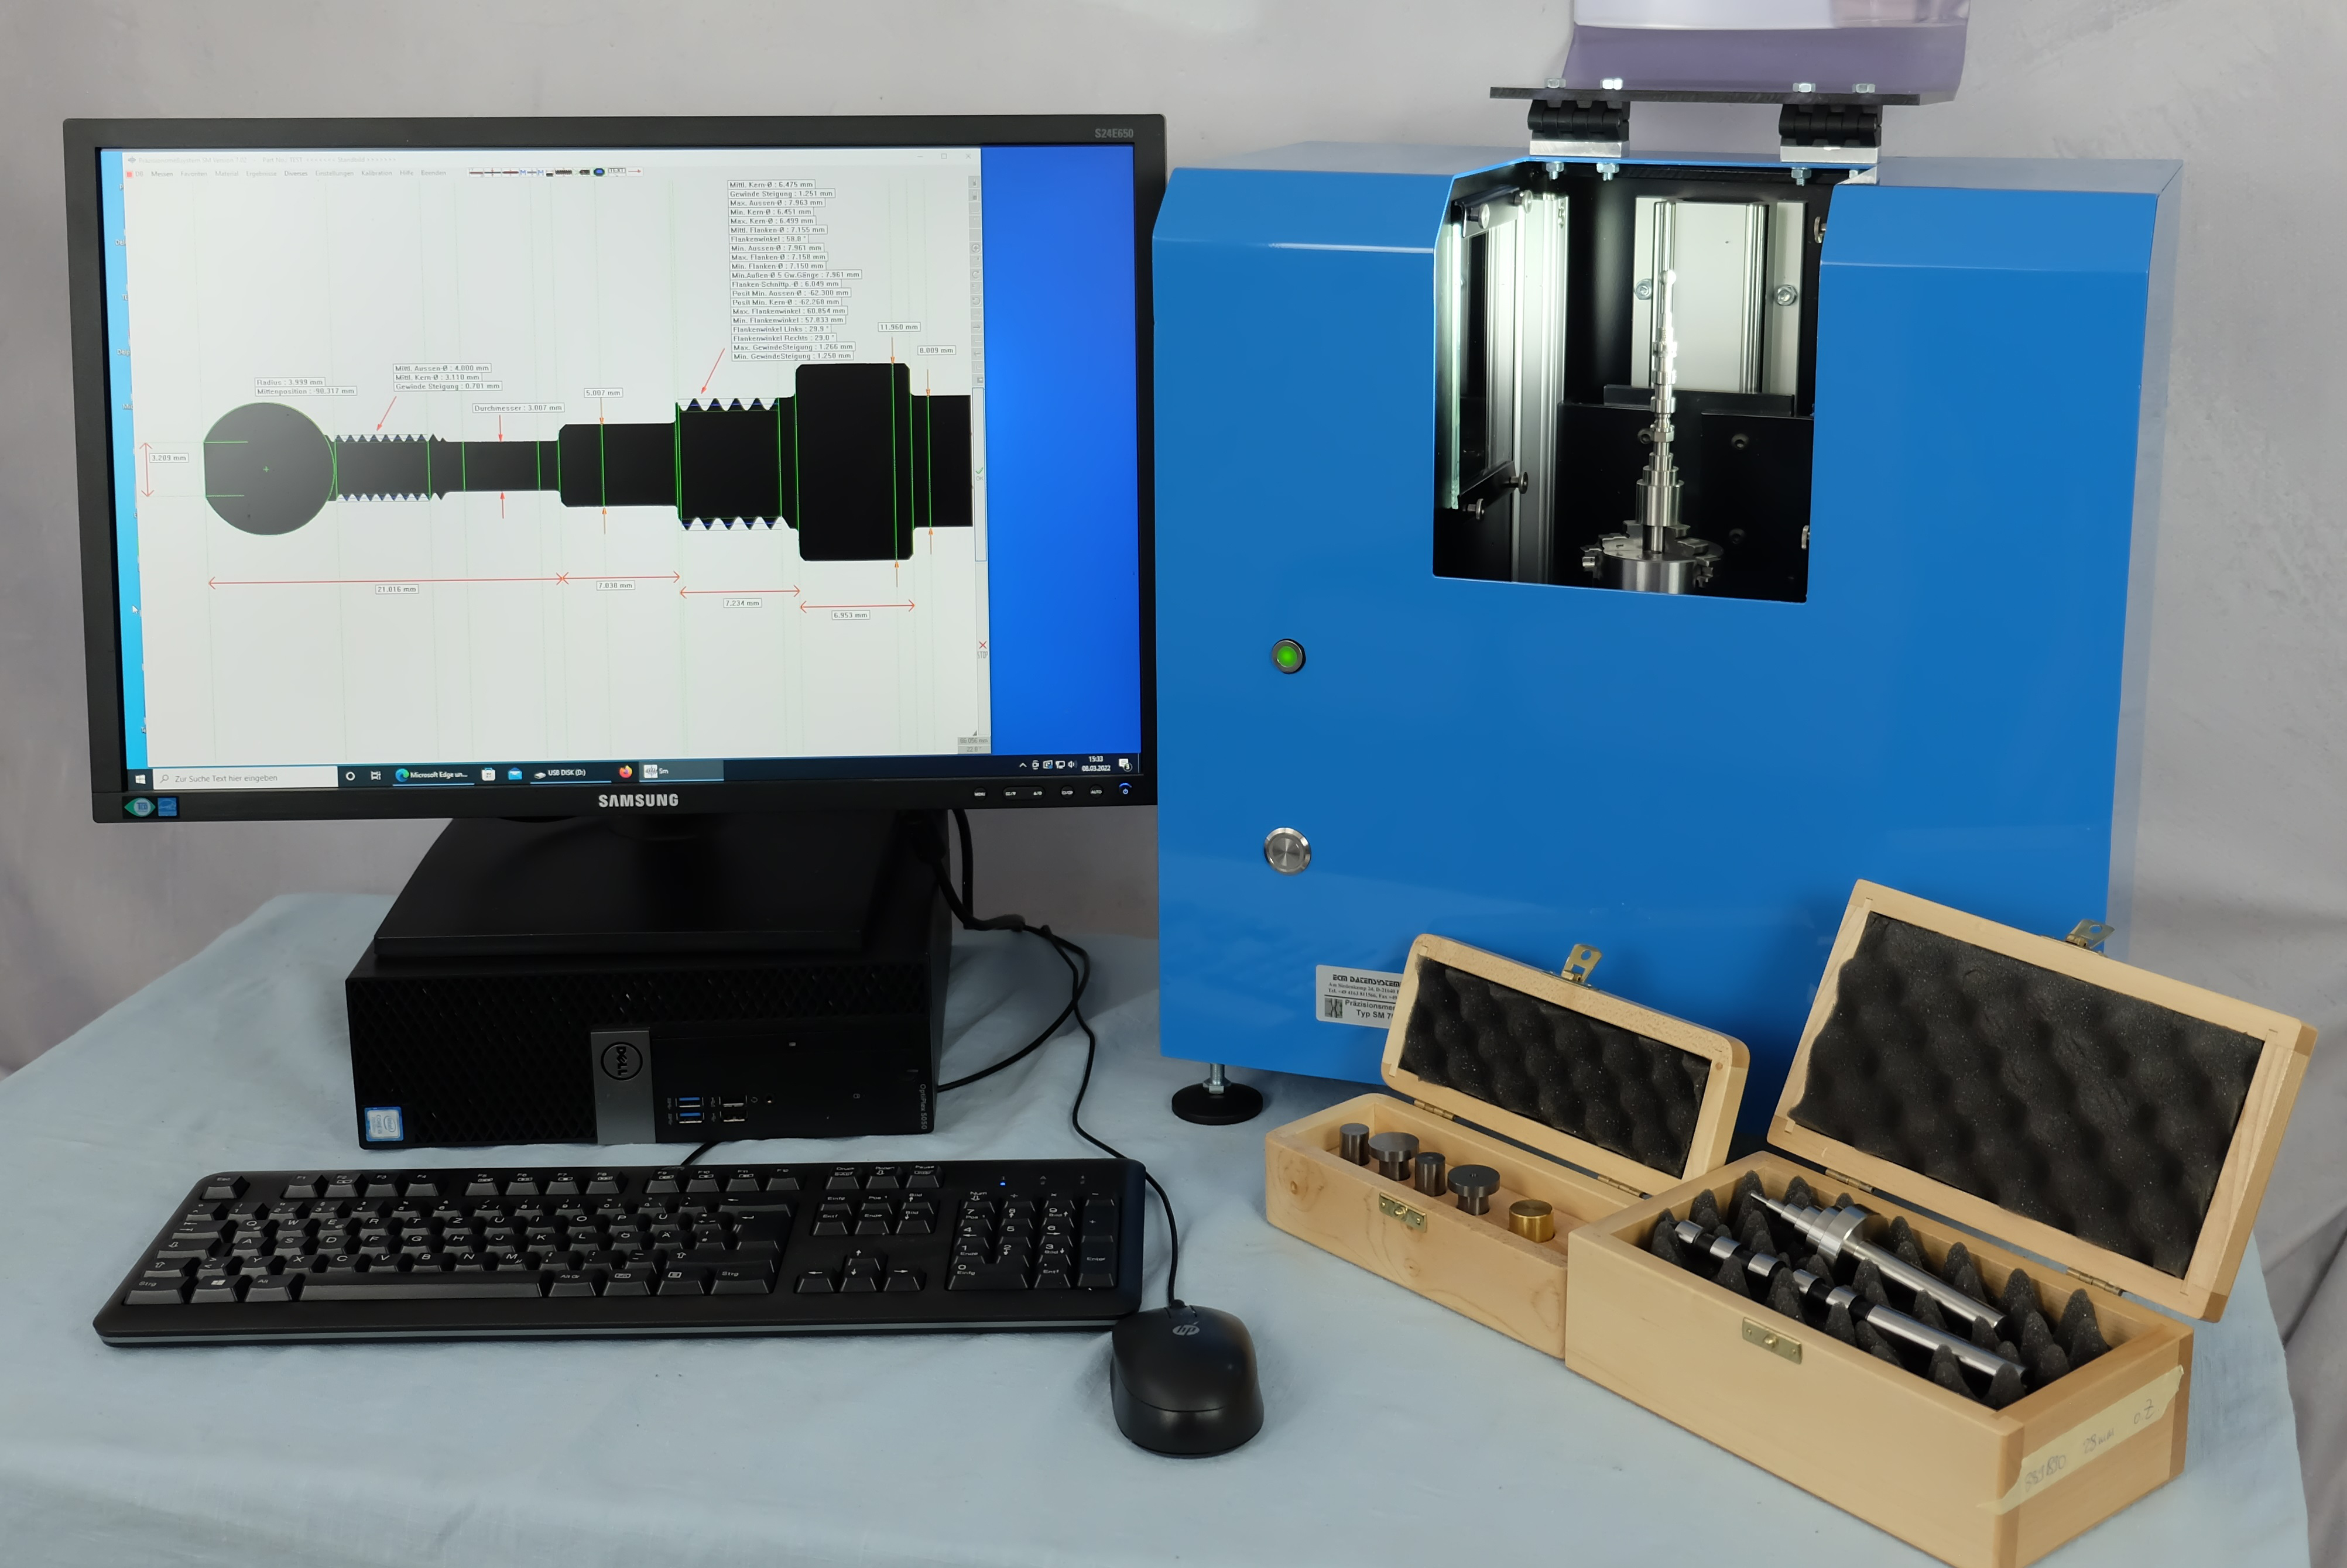
The Institut für Umformtechnik der mittelständischen Wirtschaft GmbH from Lüdenscheid presents, together with ECM Datensysteme GmbH from Bliedersdorf, a fast optical precise measuring system for the automated measurement of dimensional, form and position tolerances on rotation-symmetric components.
The system works on the basis of the shadow image method, delivers comprehensive measurements in the micrometer range within seconds and has been specially developed for the use in the production field. It is used both for random sample testing during production (worker self-inspection) and for initial sampling.
Exhibitor: Institut für Umformtechnik der mittelständischen Wirtschaft GmbH, Lüdenscheid (Germany)
100 percent 3D inline measurement in the battery cell production process
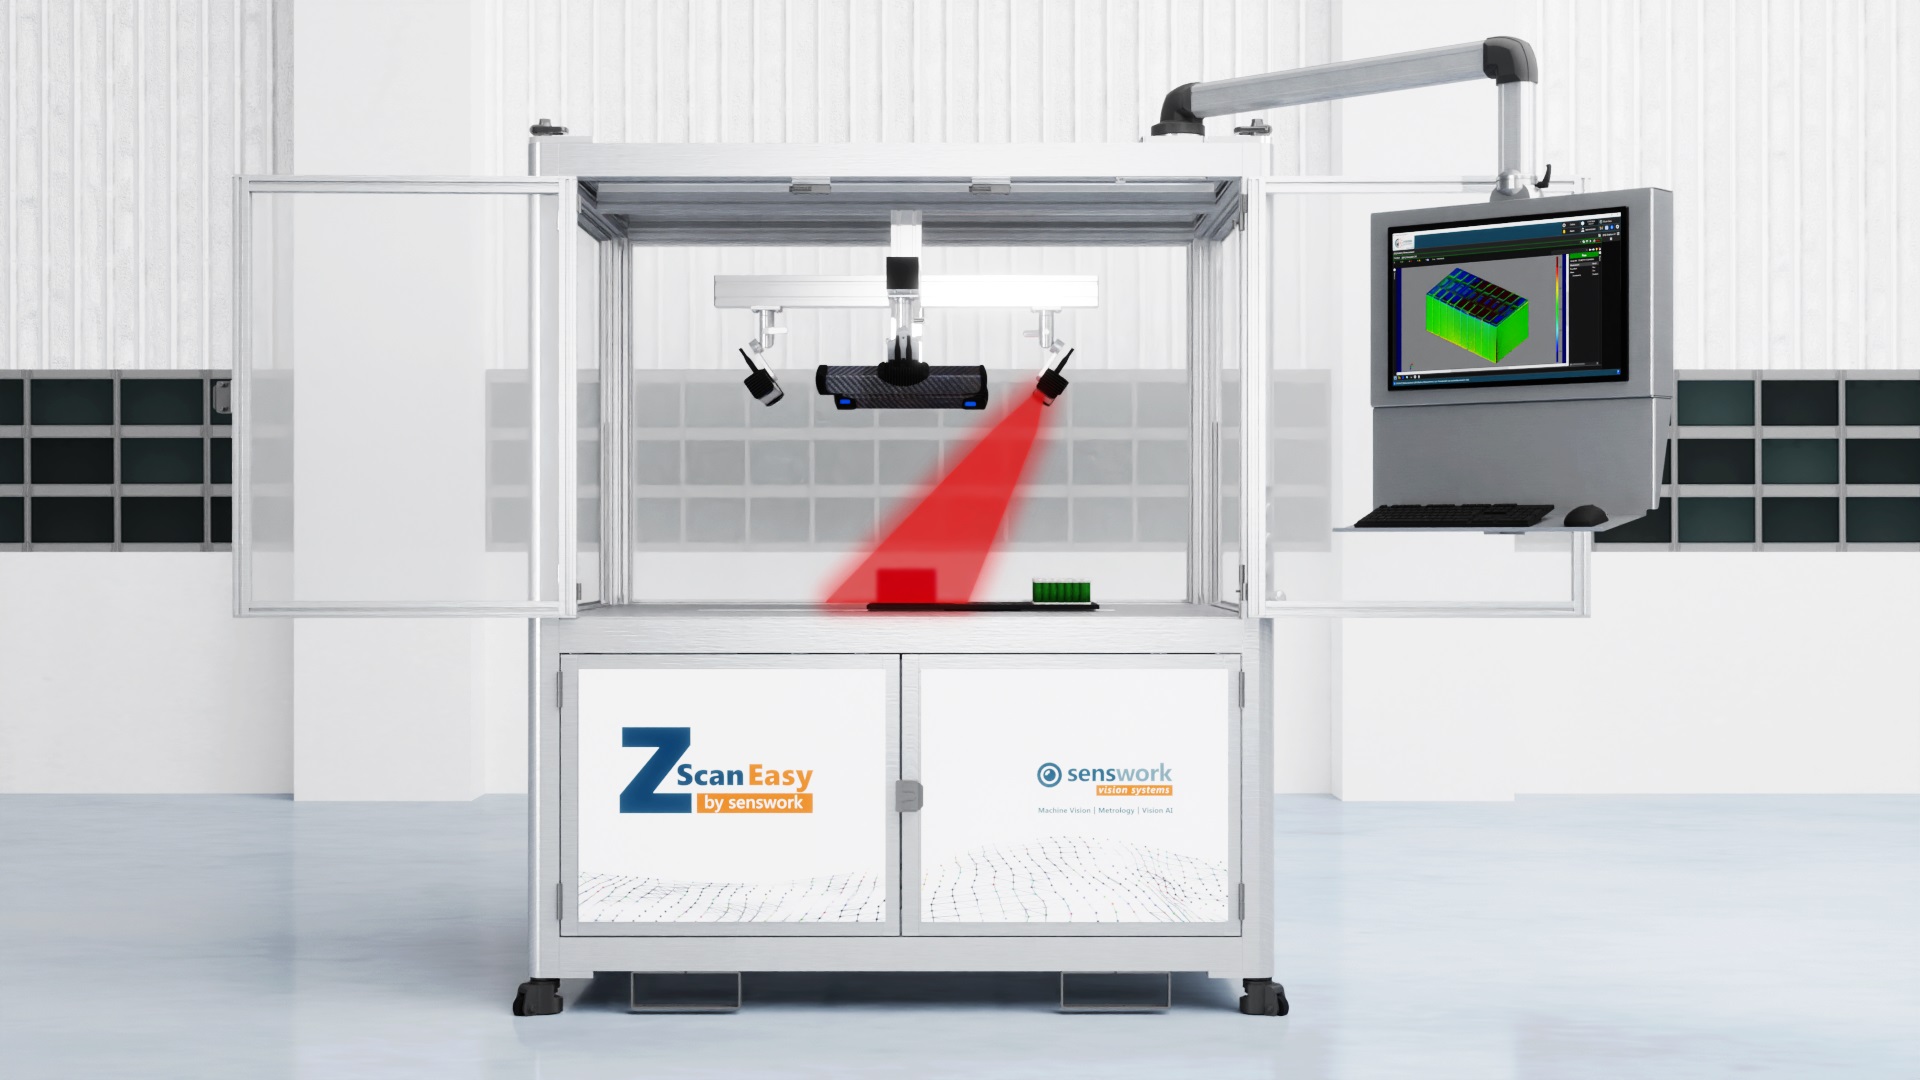
senswork GmbH from Burghausen presents »ZScan Easy«, a new system for fast 100 percent 3D measurement of both prismatic and cylindrical battery cell modules. The inspection system can be integrated directly into the battery production process. Tasks such as planarity testing, height testing and measuring the length and width of battery modules can be solved.
Exhibitor: senswork GmbH, Burghausen (Germany)
Multispectral LED lighting systems with up to 12 programmable wavelengths
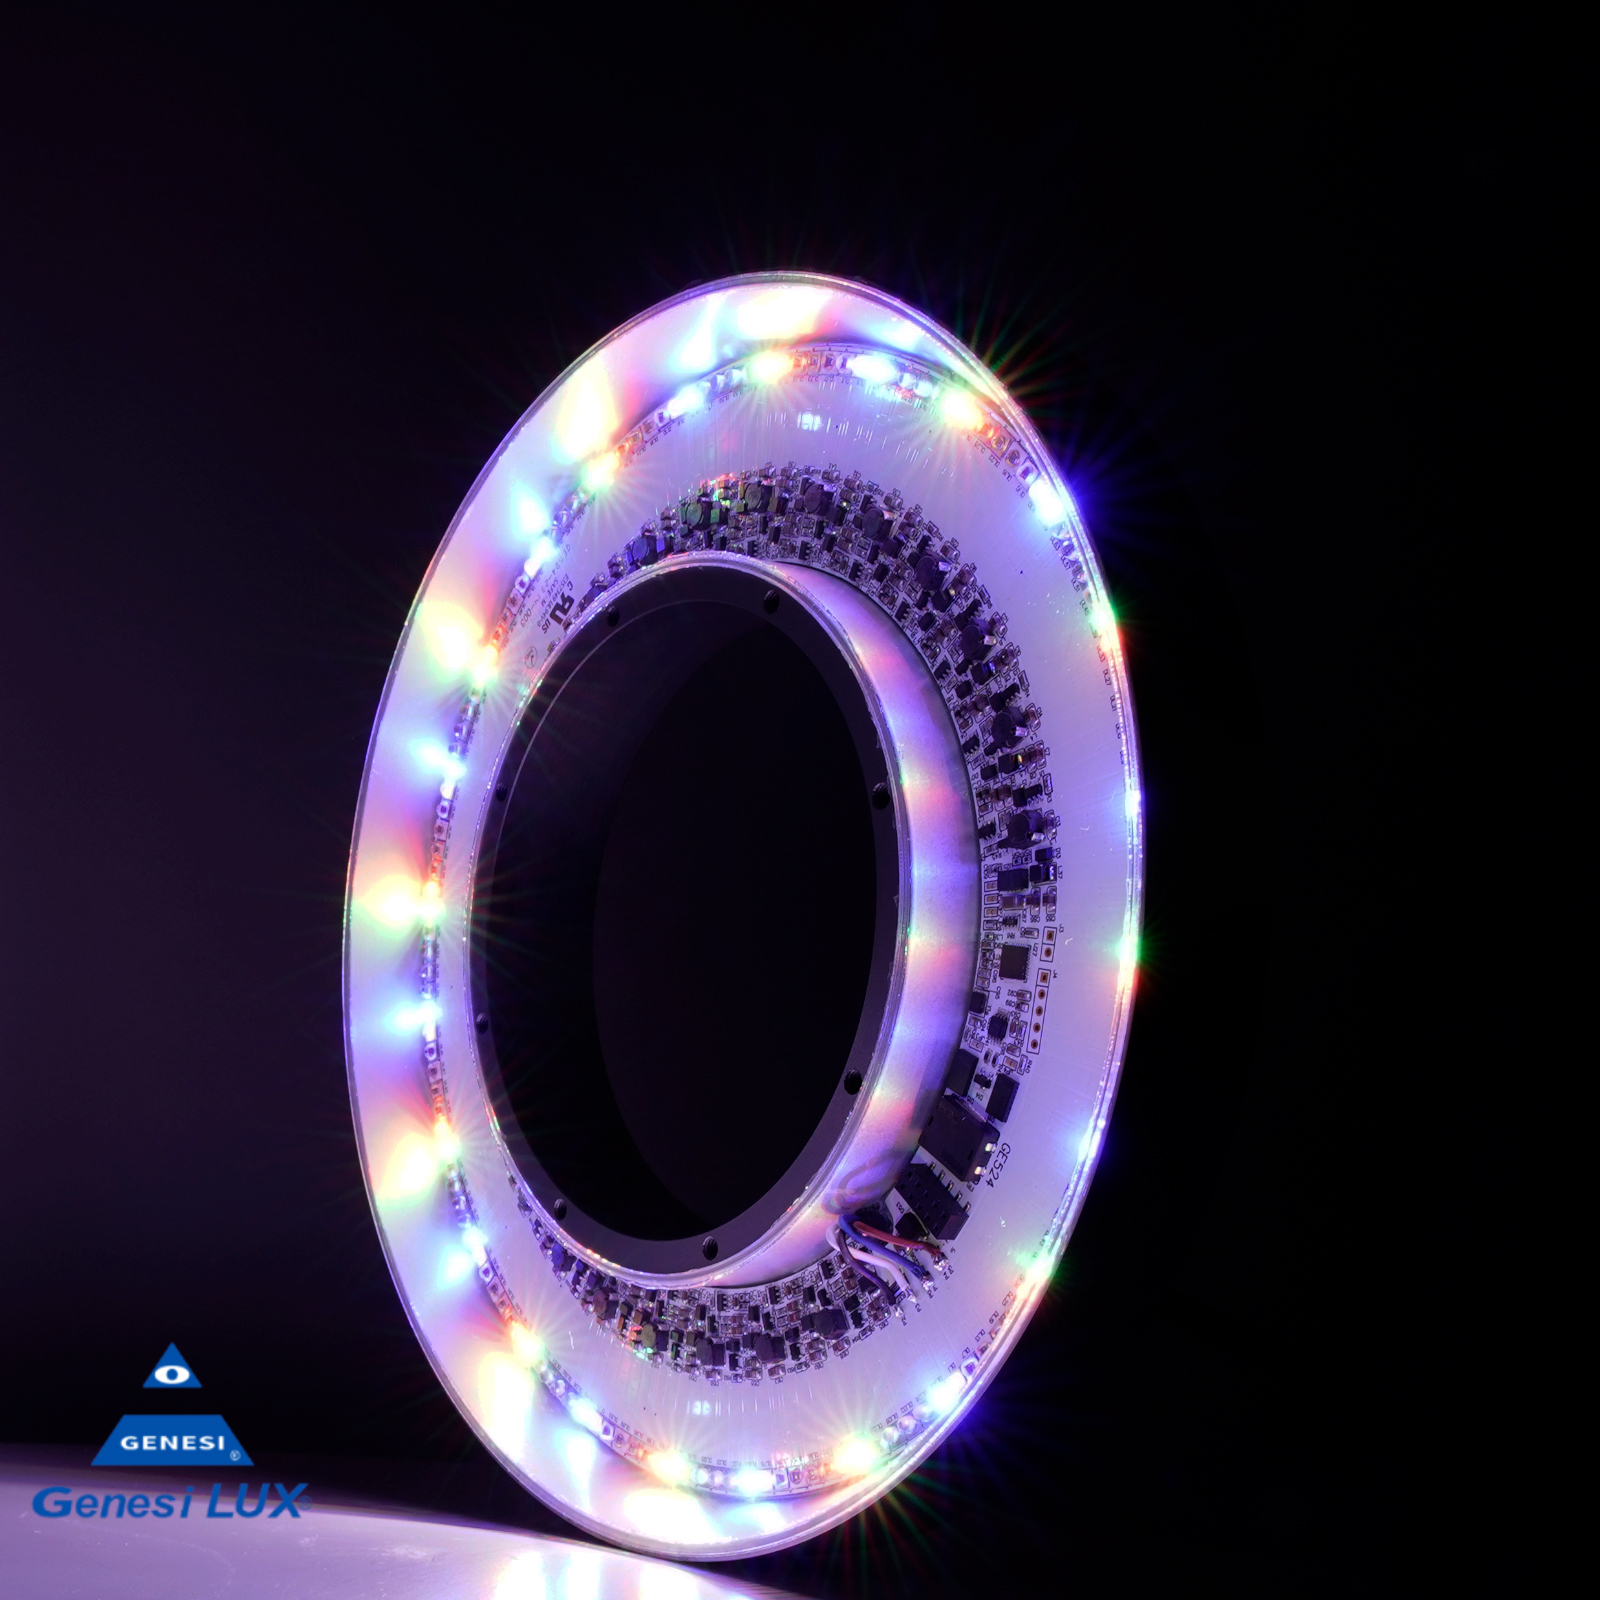
Genesi Elettronica SRL from Spilamberto (Italy) presents various programmable multispectral LED lighting systems which operate with up to 12 different wavelengths in the range from 400 nm to 1650 nm. The systems are designed for linear and matrix cameras and can control the different wavelengths both individually and simultaneously. This enables an optimum illumination configuration to make the defect or detail in question visible. The systems are used, for example, in analysis laboratories, in test machines to determine the optimum application-specific lighting or in production machines that analyze different workpieces on one single line.
Exhibitor: Genesi Elettronica SRL, Spilamberto (Italy)
Compact autonomous optical system for a wide range of inspection tasks
Compar AG from Freienbach, Switzerland, is presenting an autonomous optical system for inspecting small batches. The compact and flexible technology consists of a feed unit, a robot and an image processing system. The image processing system not only generates the information for the robot unit for further handling, but also performs the quality inspections. Depending on the system configuration, parts up to a size of 15 cm can be inspected according to customerspecific criterias at a speed of up to 120 parts per minute. The system can be used for example identification, 2D/3D measurement, print inspection, completeness testing of modules, soldering inspection or for OCR/OCV reading of production labels.
Exhibitor: Compar AG, Freienbach (Switzerland)
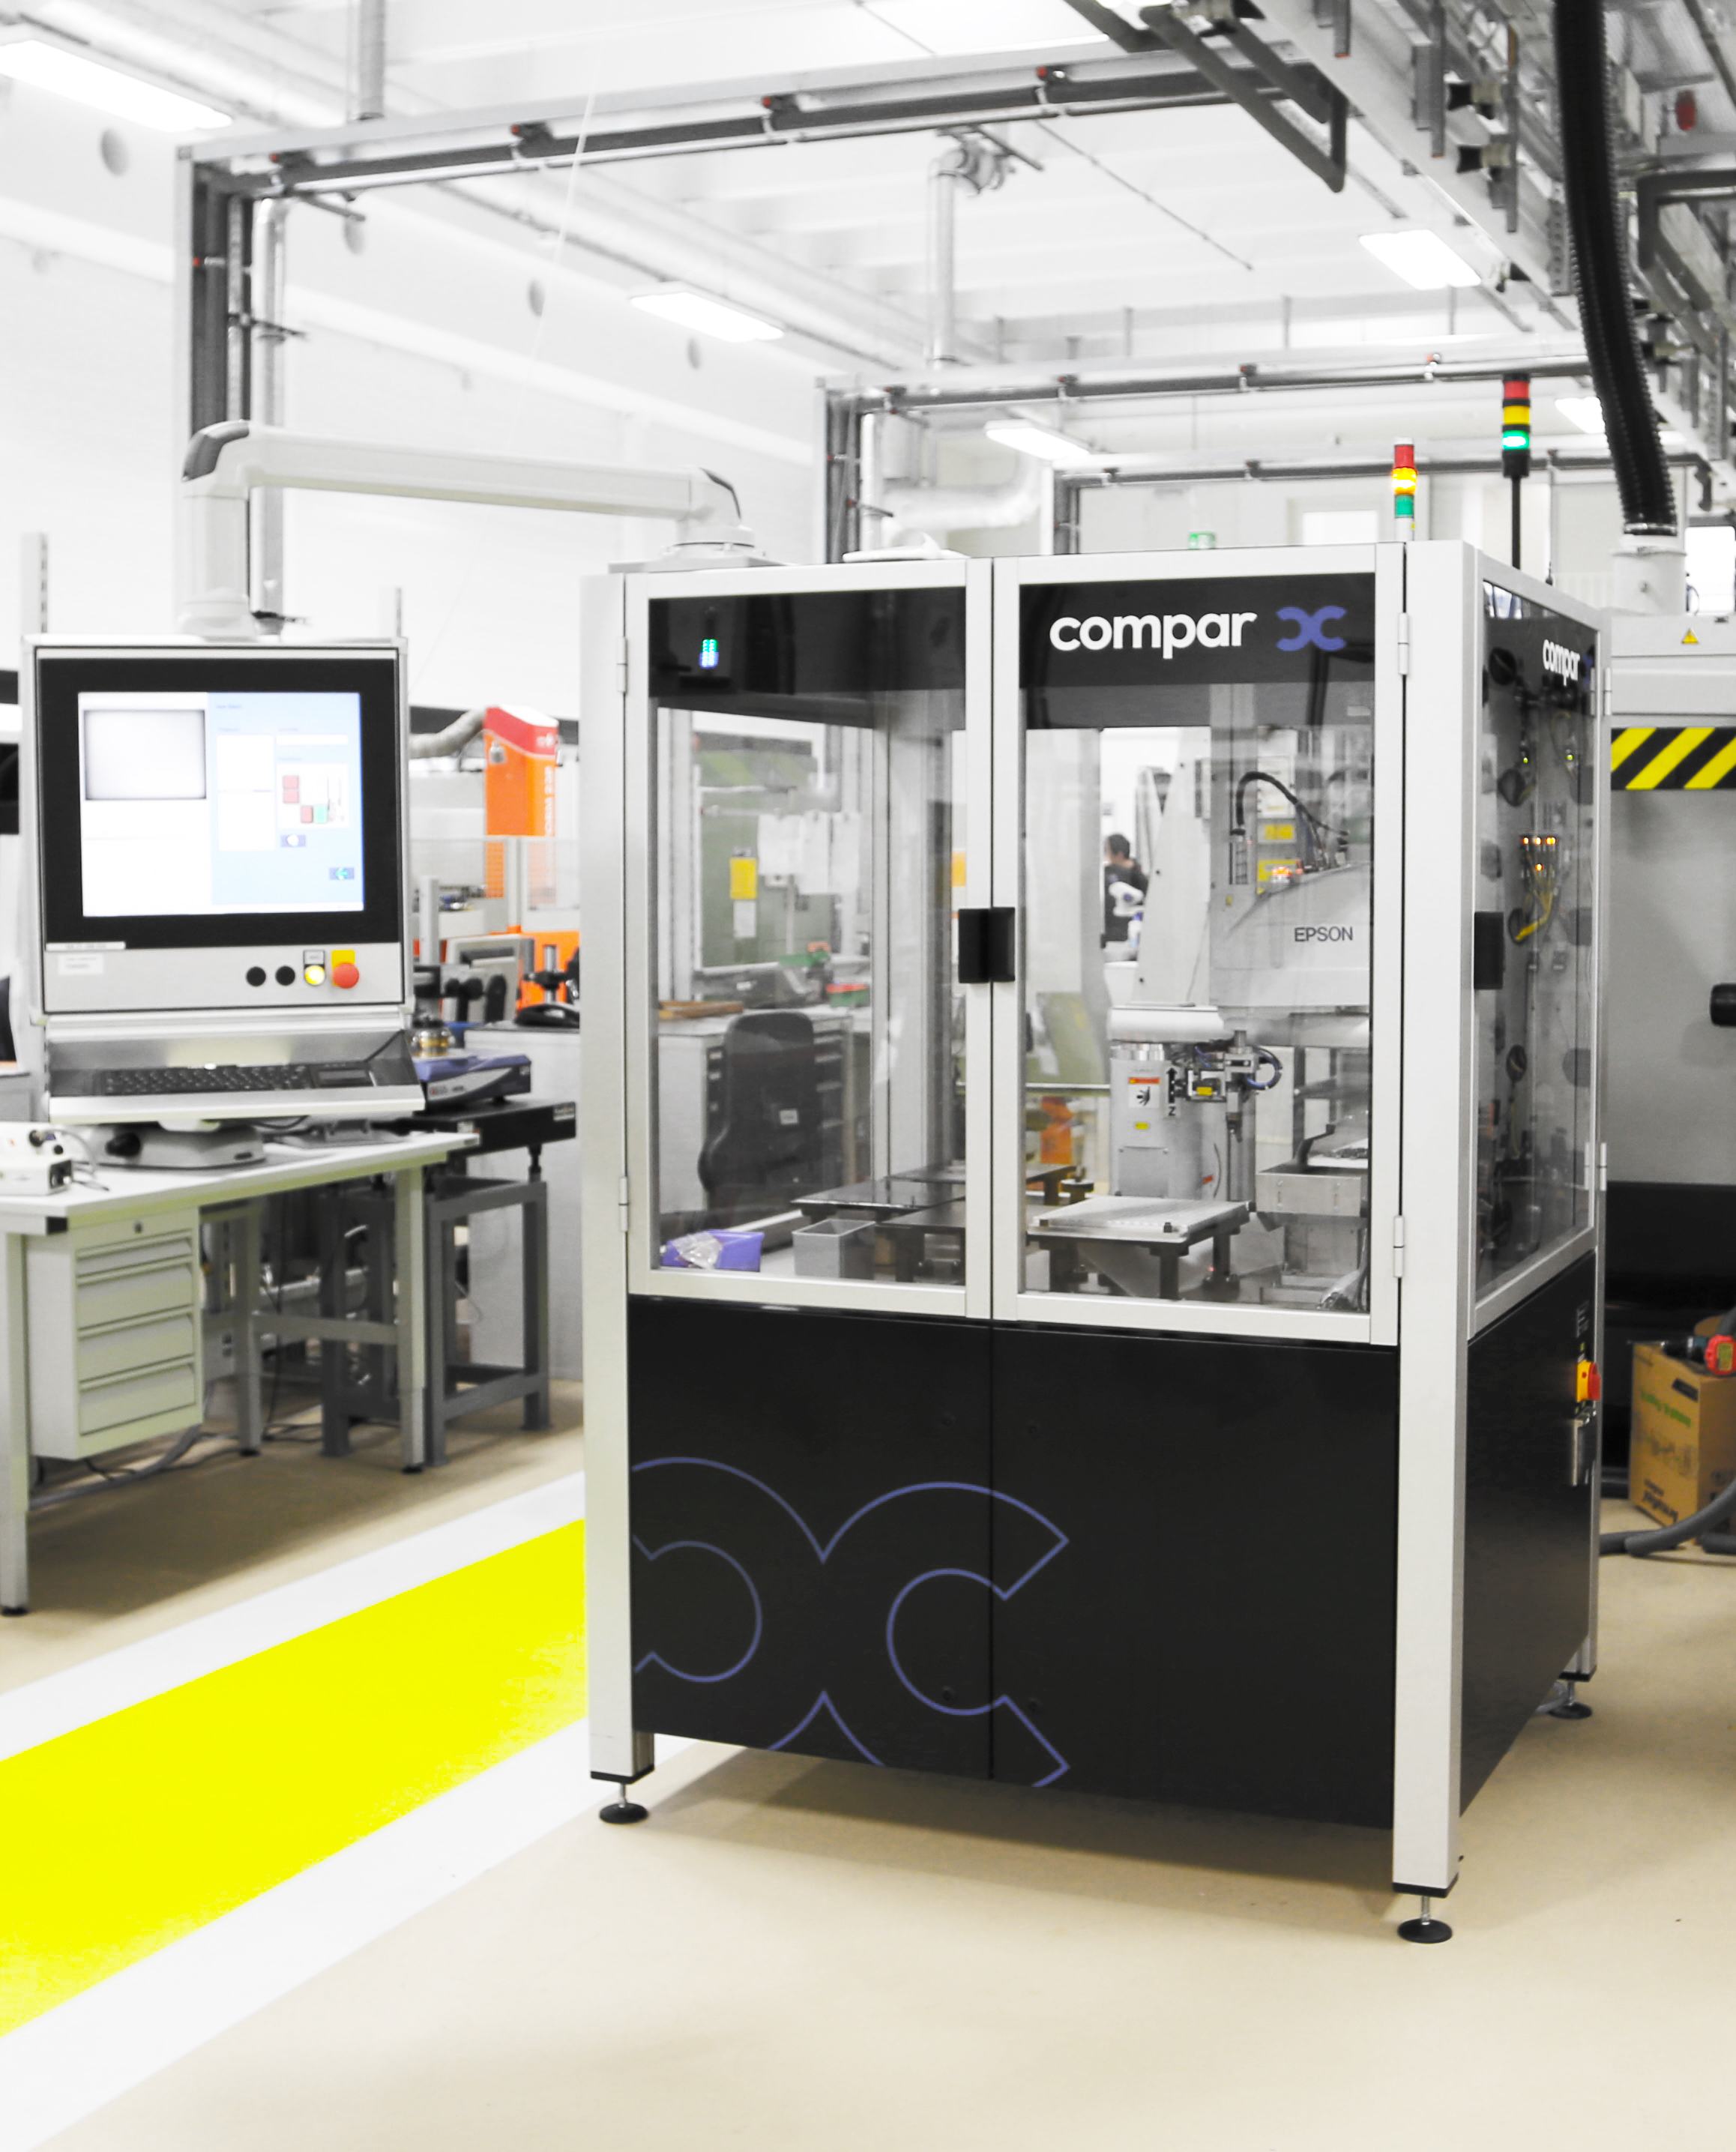
Image processing components for a wide range of applications
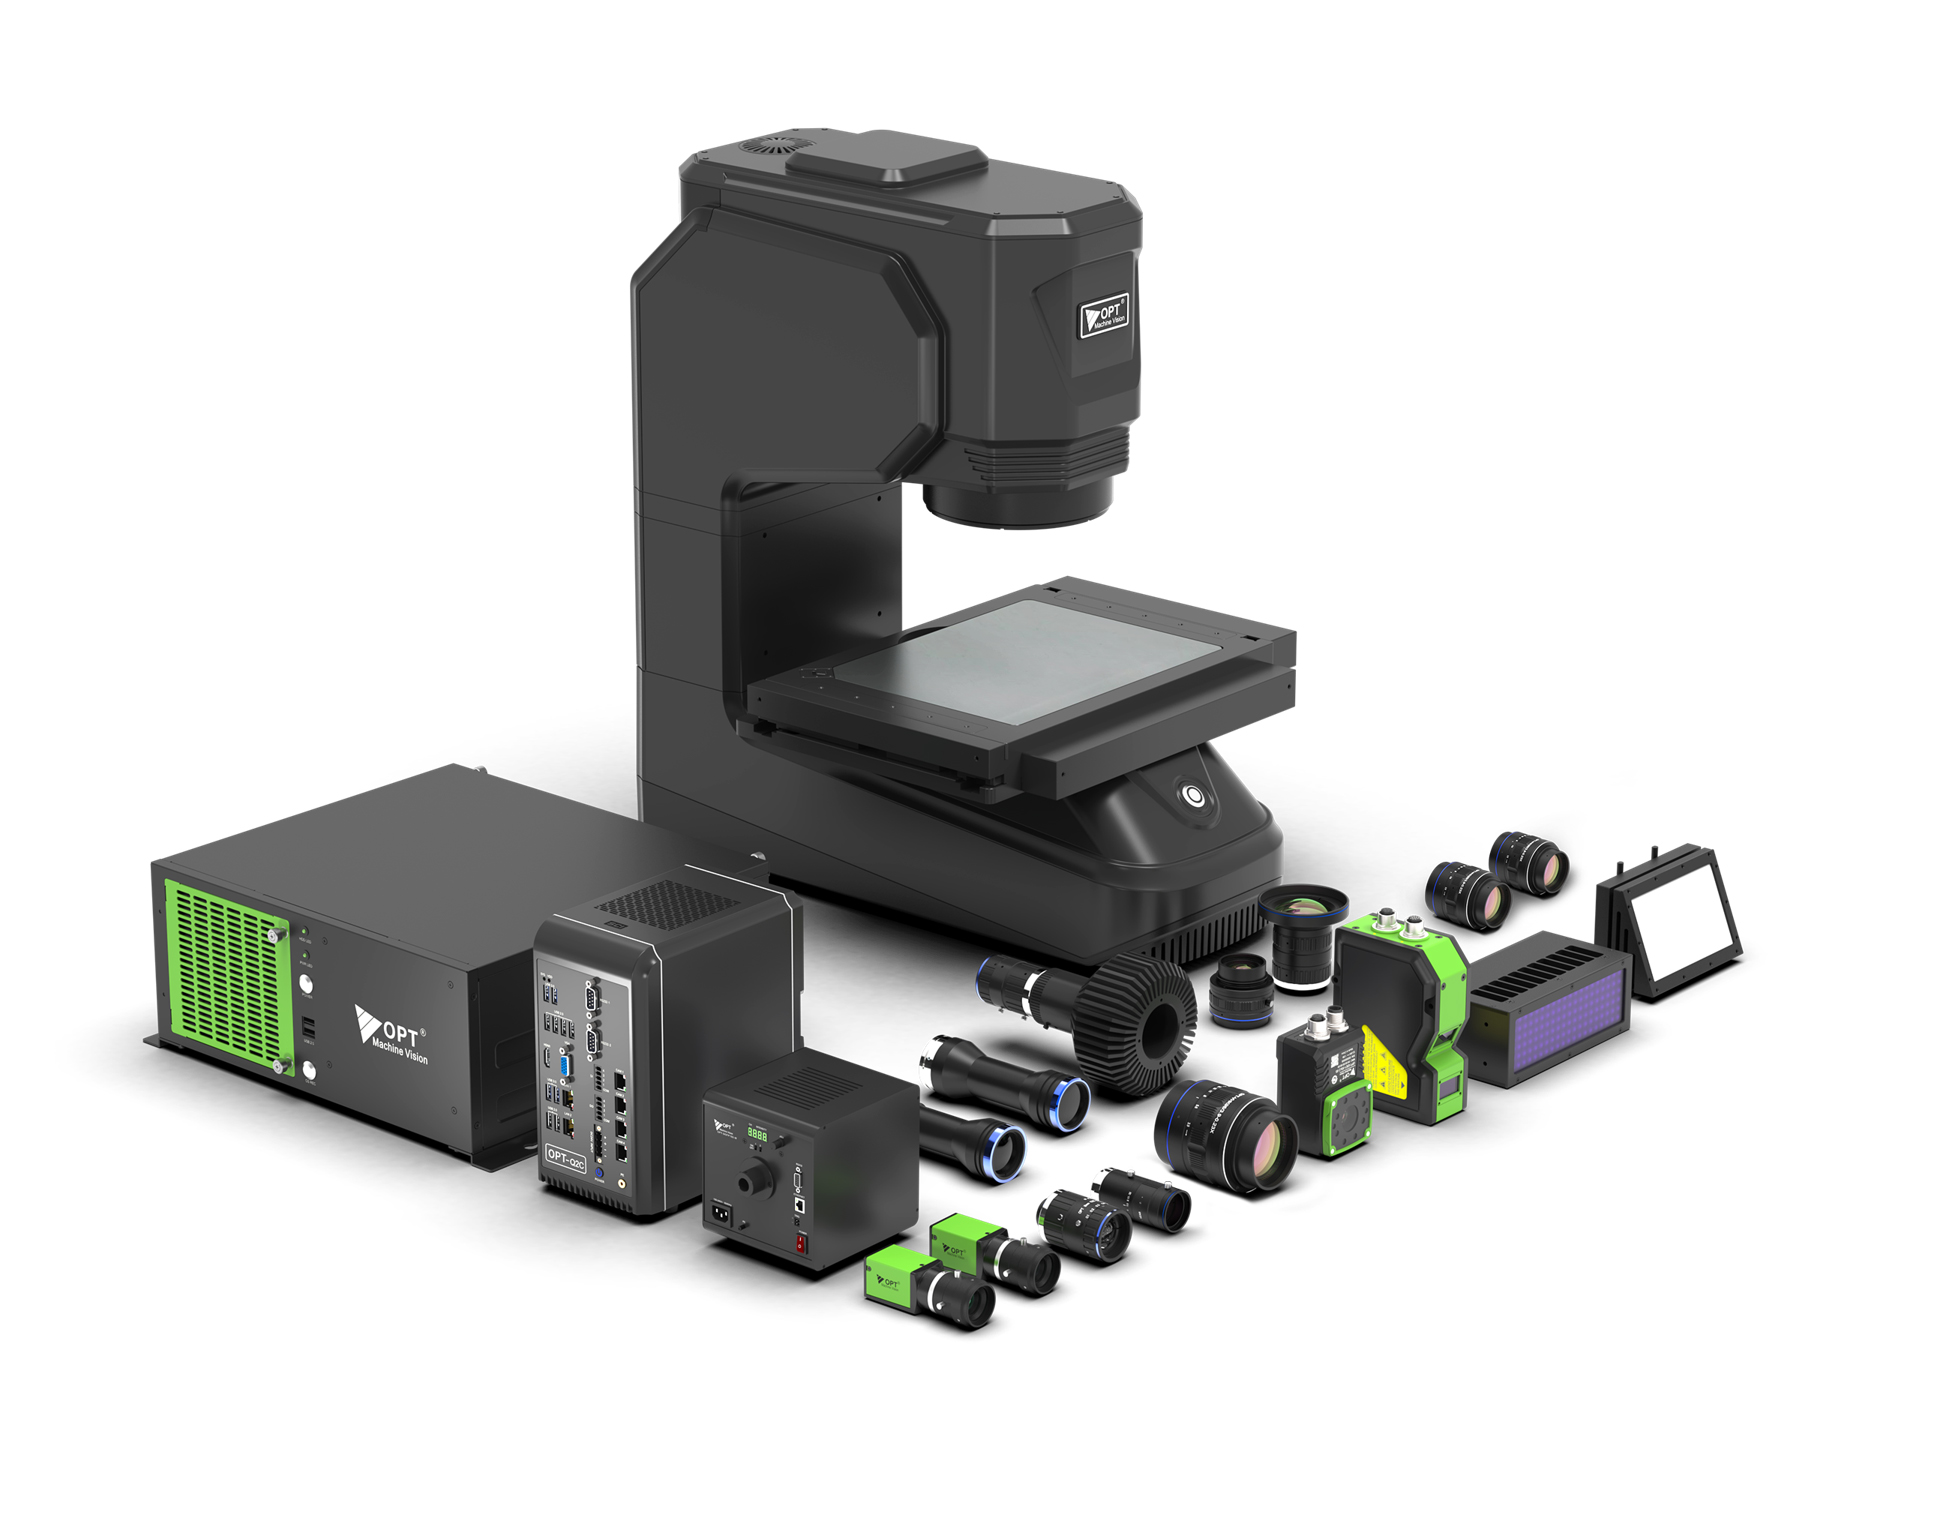
OPT Machine Vision GmbH from Leinfelden-Echterdingen is presenting a selection of new image processing components for a wide range of applications. In addition to an innovative software solution, an intelligent smart code reader and a measurement sensor with integrated AI technology, a technology platform will also be presented that works in parallel with visual motion solutions and provides intelligent production updates.
Exhibitor: OPT Maschine Vision GmbH, Leinfelden-Echterdingen (Germany)
3D Time-of-Flight camera module for industrial and robotic applications and system solution for event-based image processing
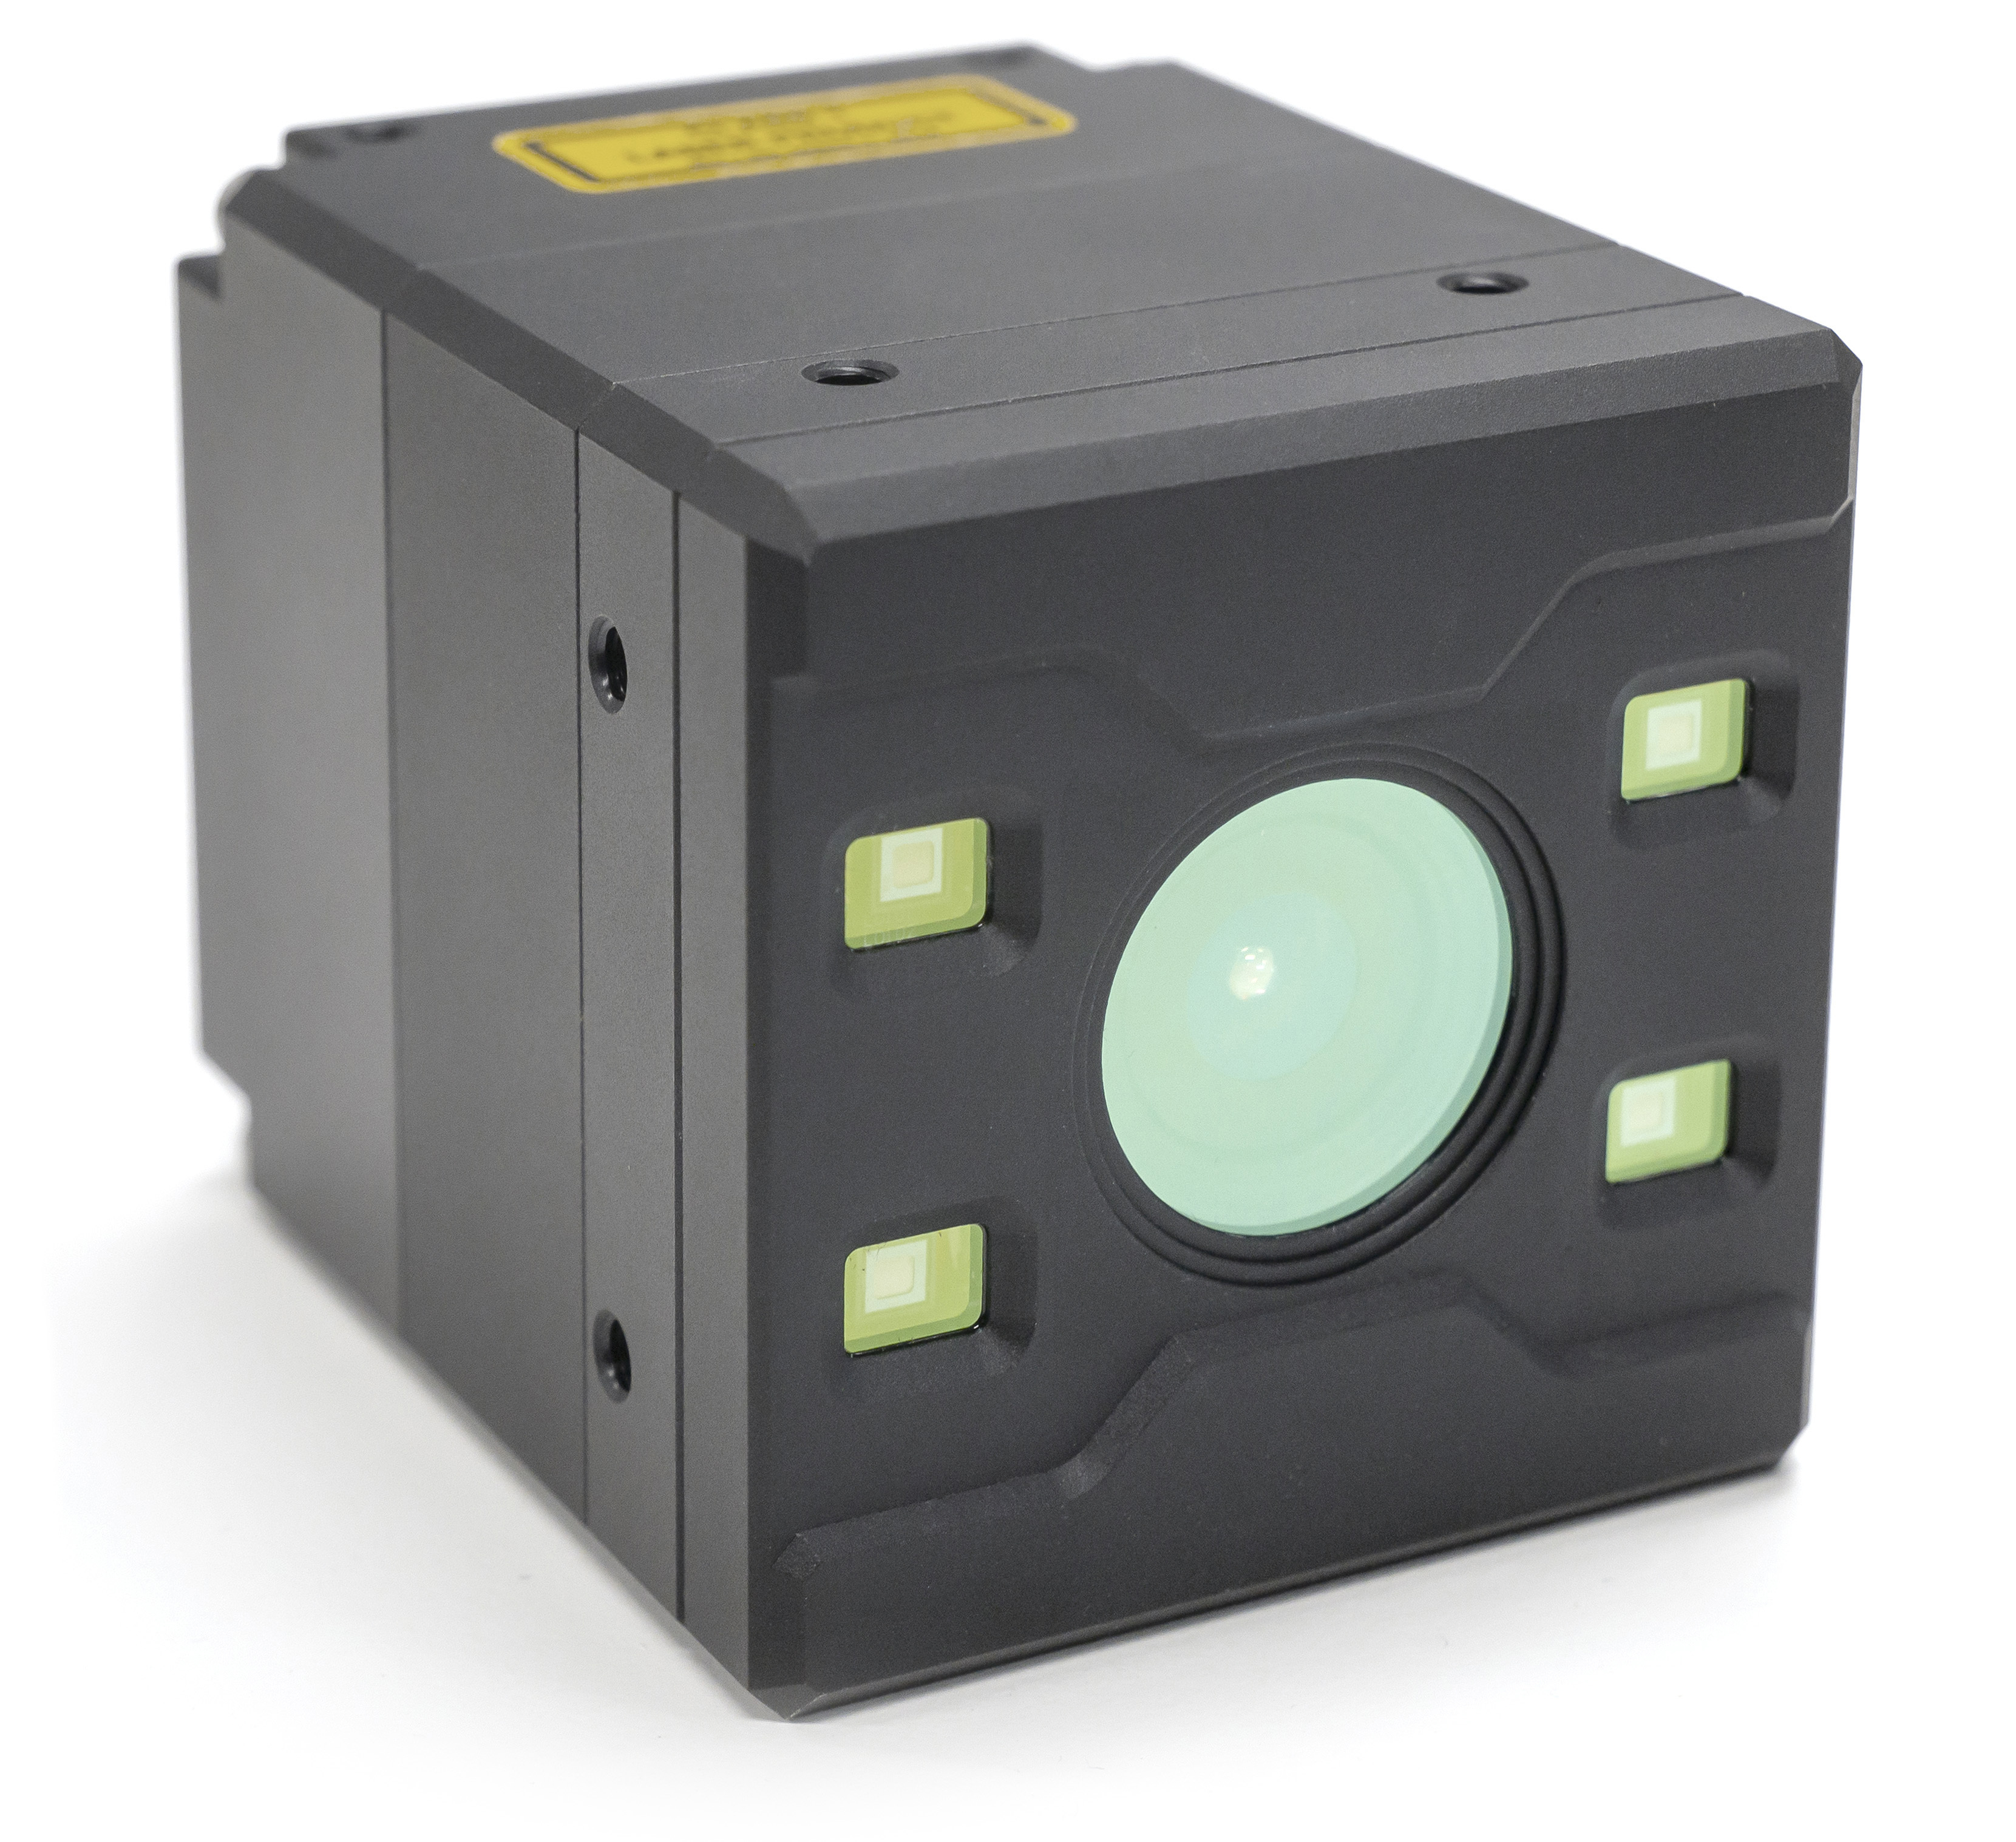
LUCID Vision Labs GmbH from Ilsfeld presents the new »Helios2 Wide 3D Time-of-Flight Camera«, which uses a DepthSense™ IMX556PLR Back-Illuminated ToF image sensor from Sony and a wide angle lens with a viewing angle of 108º. The system is particularly suitable for applications with a short working distance and large working area, such as full-size palletizing applications.
In addition, the event-based »Triton2 EVS camera« with Sony's IMX636/637 image sensors and PROPHESEE's Metavision® Intelligence Suite will be on display. Event-based vision enables new industrial applications as innovative sensor technology reduces the overall image processing effort, resulting in increased system performance and lower power consumption. The camera can be used flexibly for a wide range of image processing applications such as motion analysis, vibration monitoring, object tracking, autonomous driving or high-speed detection.
The systems presented can be used in the robotics, logistics and automotive sectors in particular.
Exhibitor: LUCID Vision Labs GmbH, Ilsfeld (Germany)
Automatic sorting of randomly arranged garments
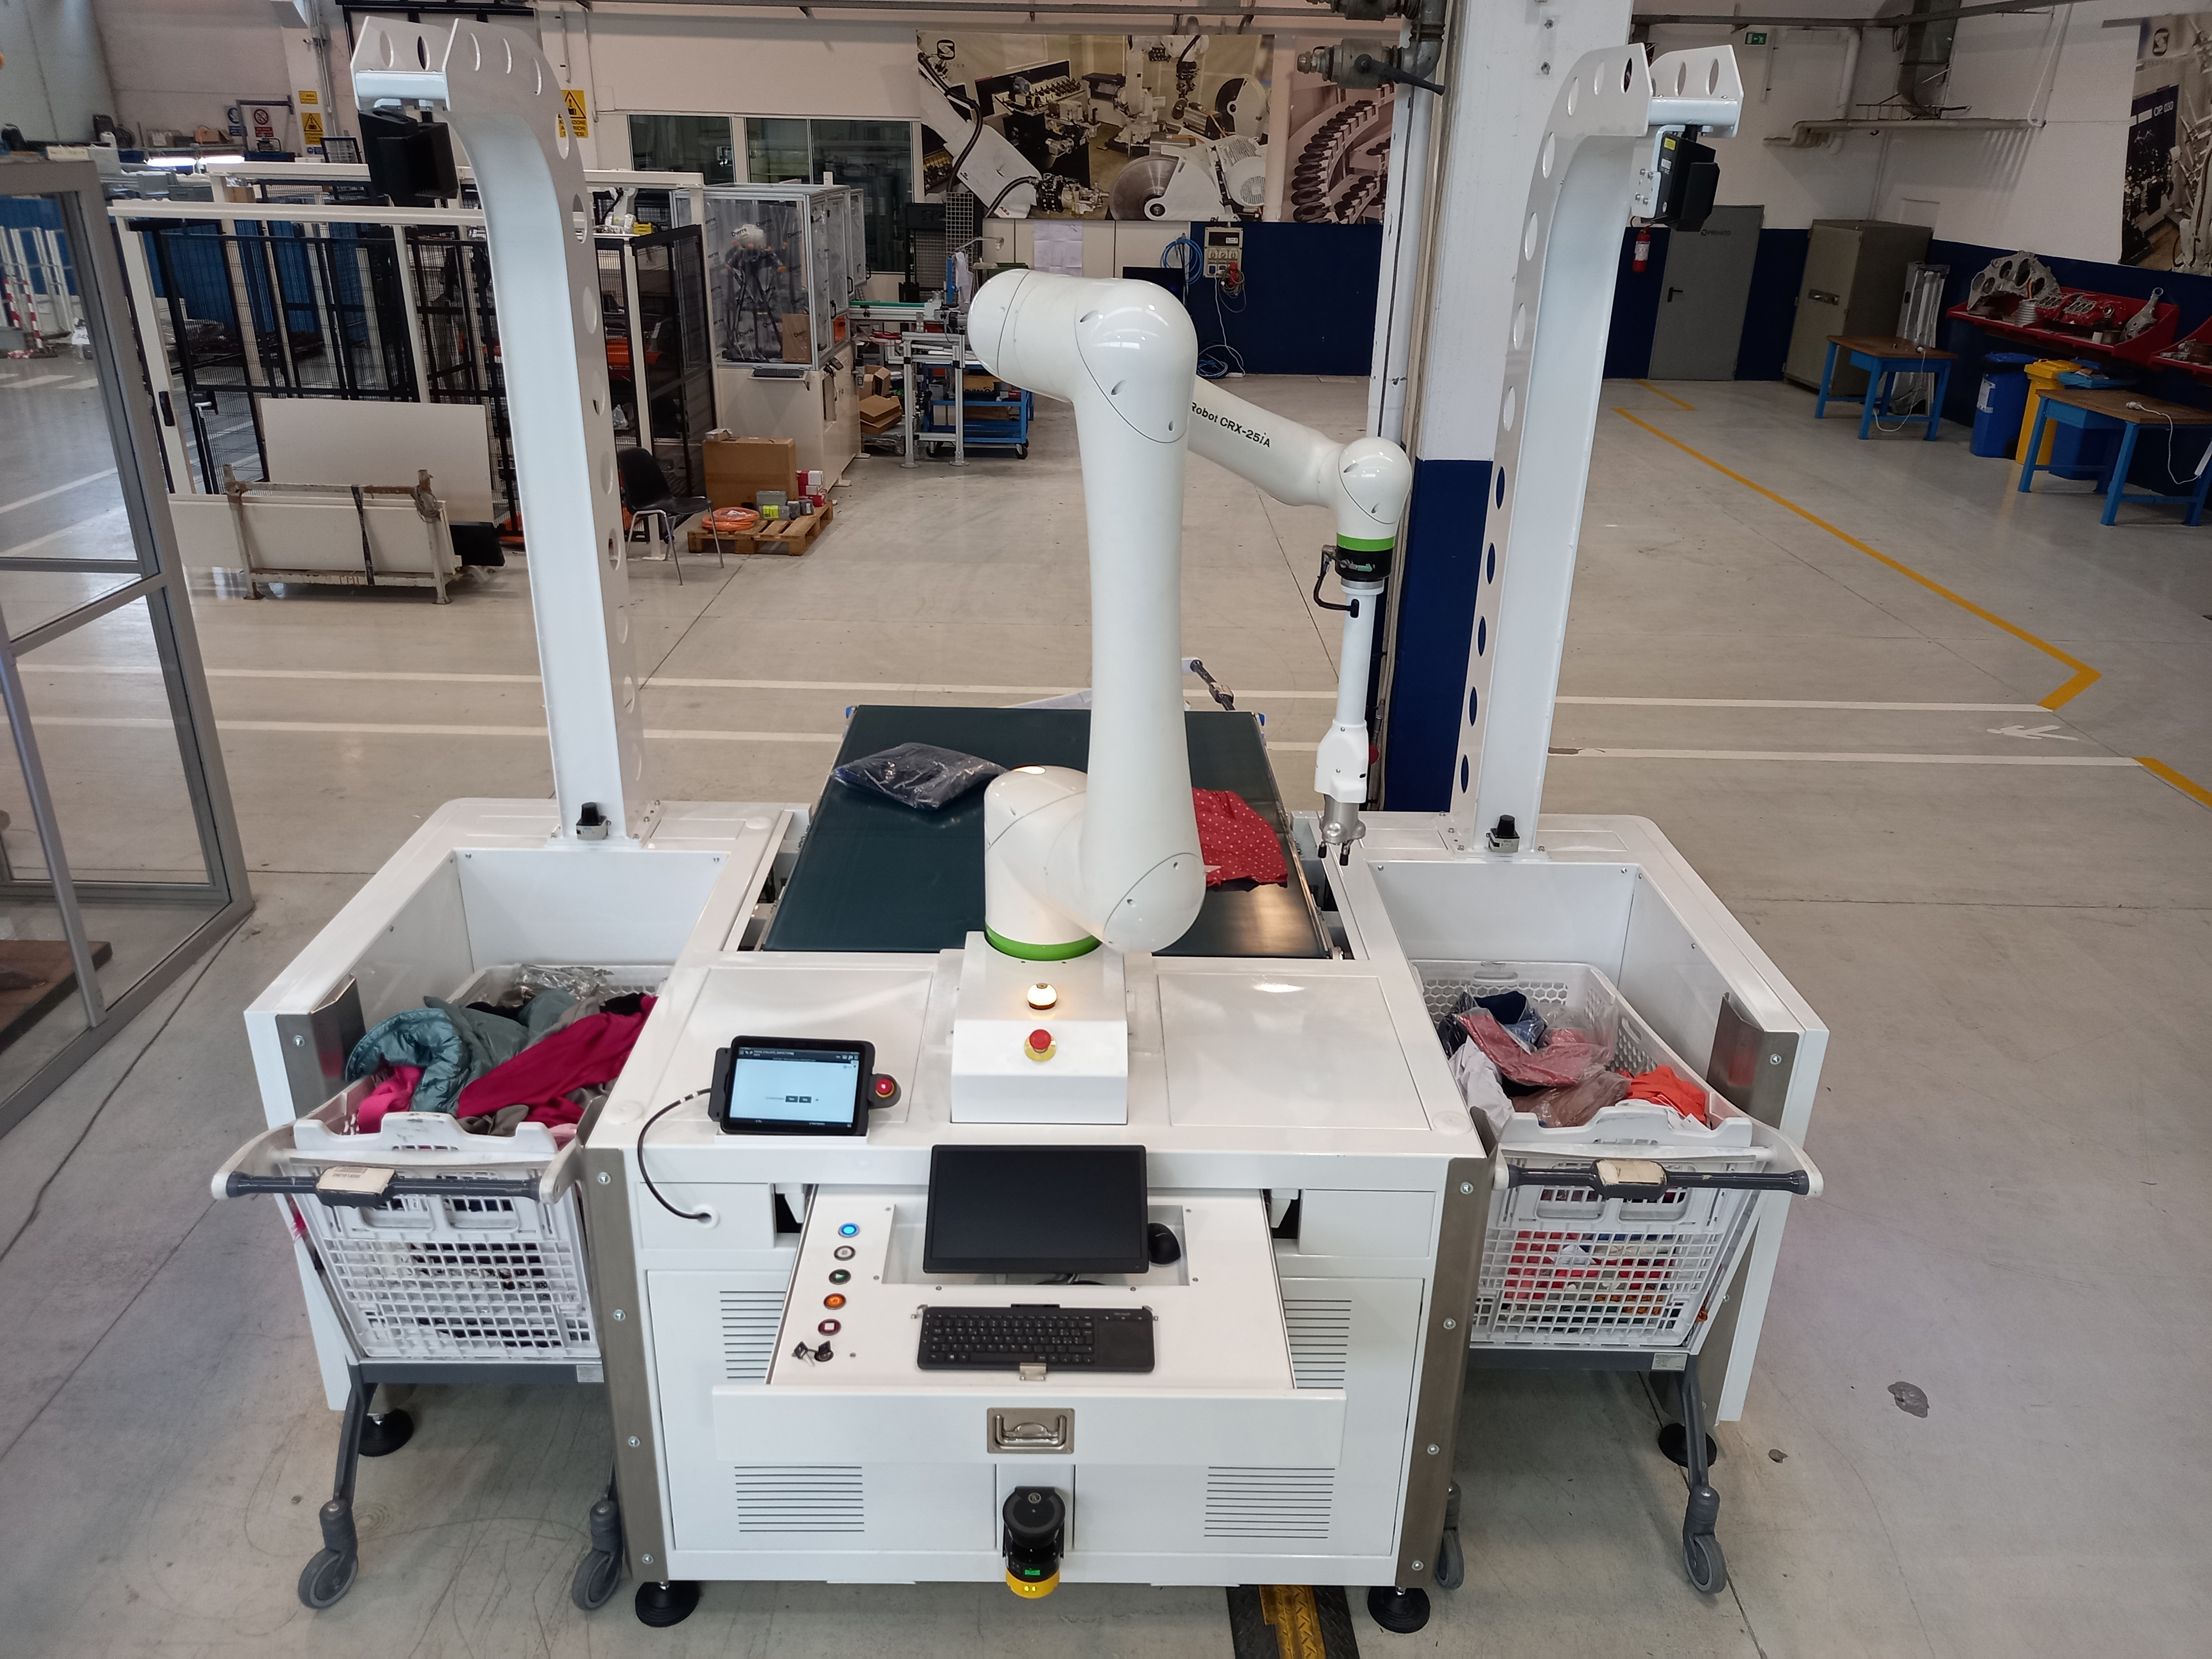
The Institute for Information and Communication Technologies DIGITAL of JOANNEUM RESEARCH Forschungsgesellschaft mbH from Graz (Austria) presents a demonstrator that shows the functional principle of the new »CoboSort« system for the automated sorting of randomly arranged fully packaged, partially packaged and unpackaged garments. The camera system, the recognition of the garments and the calculation of the optimum gripping position for separating the textiles will be on display. The proposed solution has a positive impact on the reuse of returned clothes on the fashion market and enables new business models with a smaller environmental footprint.
Exhibitor: JOANNEUM RESEARCH Forschungsgesellschaft mbH, DIGITAL – Intelligent Vision Applications, Graz (Austria)
Optical systems for the non-contact measurement of straightness, perpendicularity and parallelism
In special machine construction as well as in general machine construction, the demands on the precision of machine beds, linear guide systems and motion axes are increasing. HOFBAUER OPTIK Mess- & Prüftechnik from Munich will be presenting various measuring technologies for straightness measurement of machine beds and linear guideways using the inclination method and for non-contact straightness, squareness and parallelism measurement using the height method.
Exhibitor: HOFBAUER OPTIK Mess- & Prüftechnik, Munich (Germany)

Technologies for the simple, cost- and time-saving installation of image processing components
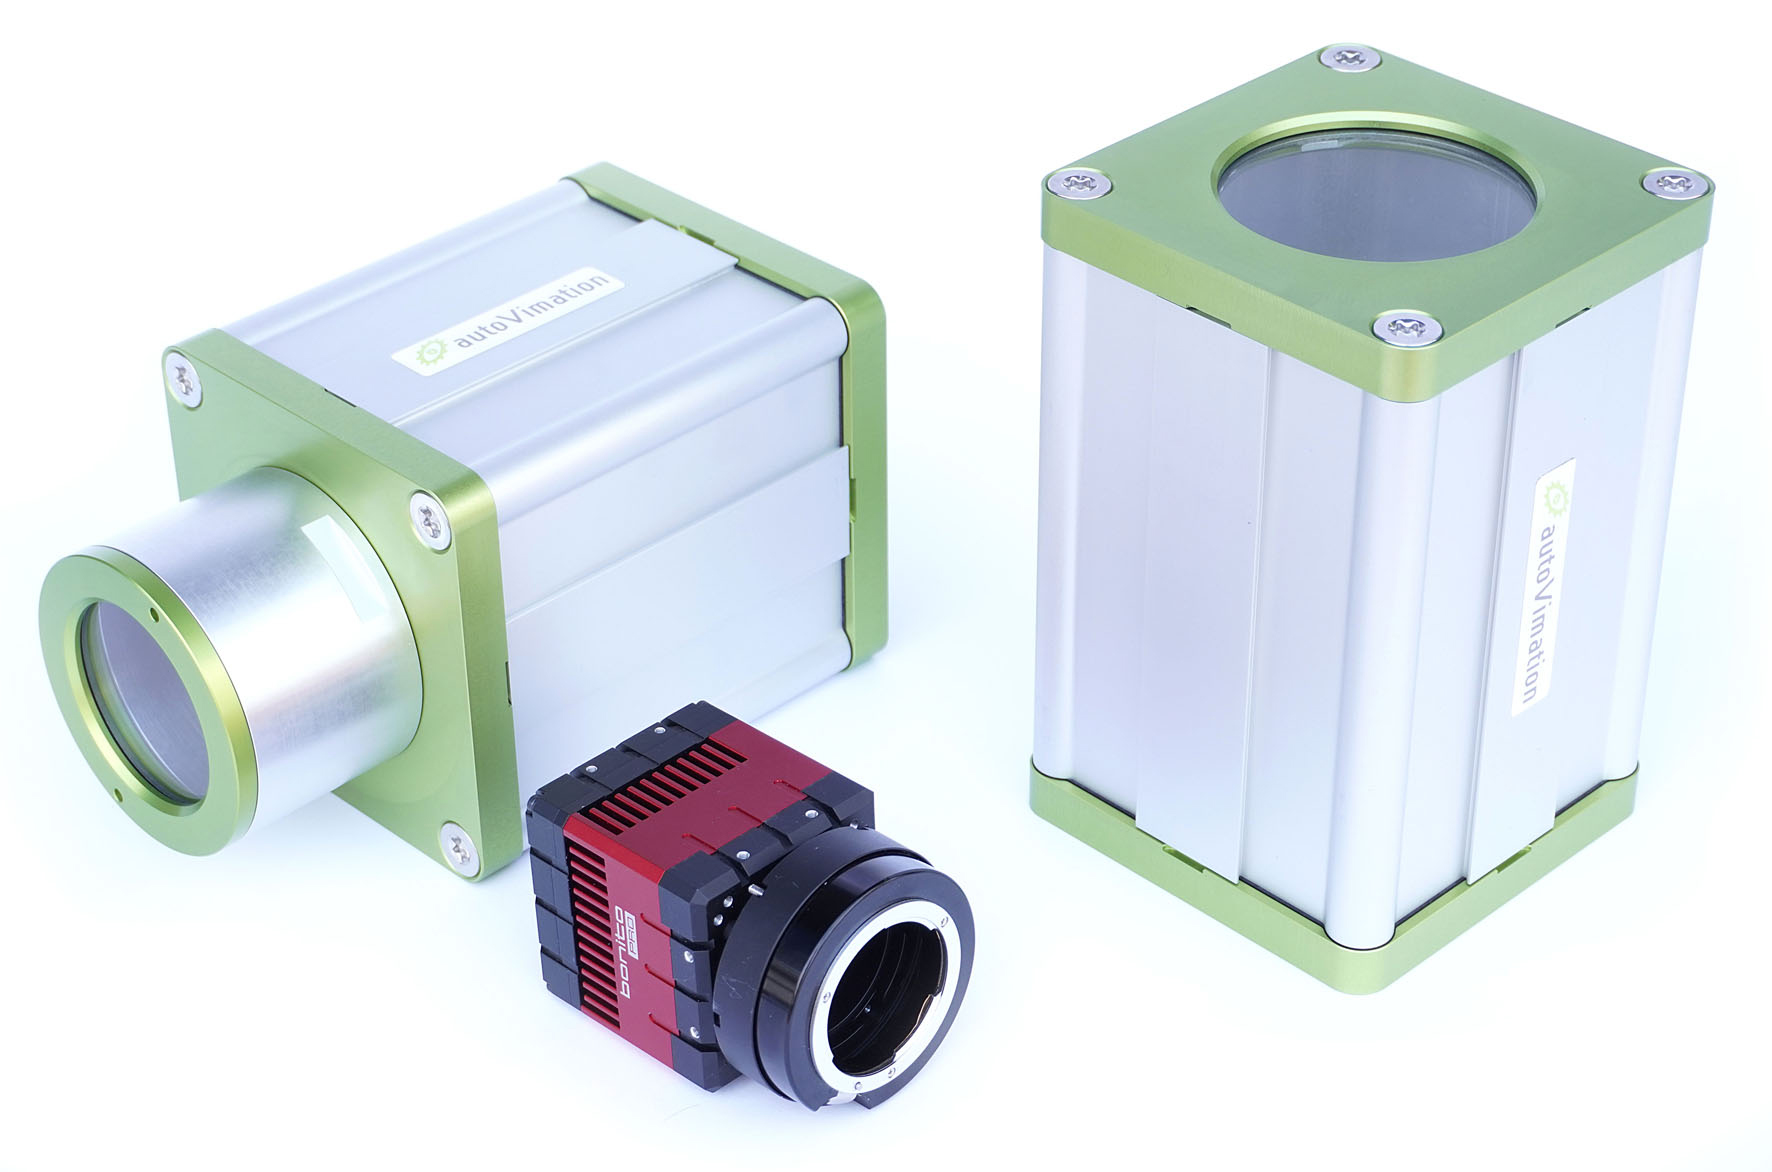
autoVimation GmbH from Rheinstetten presents a wide range of image processing components for industrial environments that can also be used in hot, cold, dirty or special hygiene requirements. For example, protective camera enclosures, technologies for active and passive camera cooling, lighting and modular systems will be presented, demonstrating that various system components can be flexibly integrated into new or existing systems using modular components.
Exhibitor: autoVimation GmbH, Rheinstetten (Germany)
Smart cameras and lenses for industrial image processing
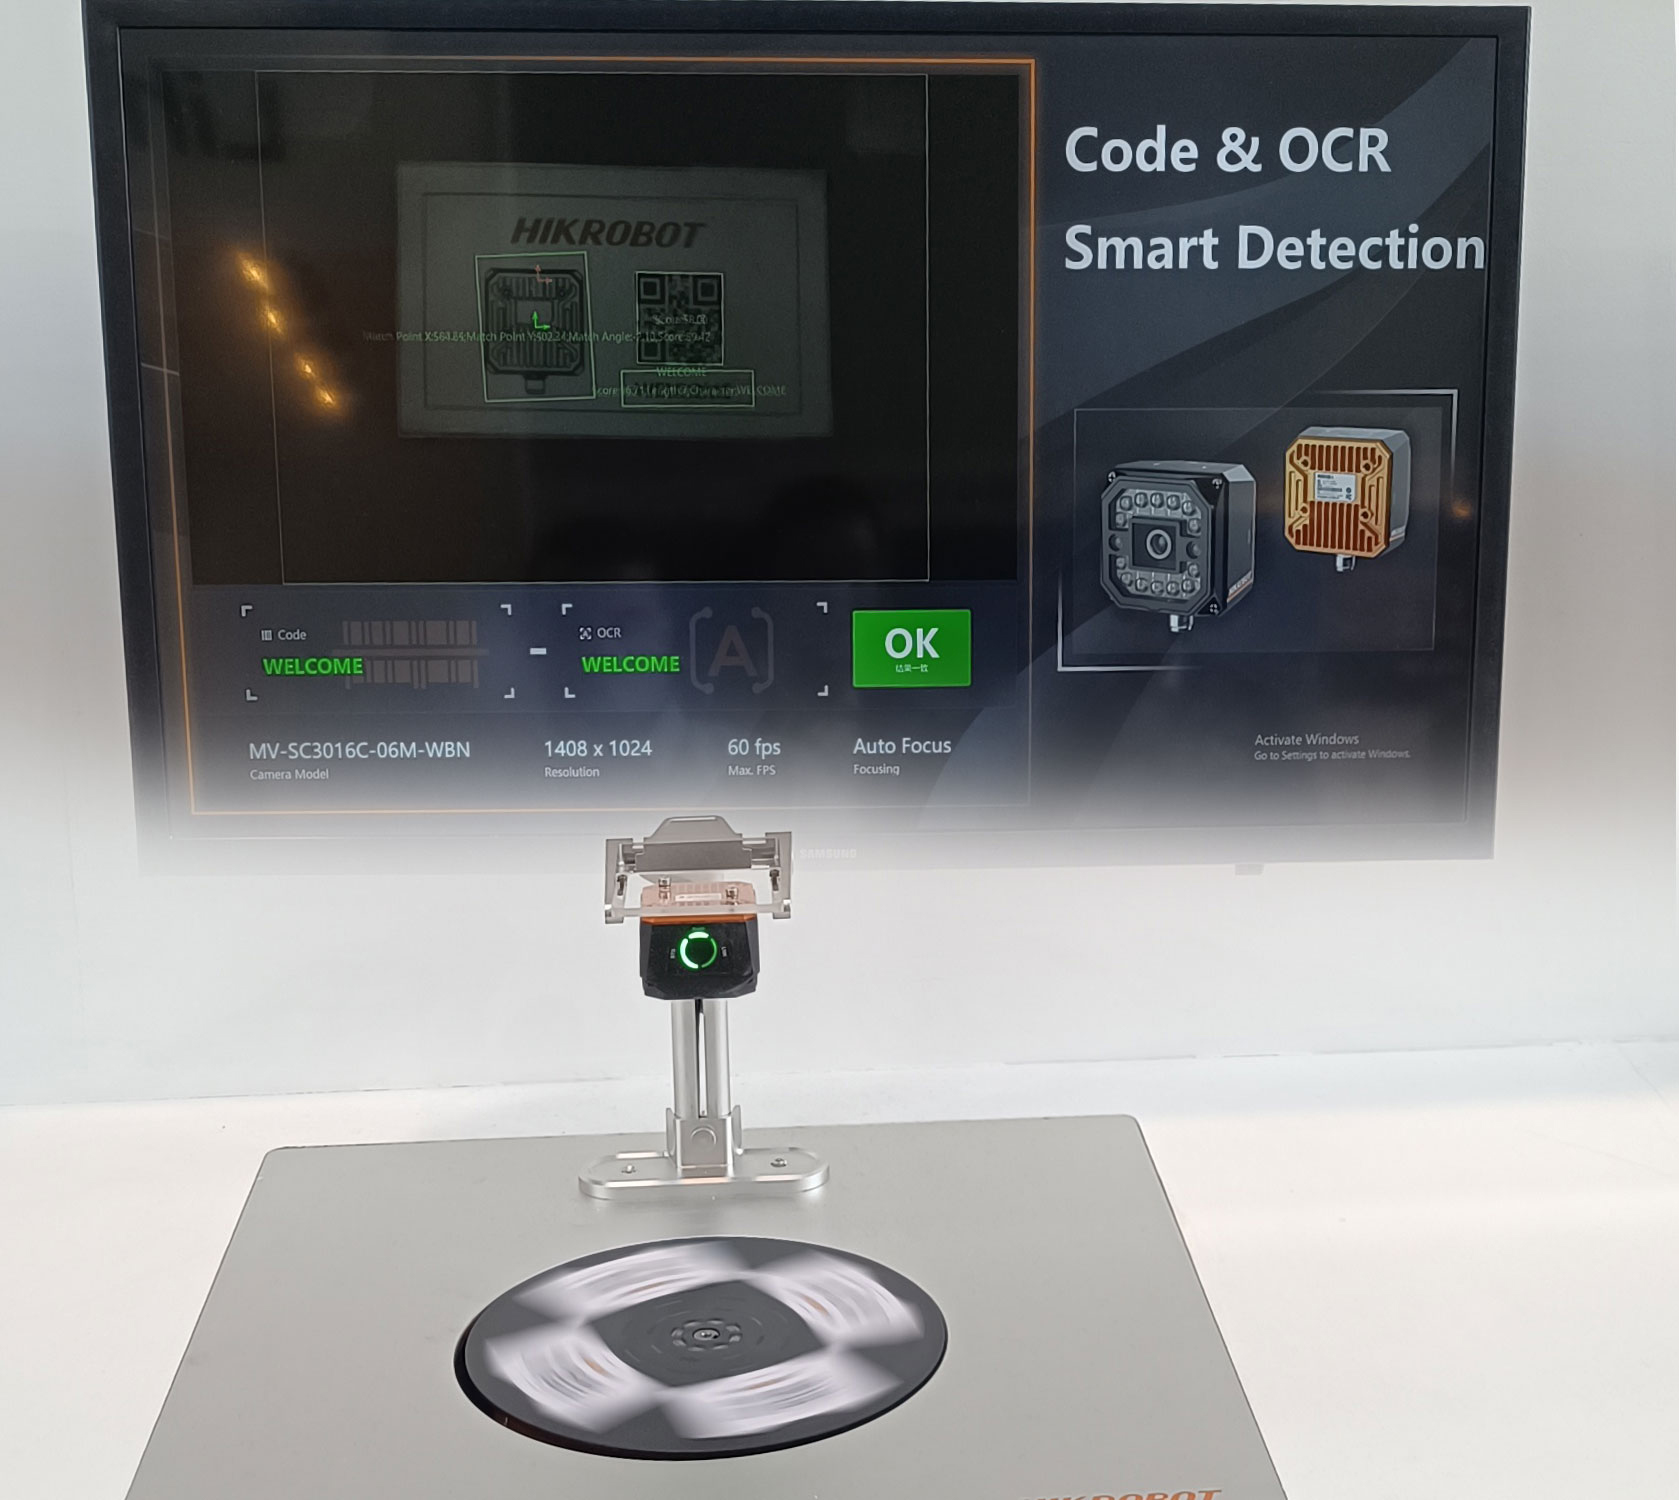
MaxxVision GmbH from Stuttgart will be showcasing new smart cameras and vision sensors from the manufacturer Hikrobot as well as a high-resolution 151 MP camera with a telecentric lens from the Japanese optics manufacturer Myutron. The systems are suitable for a wide range of tasks in various industrial sectors, such as positioning, measurement and identification, as well as for detecting very fine patterns and structures.
Exhibitor: MaxxVision GmbH, Stuttgart (Germany)
Wide range of training and further education in the field of industrial image processing
Industrial image processing and optical measurement and inspection technologies are an important element in the implementation of zero-defect concepts, which aim to achieve 100 percent inspection in production. Due to their non-contact, fast and reliable operation, they can now increasingly be used in step with the production cycle. However, it is still not easy for potential users to decide which image processing technology is most suitable for their own applications. The on-demand video seminars, on-site practical seminars, technology days and publications from the Fraunhofer Business Unit Vision offer a decision-making aid for this.
Exhibitor: Fraunhofer Business Unit Vision, Fürth (Germany)
